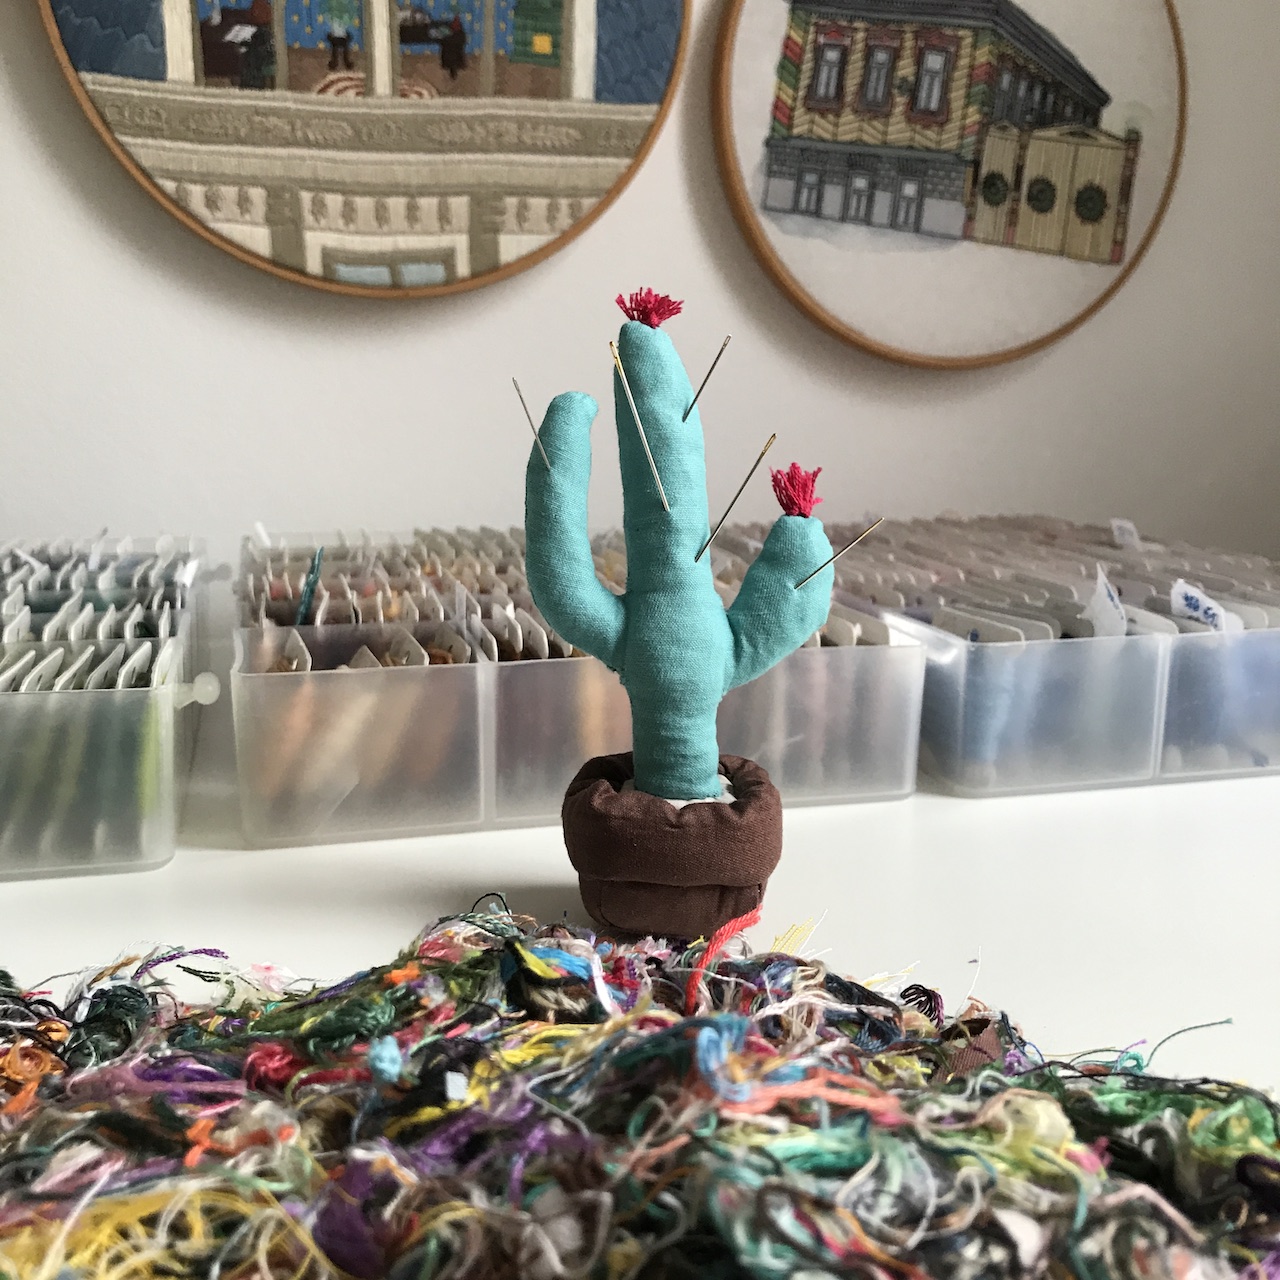
Cactus pin cushion with emery sand
I filmed everything
Process of making pin cushion with emery sand
But if you want to look at pictures, you're welcome to continue reading
After researching information about needles and how to clean them, I realized that all my pin cushions don't have emery sand inside. While looking at the pincushions online, I saw that you can buy emery sand separately. And that's exactly what I did.
Article about needles
Article about storing needles
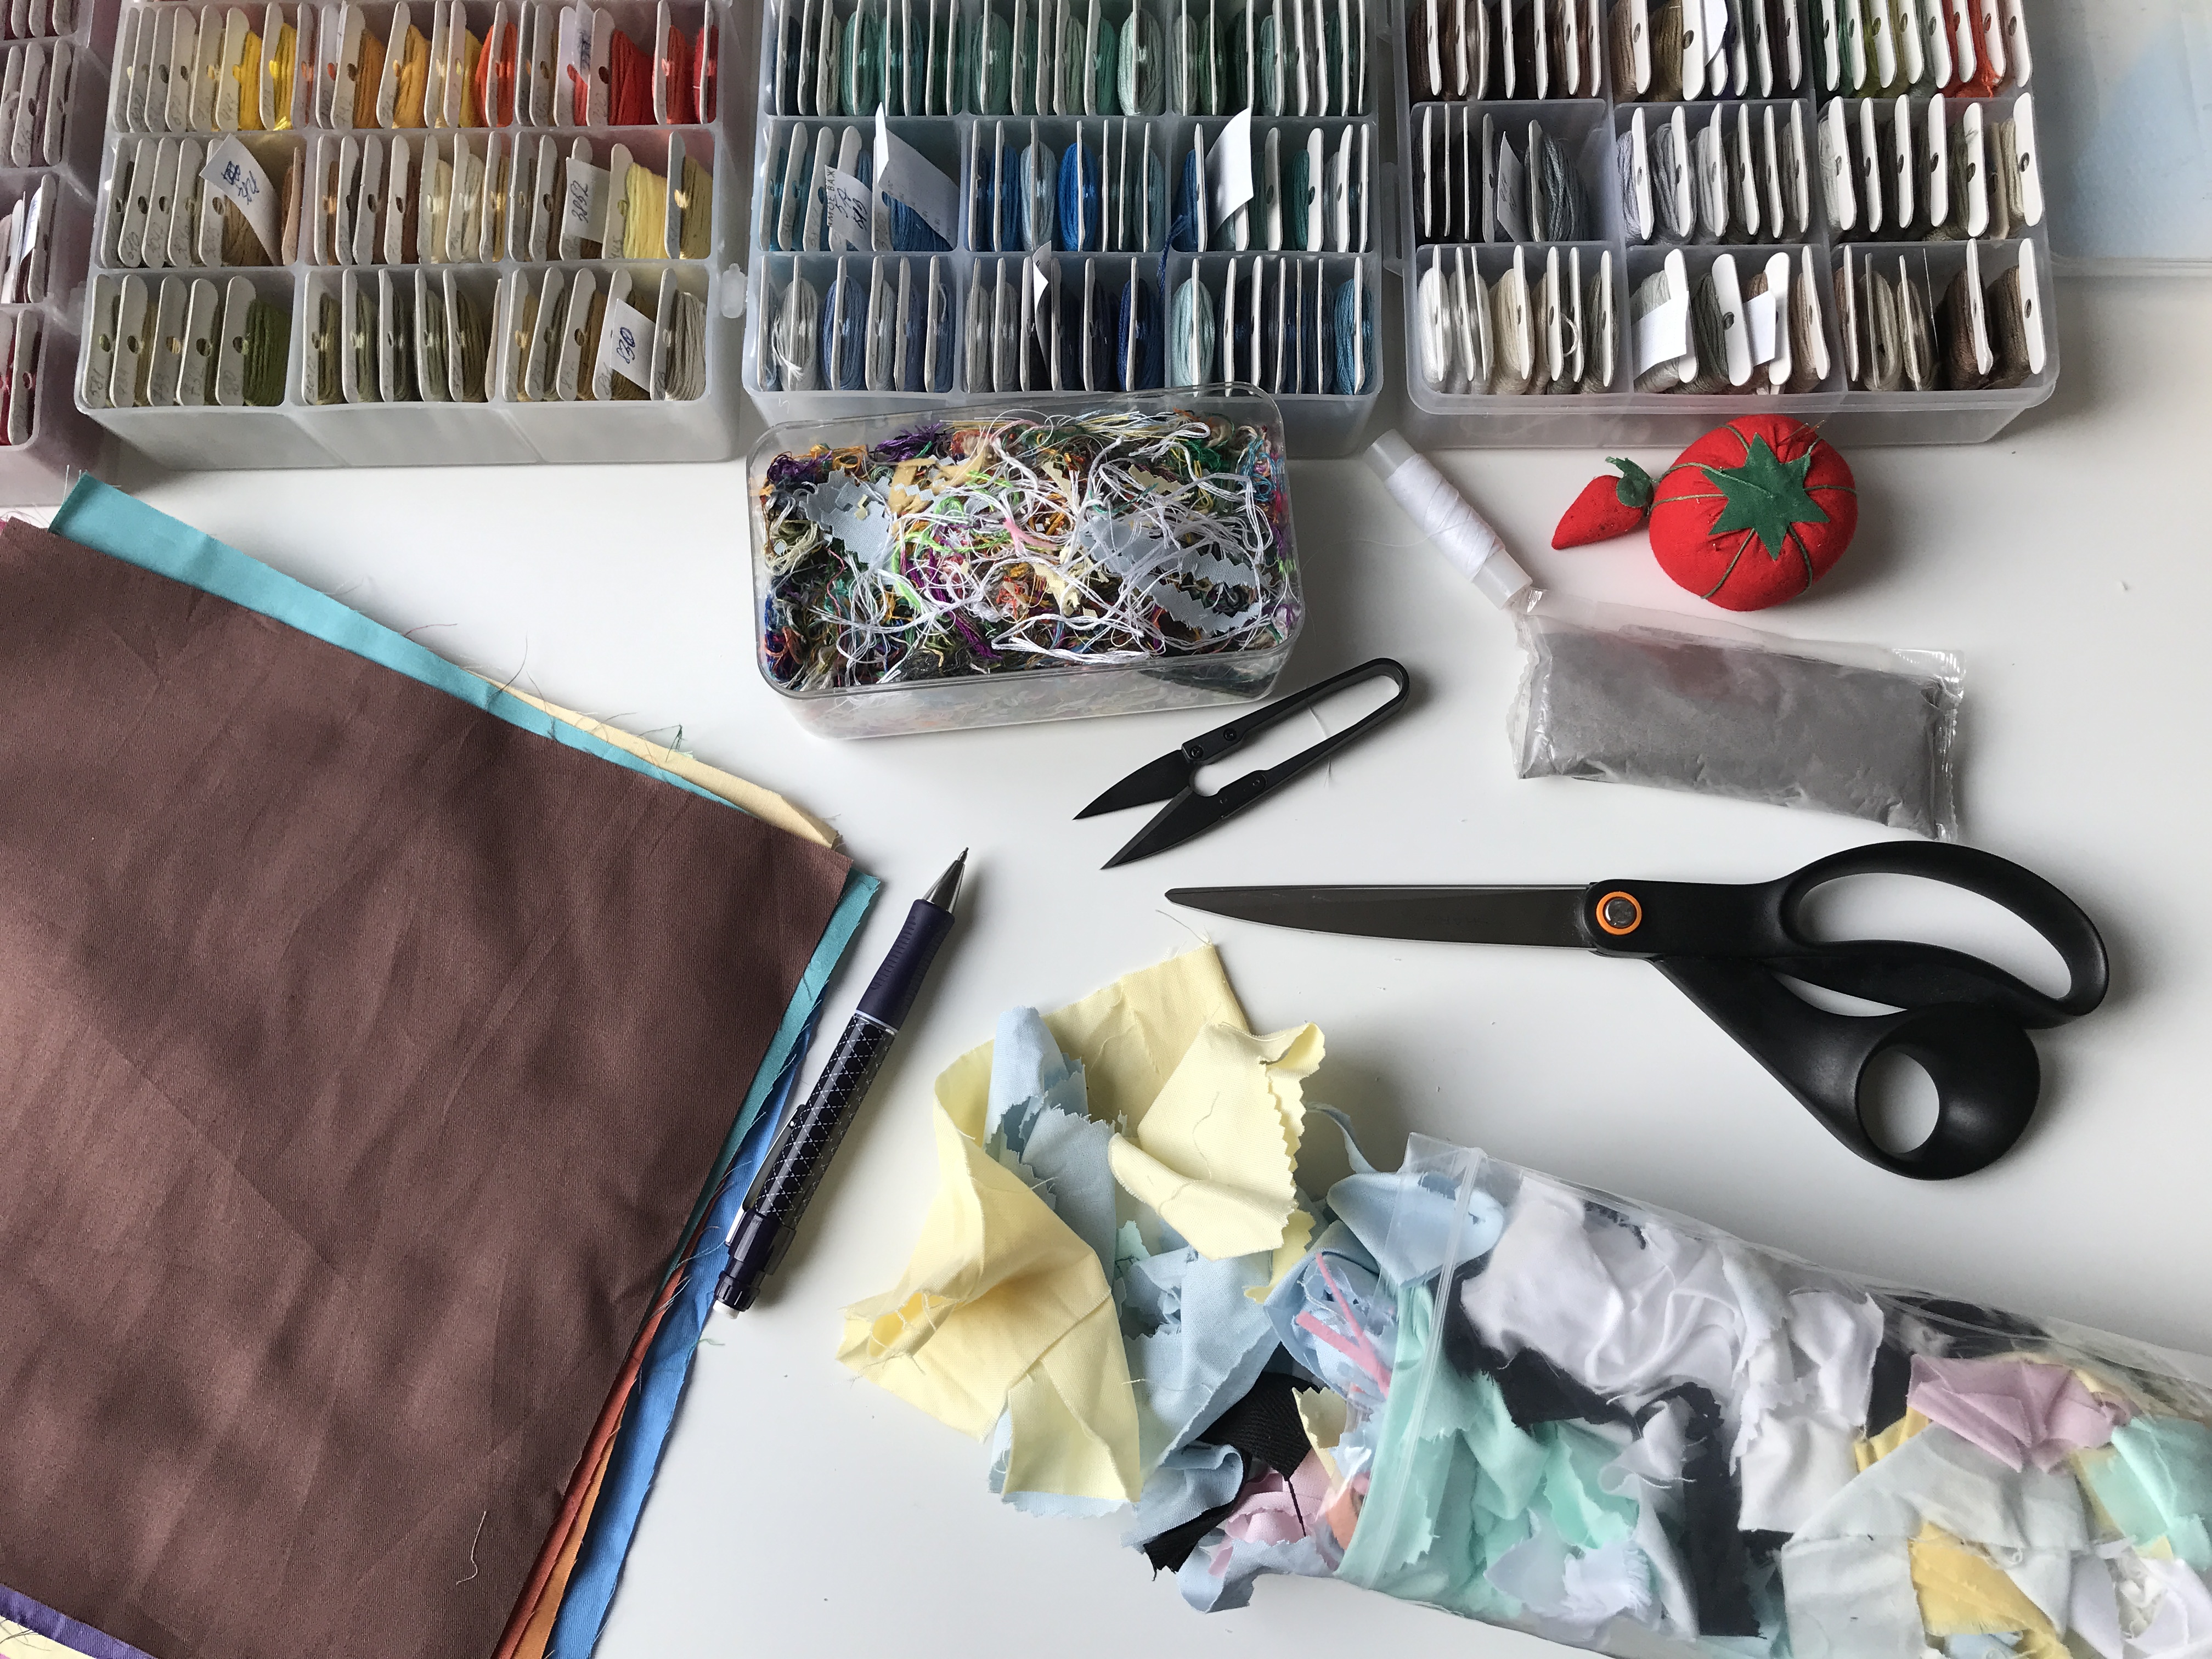
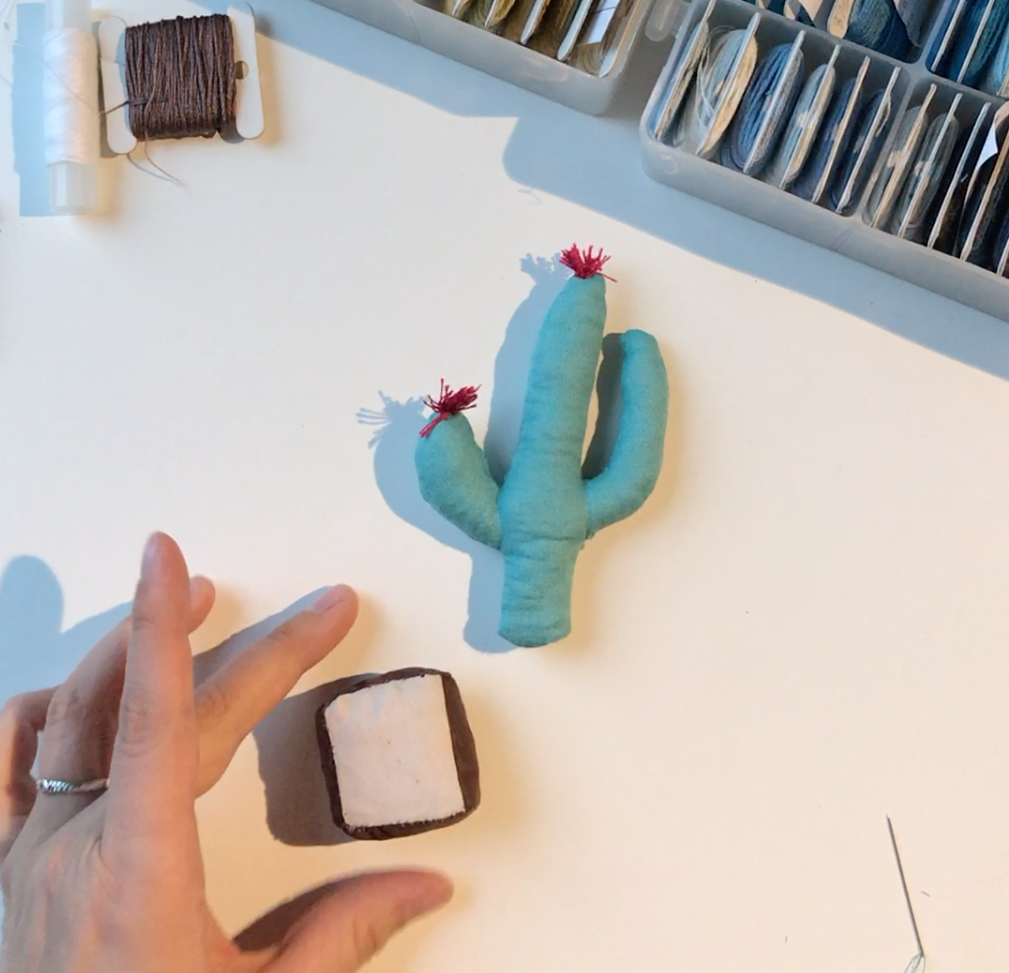
Supplies
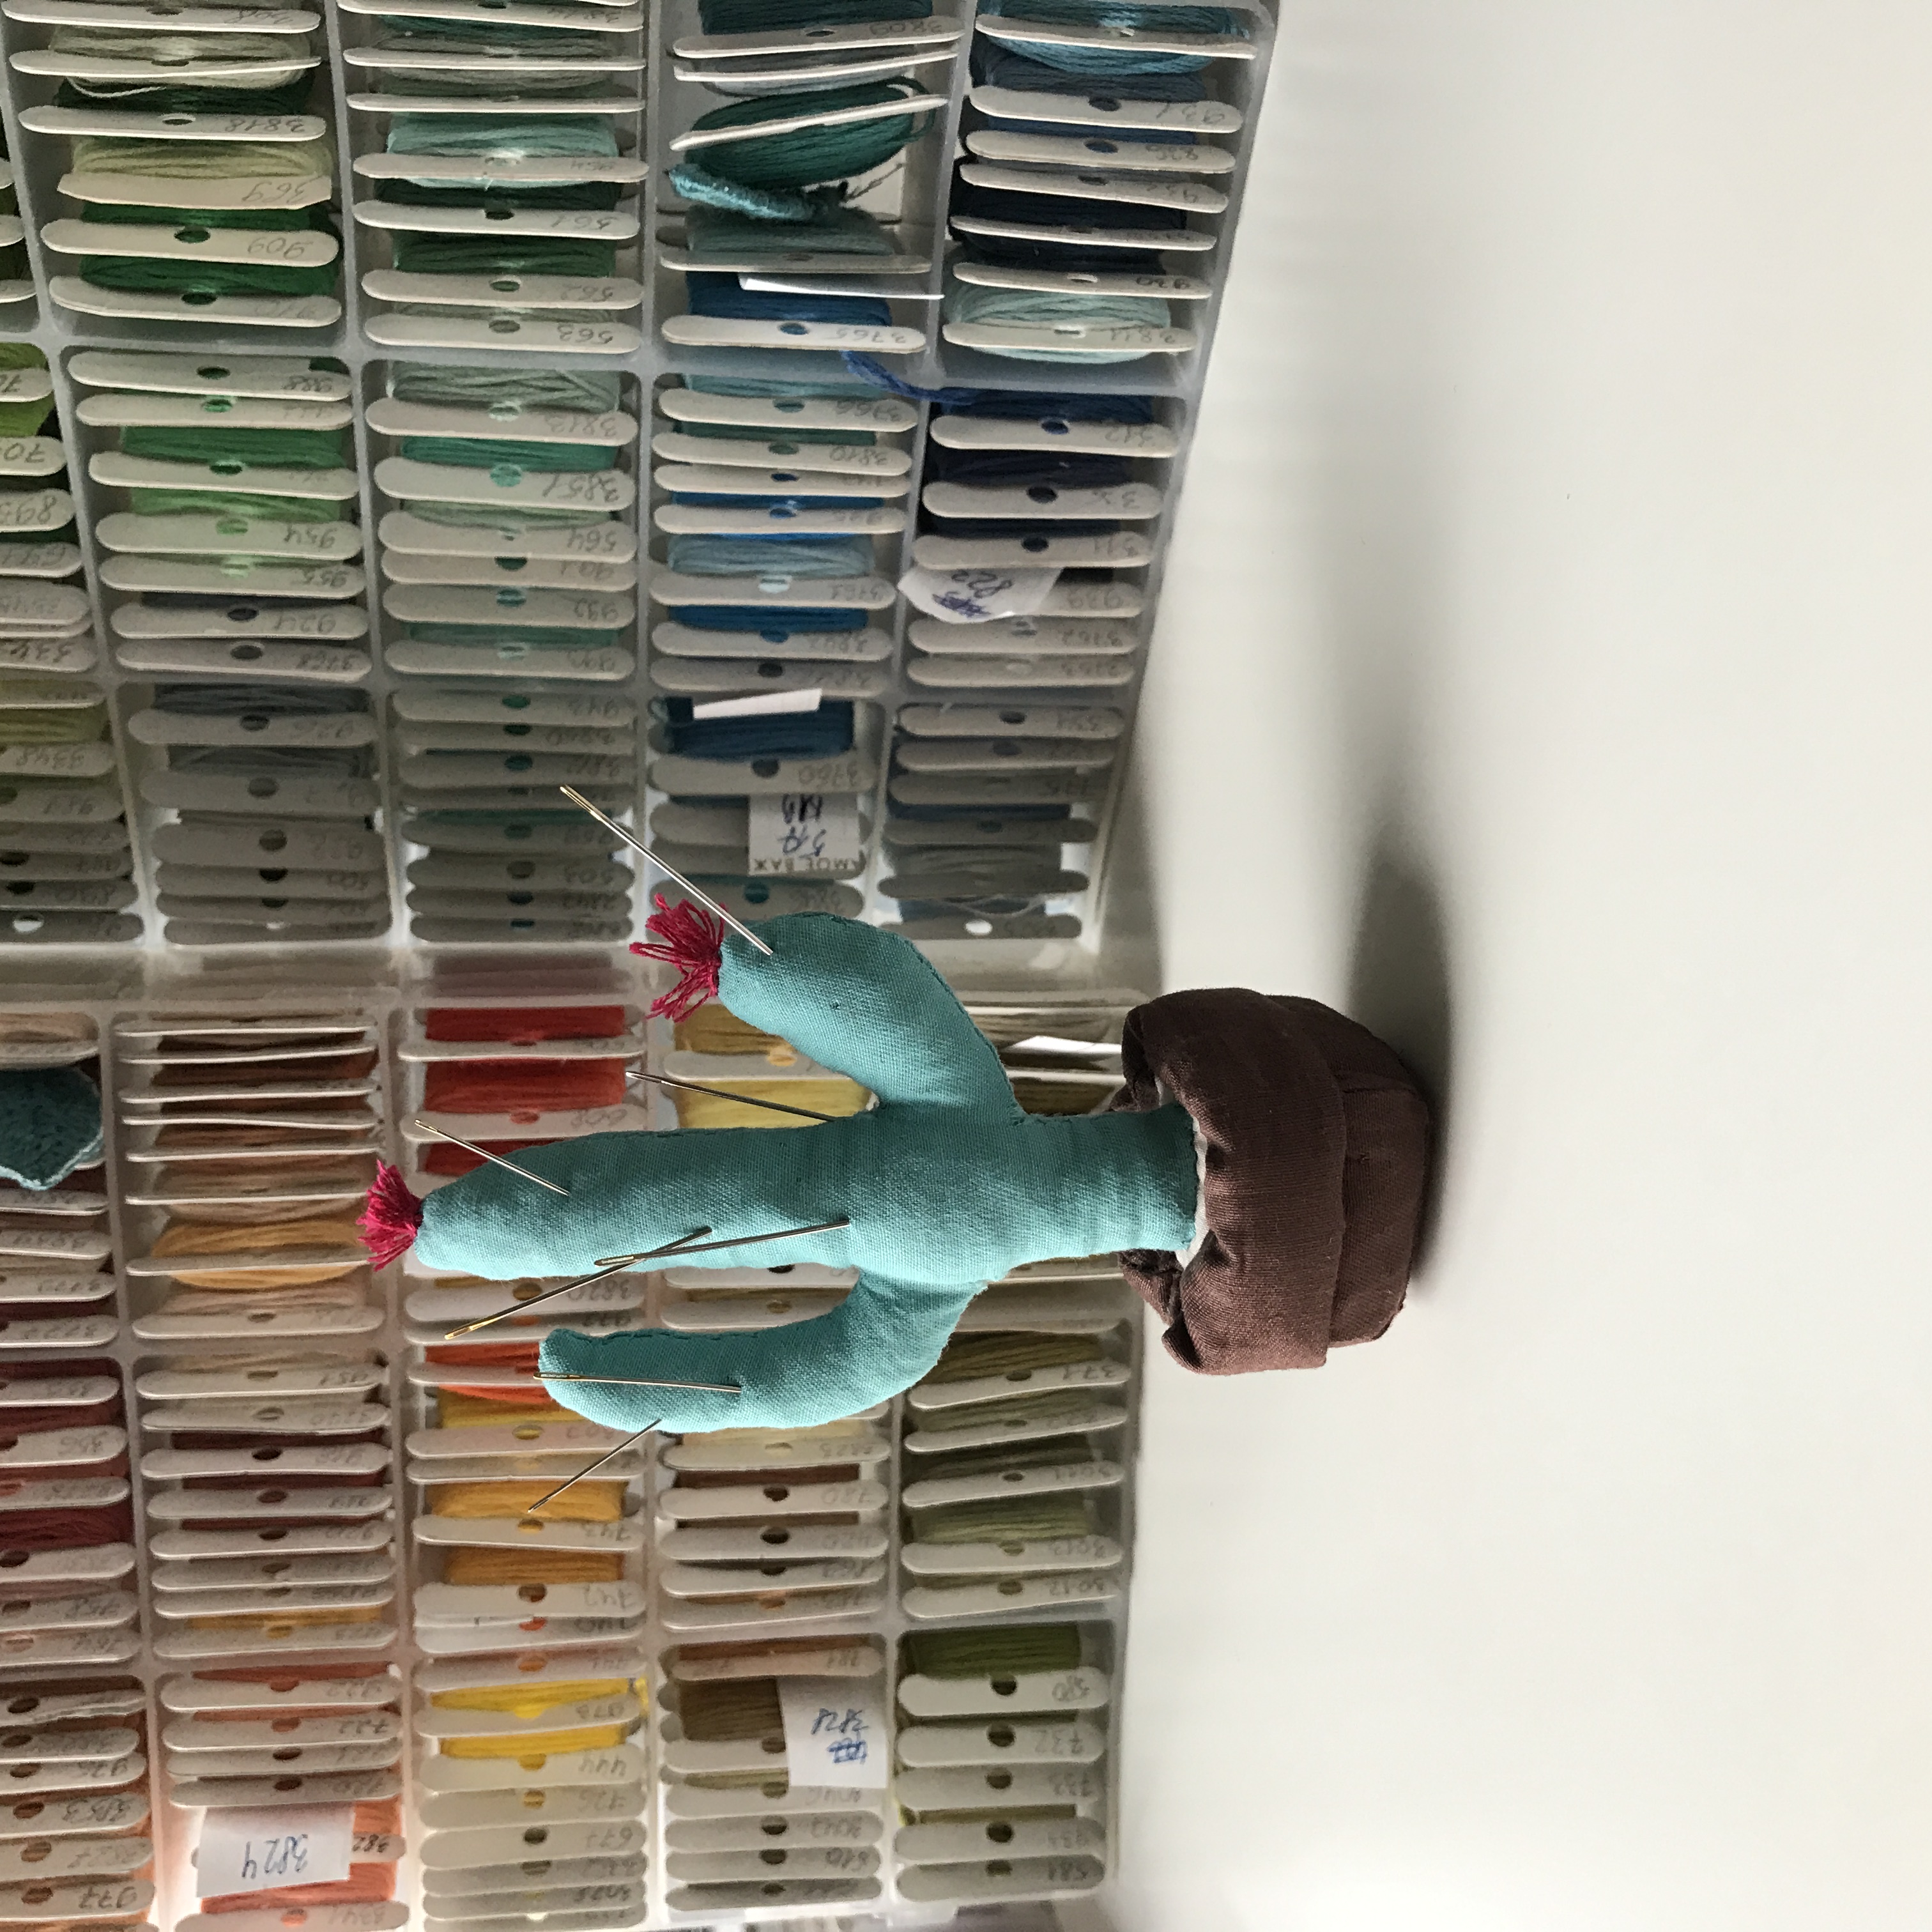
I chose to make this pin cushion in the shape of ca actus in a pot. The upper part is for storing needles, the lower is for cleaning.
So I needed some green and brown fabric.
The rest of the supplies are what I already had:
- thread scraps
- fabric leftovers
- scissors and snips
- pencil by Prym
- emery sand
- sewing thread

The next step was to sketch the cactus for the size reference and I added cute red flowers to it. Then I placed fabric over the iPad and traced the cactus and pot adding the 0,7cm for the seam allowance.
Next, I sewed the parts together by hand (didn't have a sewing machine at that time) with very small stitches. At first, I went with a running stitch, but then added one more layer of it finishing stitches closer to each other.
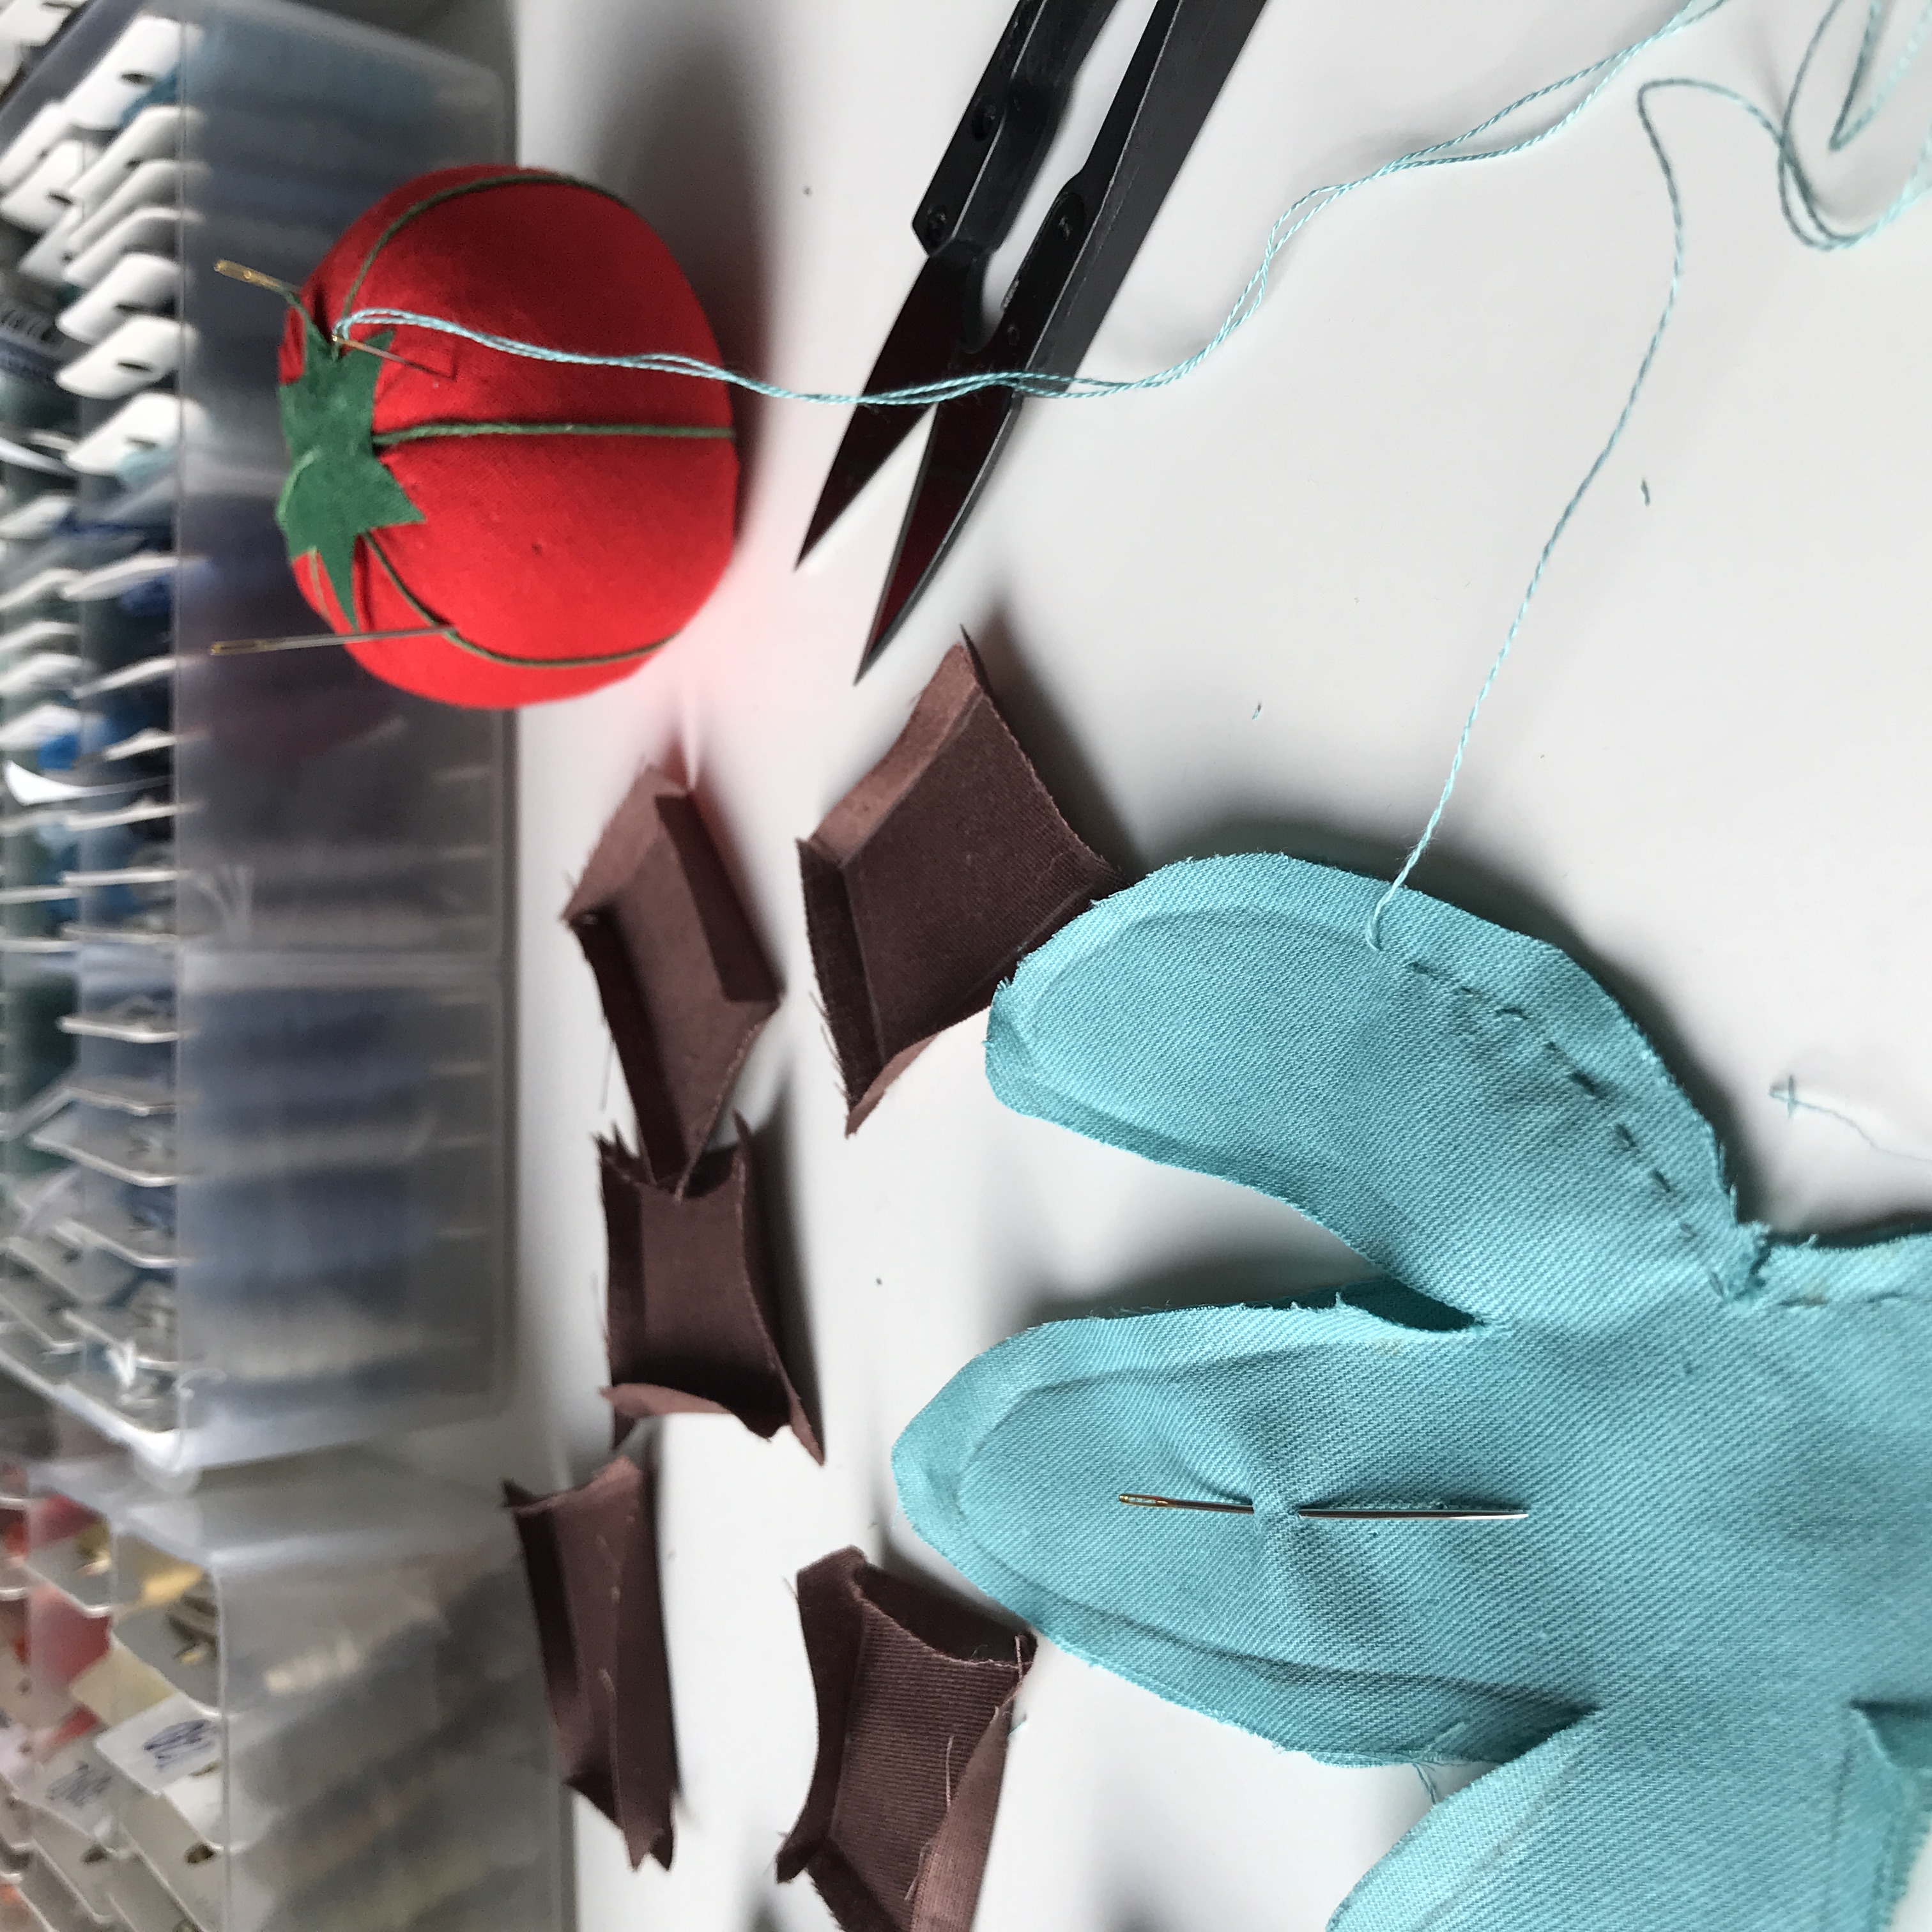
Then I turned the cactus with the stitches facing inward and made a few Turkey work stitches for the flowers.
Turkey work stitch tutorial
The cactus was ready for filling. But I miscalculated a little and made it too narrow. I couldn't fit a finger into it, so I had to use my long tweezers. I filled it with thread scraps, and it was nice to see them disappearing and creating a new shape.
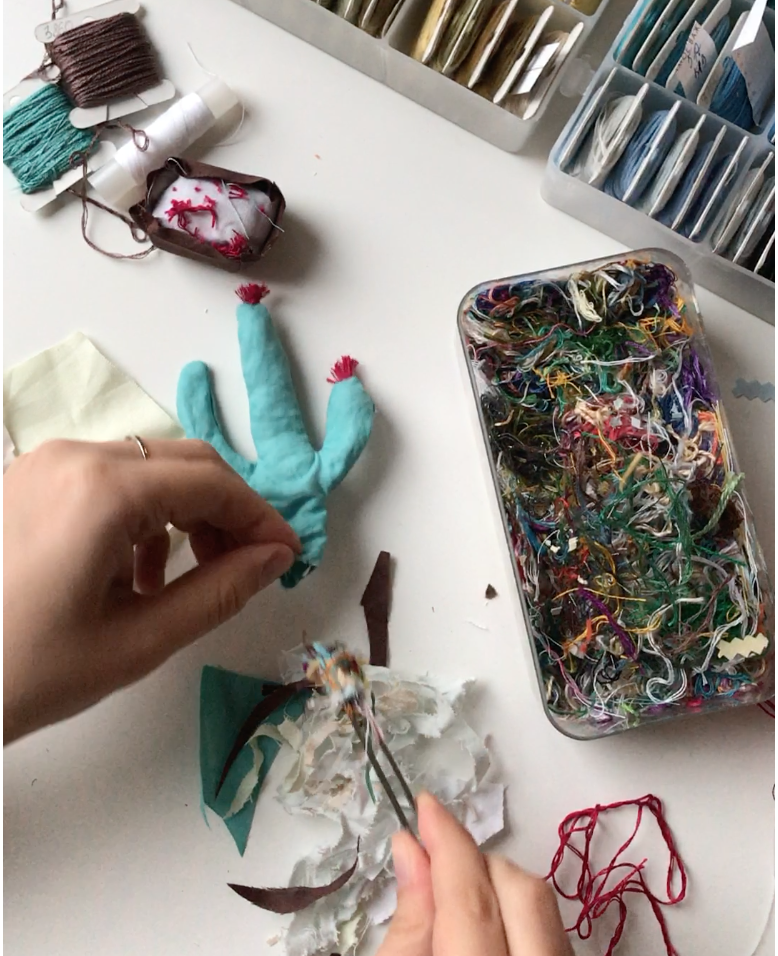
At this moment I already sewn together the pot. Four sides and the bottom part. For the emery sand, I made a little bag using very short stitches to make sure the sand won't spill out.
Next, I placed the emery bag inside, along with some thread scraps, and sewed the upper part of the pot.
Both cactus and pot were filled and sewn.
The rest was easy, I sewed them to each other with the same tiny stitches. And made a sausage-like border for the pot. To make it look more like an actual pot.
The best part is that because of the emery sand, the lower part is heavier and the cactus stands without any help.
Hope it was helpful, for more insight into the process watch the video