How I made needle book out of felt
This article is a logical continuation of my diving into the world of needles. Read the article here. I'm showing what is the difference between needles is, which kinds you need, how long you can use them, and what is the best way to store them.
In this article I'm going to share how I made my first needle book.
Supplies
At least 6 A4 sheets of felt in different colors: A4 sheets of felt
White mouline thread 6 stranded mouline thread
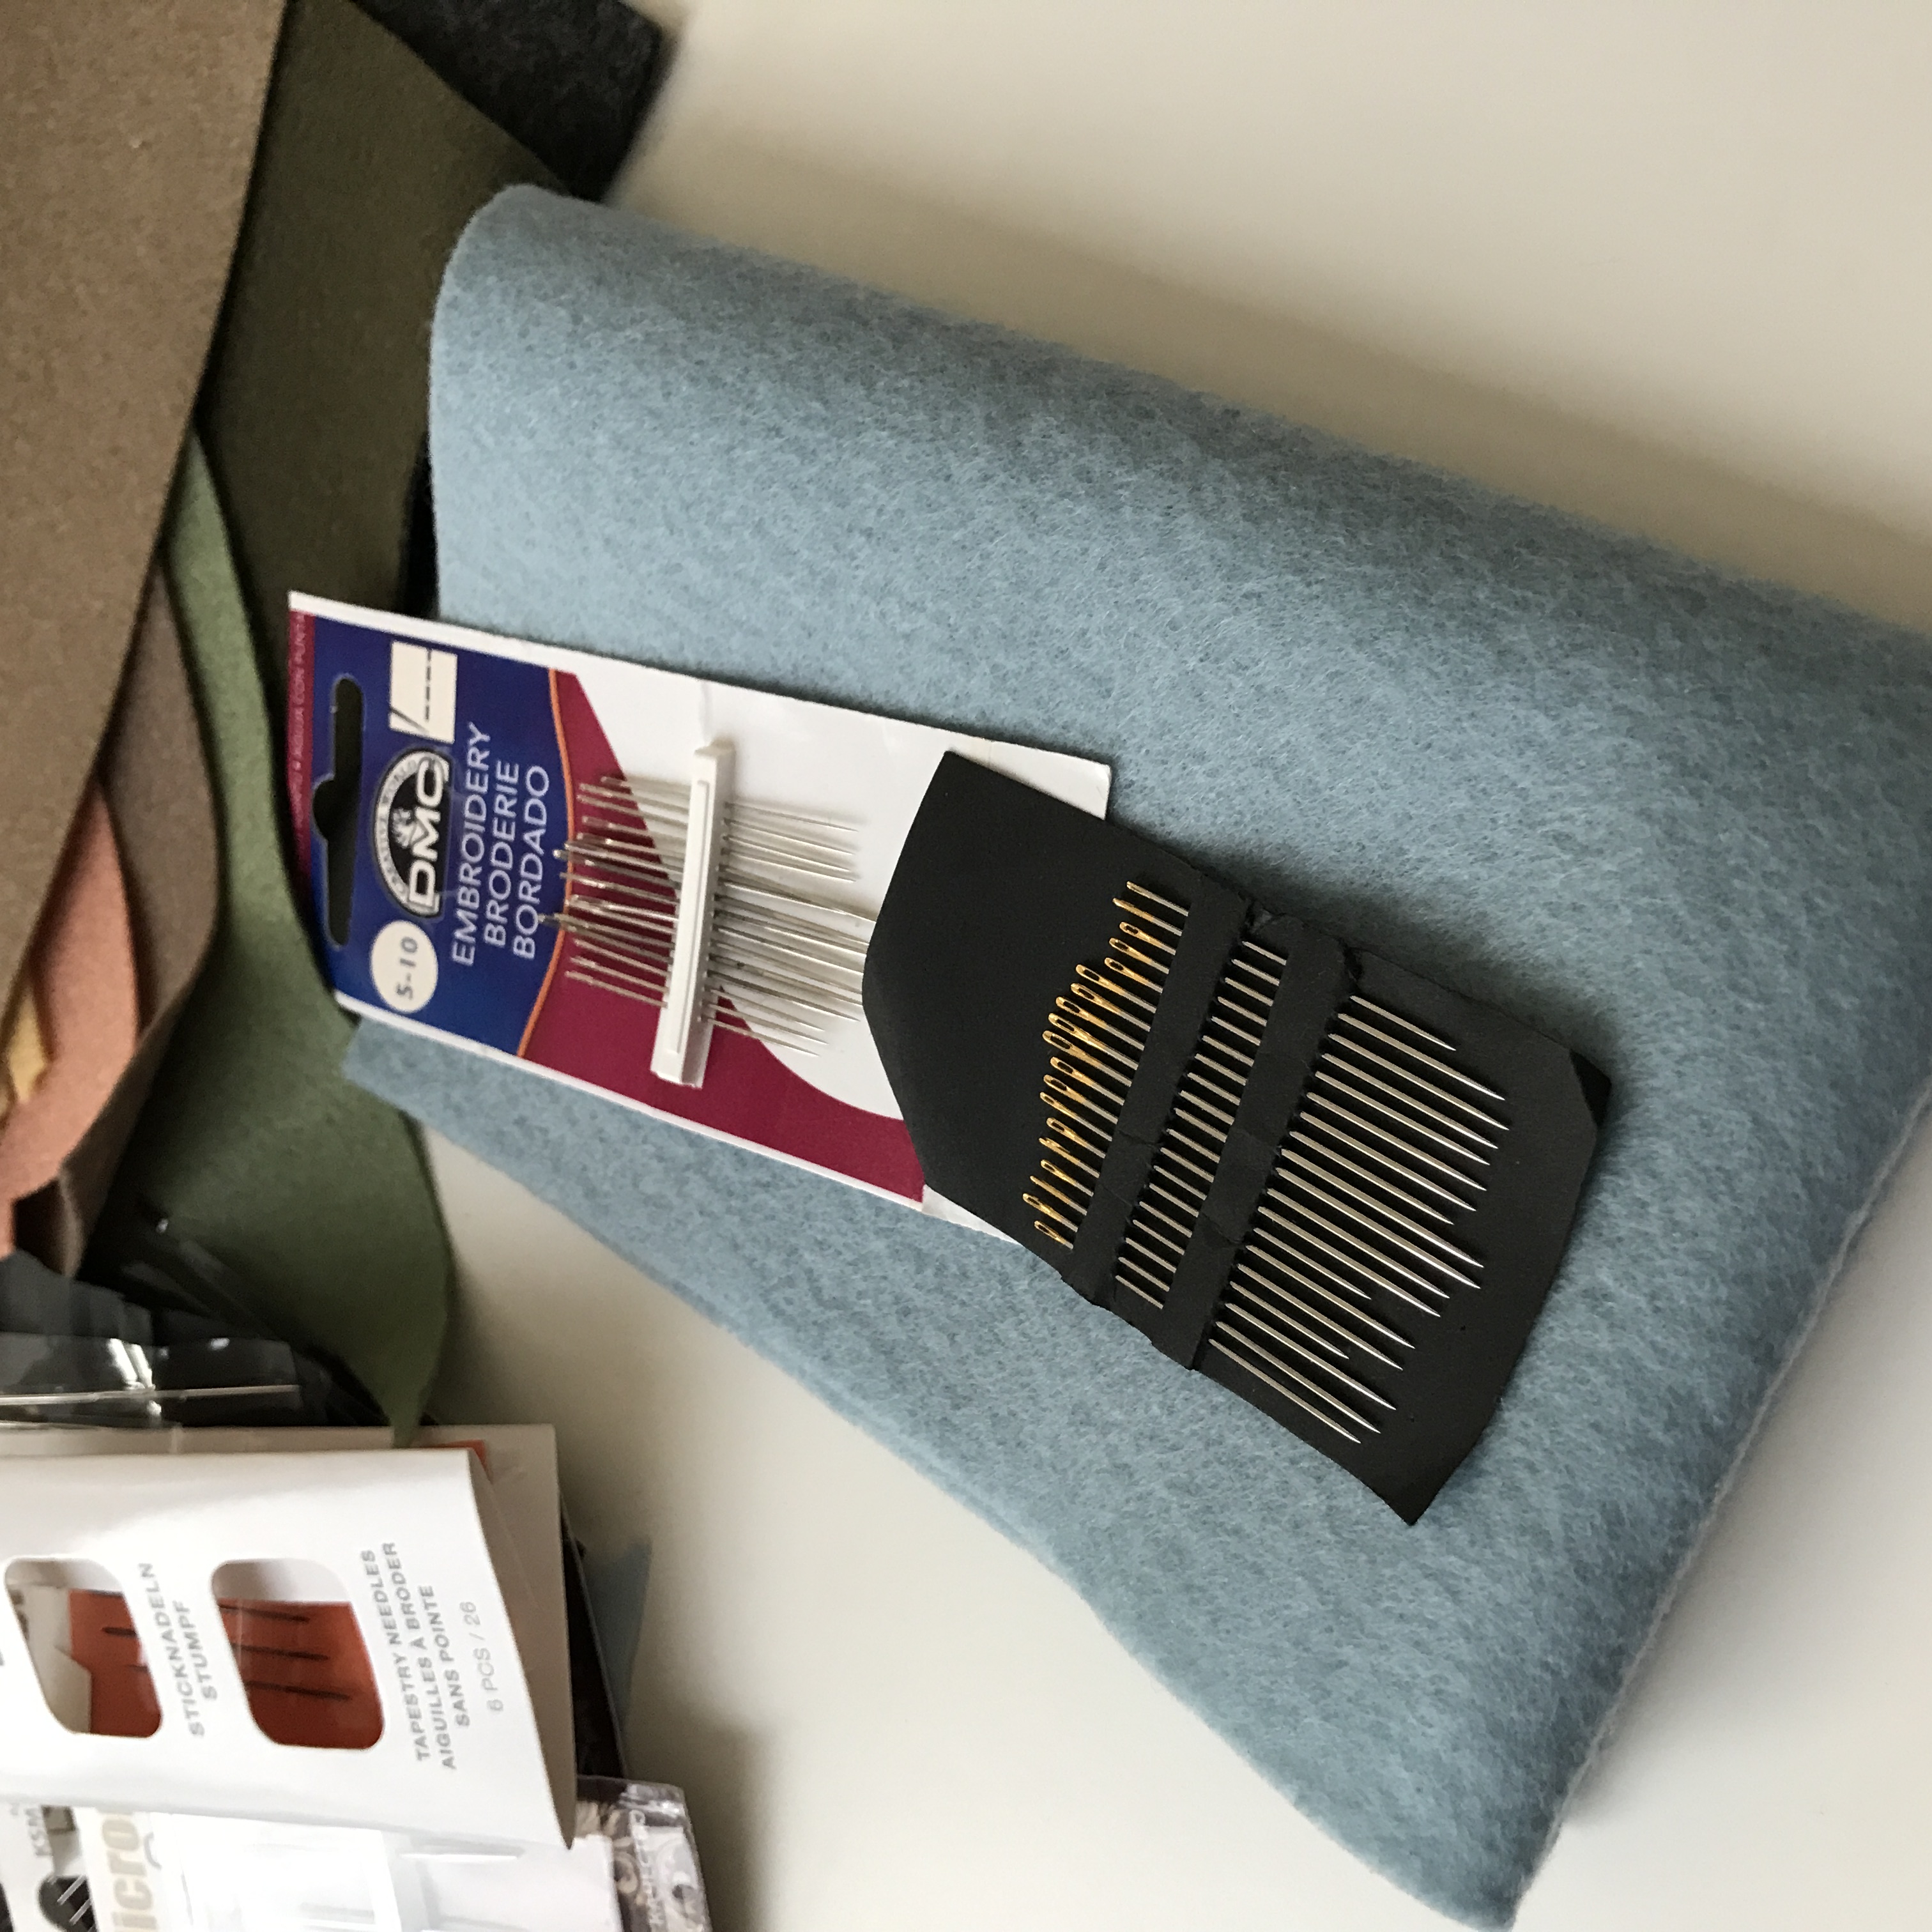
Embroidery needle size 5 Embroidery needles №3-9
Snap fastener or button and elastic cord Snap fastener
Scissors for fabric and thread Fabric scissors
Optional:
Hot glue gun
Mini iron 2 by clover
Fabric markers
Heat erasable friction pen by Pilot
Thread leftovers, big enough to write labels on: artist's property
(I get commissions for purchases made through these links)
YouTube video
I filmed the whole process and you can check it out
Step 1. Count and cry
Before starting to make a needle book, I counted the number of needles I have and wanted to cry: 176 needles!
Why do I have so much? I don't know
Self-threading needles: 5
Double-eyed: 2
Leather: 3
Ribbon (bodkin): 2
Double ended: 6
Milliners: 15
Beading: 4
Embroidery: 70
Sharps: 19
Tapestry: 48
In really bad condition: 2
Some of them are not in perfect condition and need cleaning. That will be a good chance to use sanding paper and a self-made cleaning pin cushion. I ordered emery sand and already received the package. The grain seems to be smaller than I thought it should be, though. But that's my next experiment.
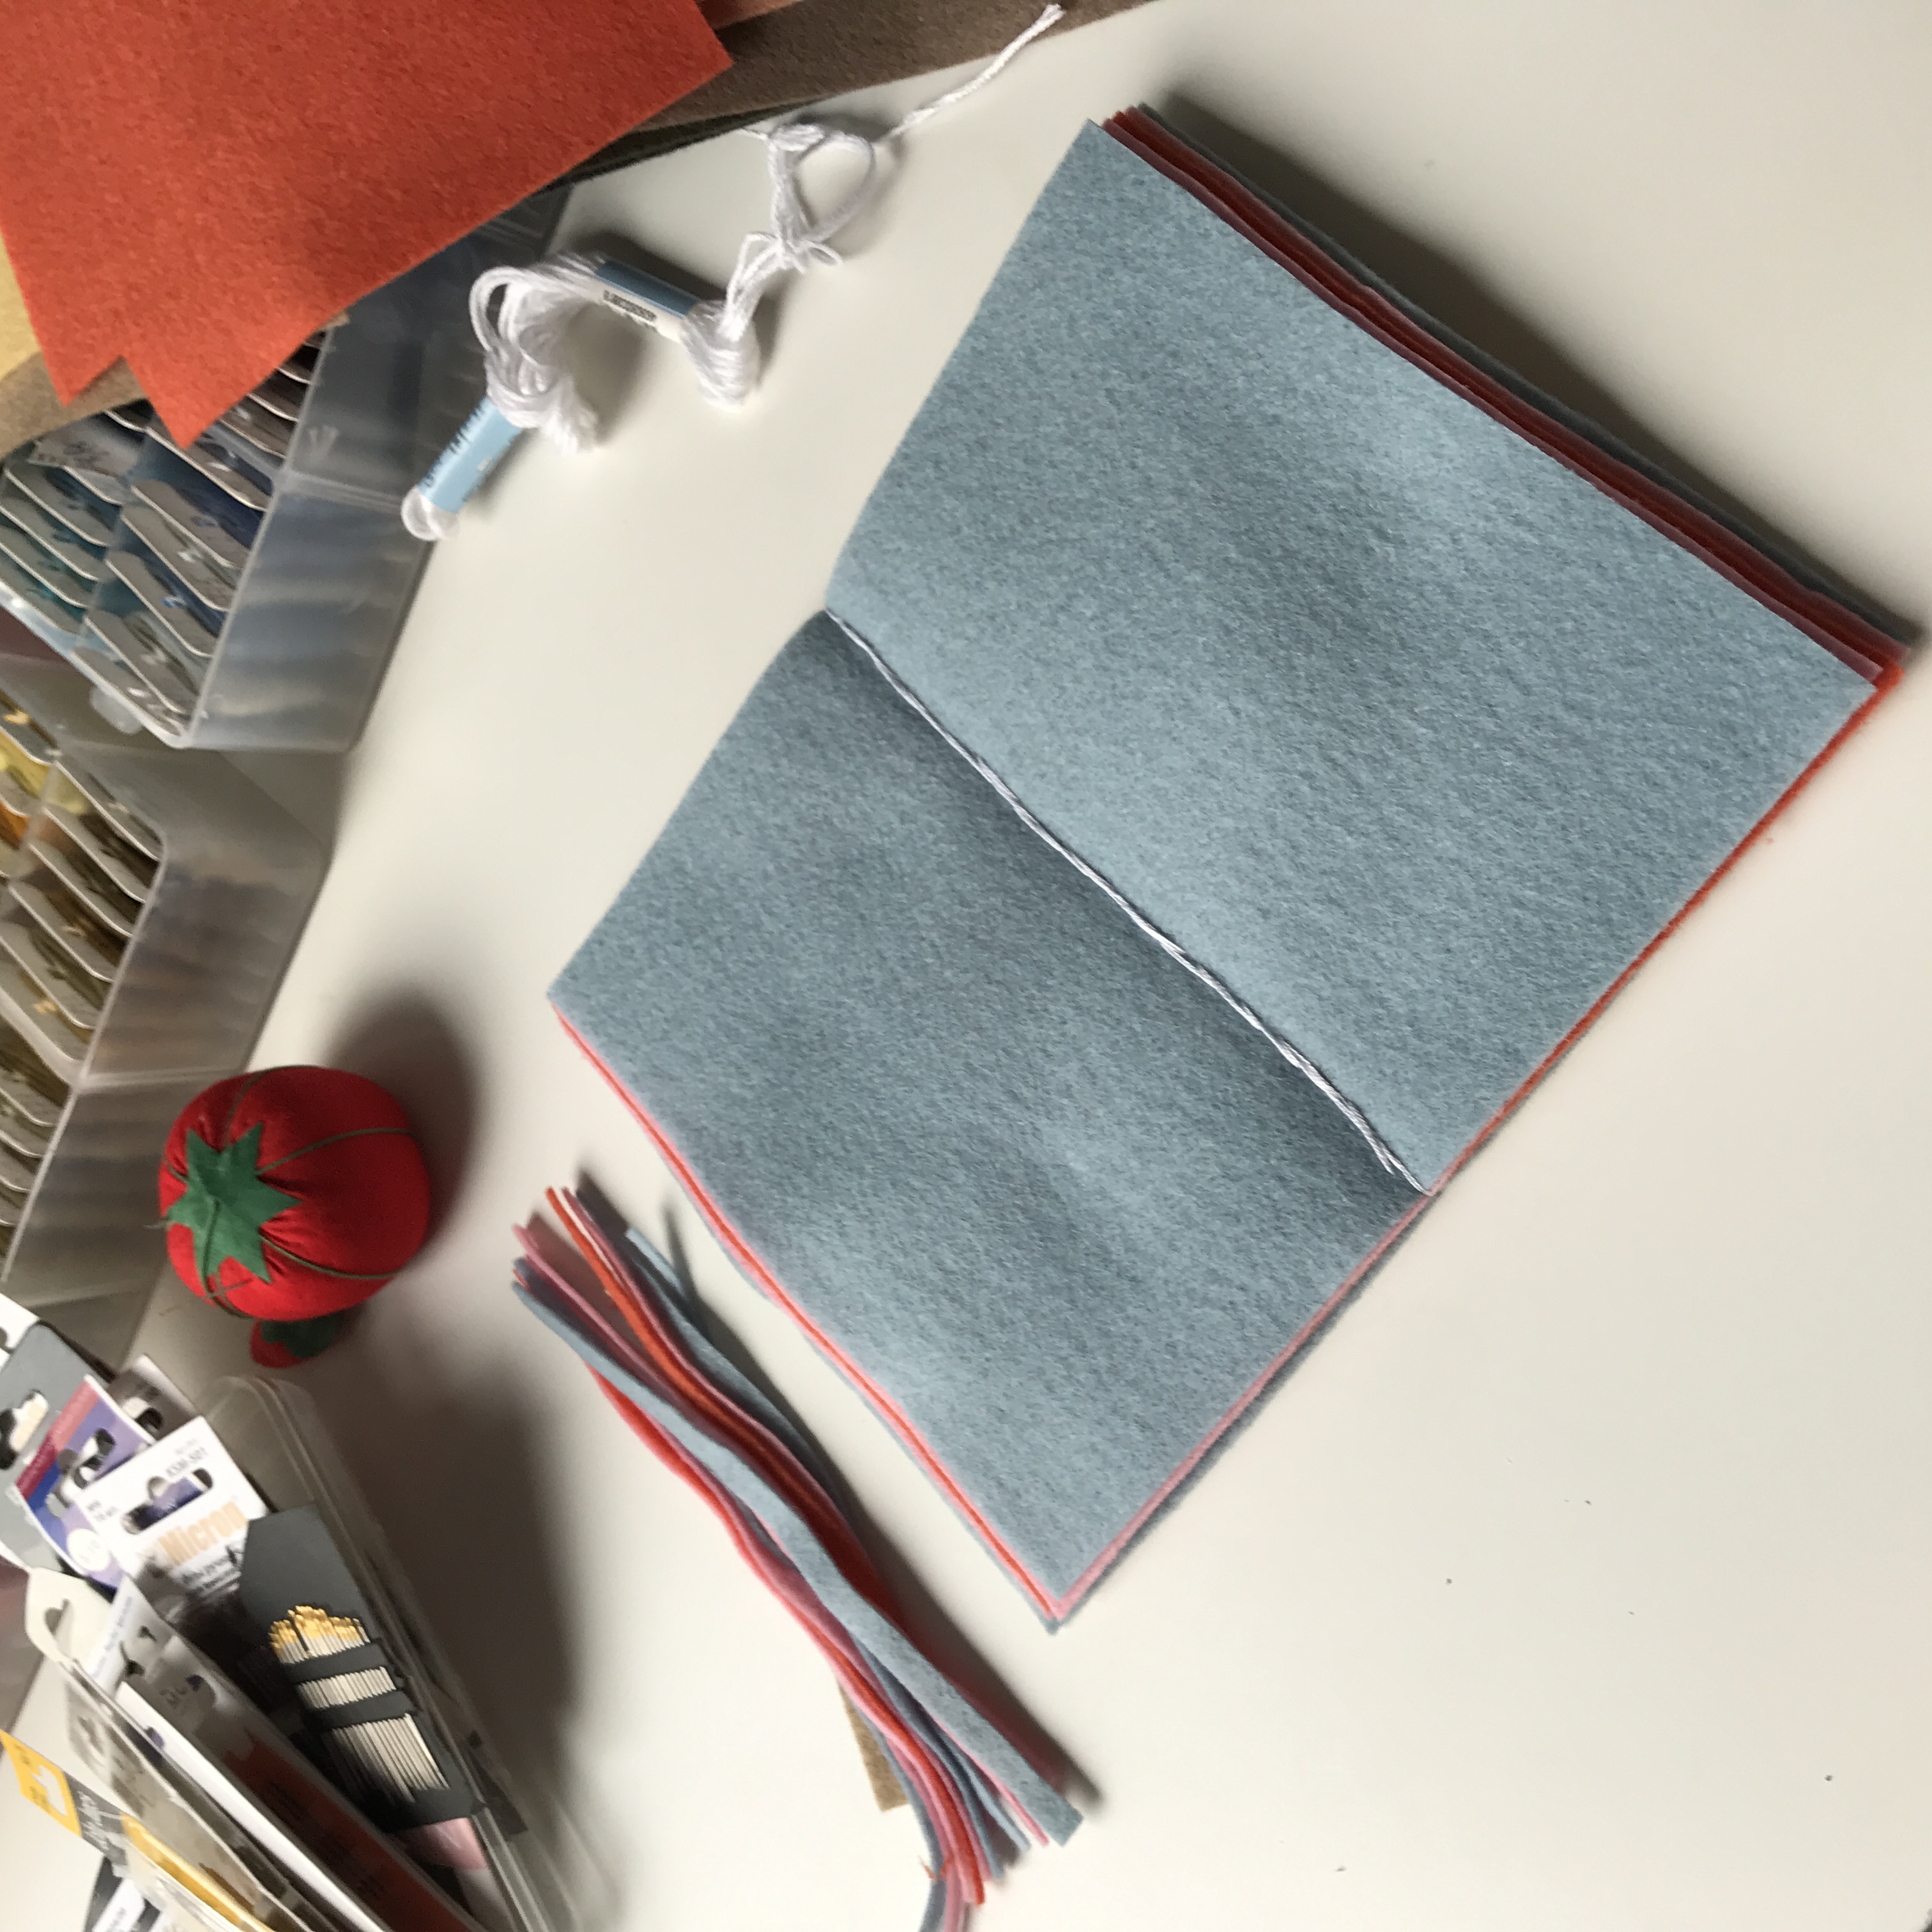
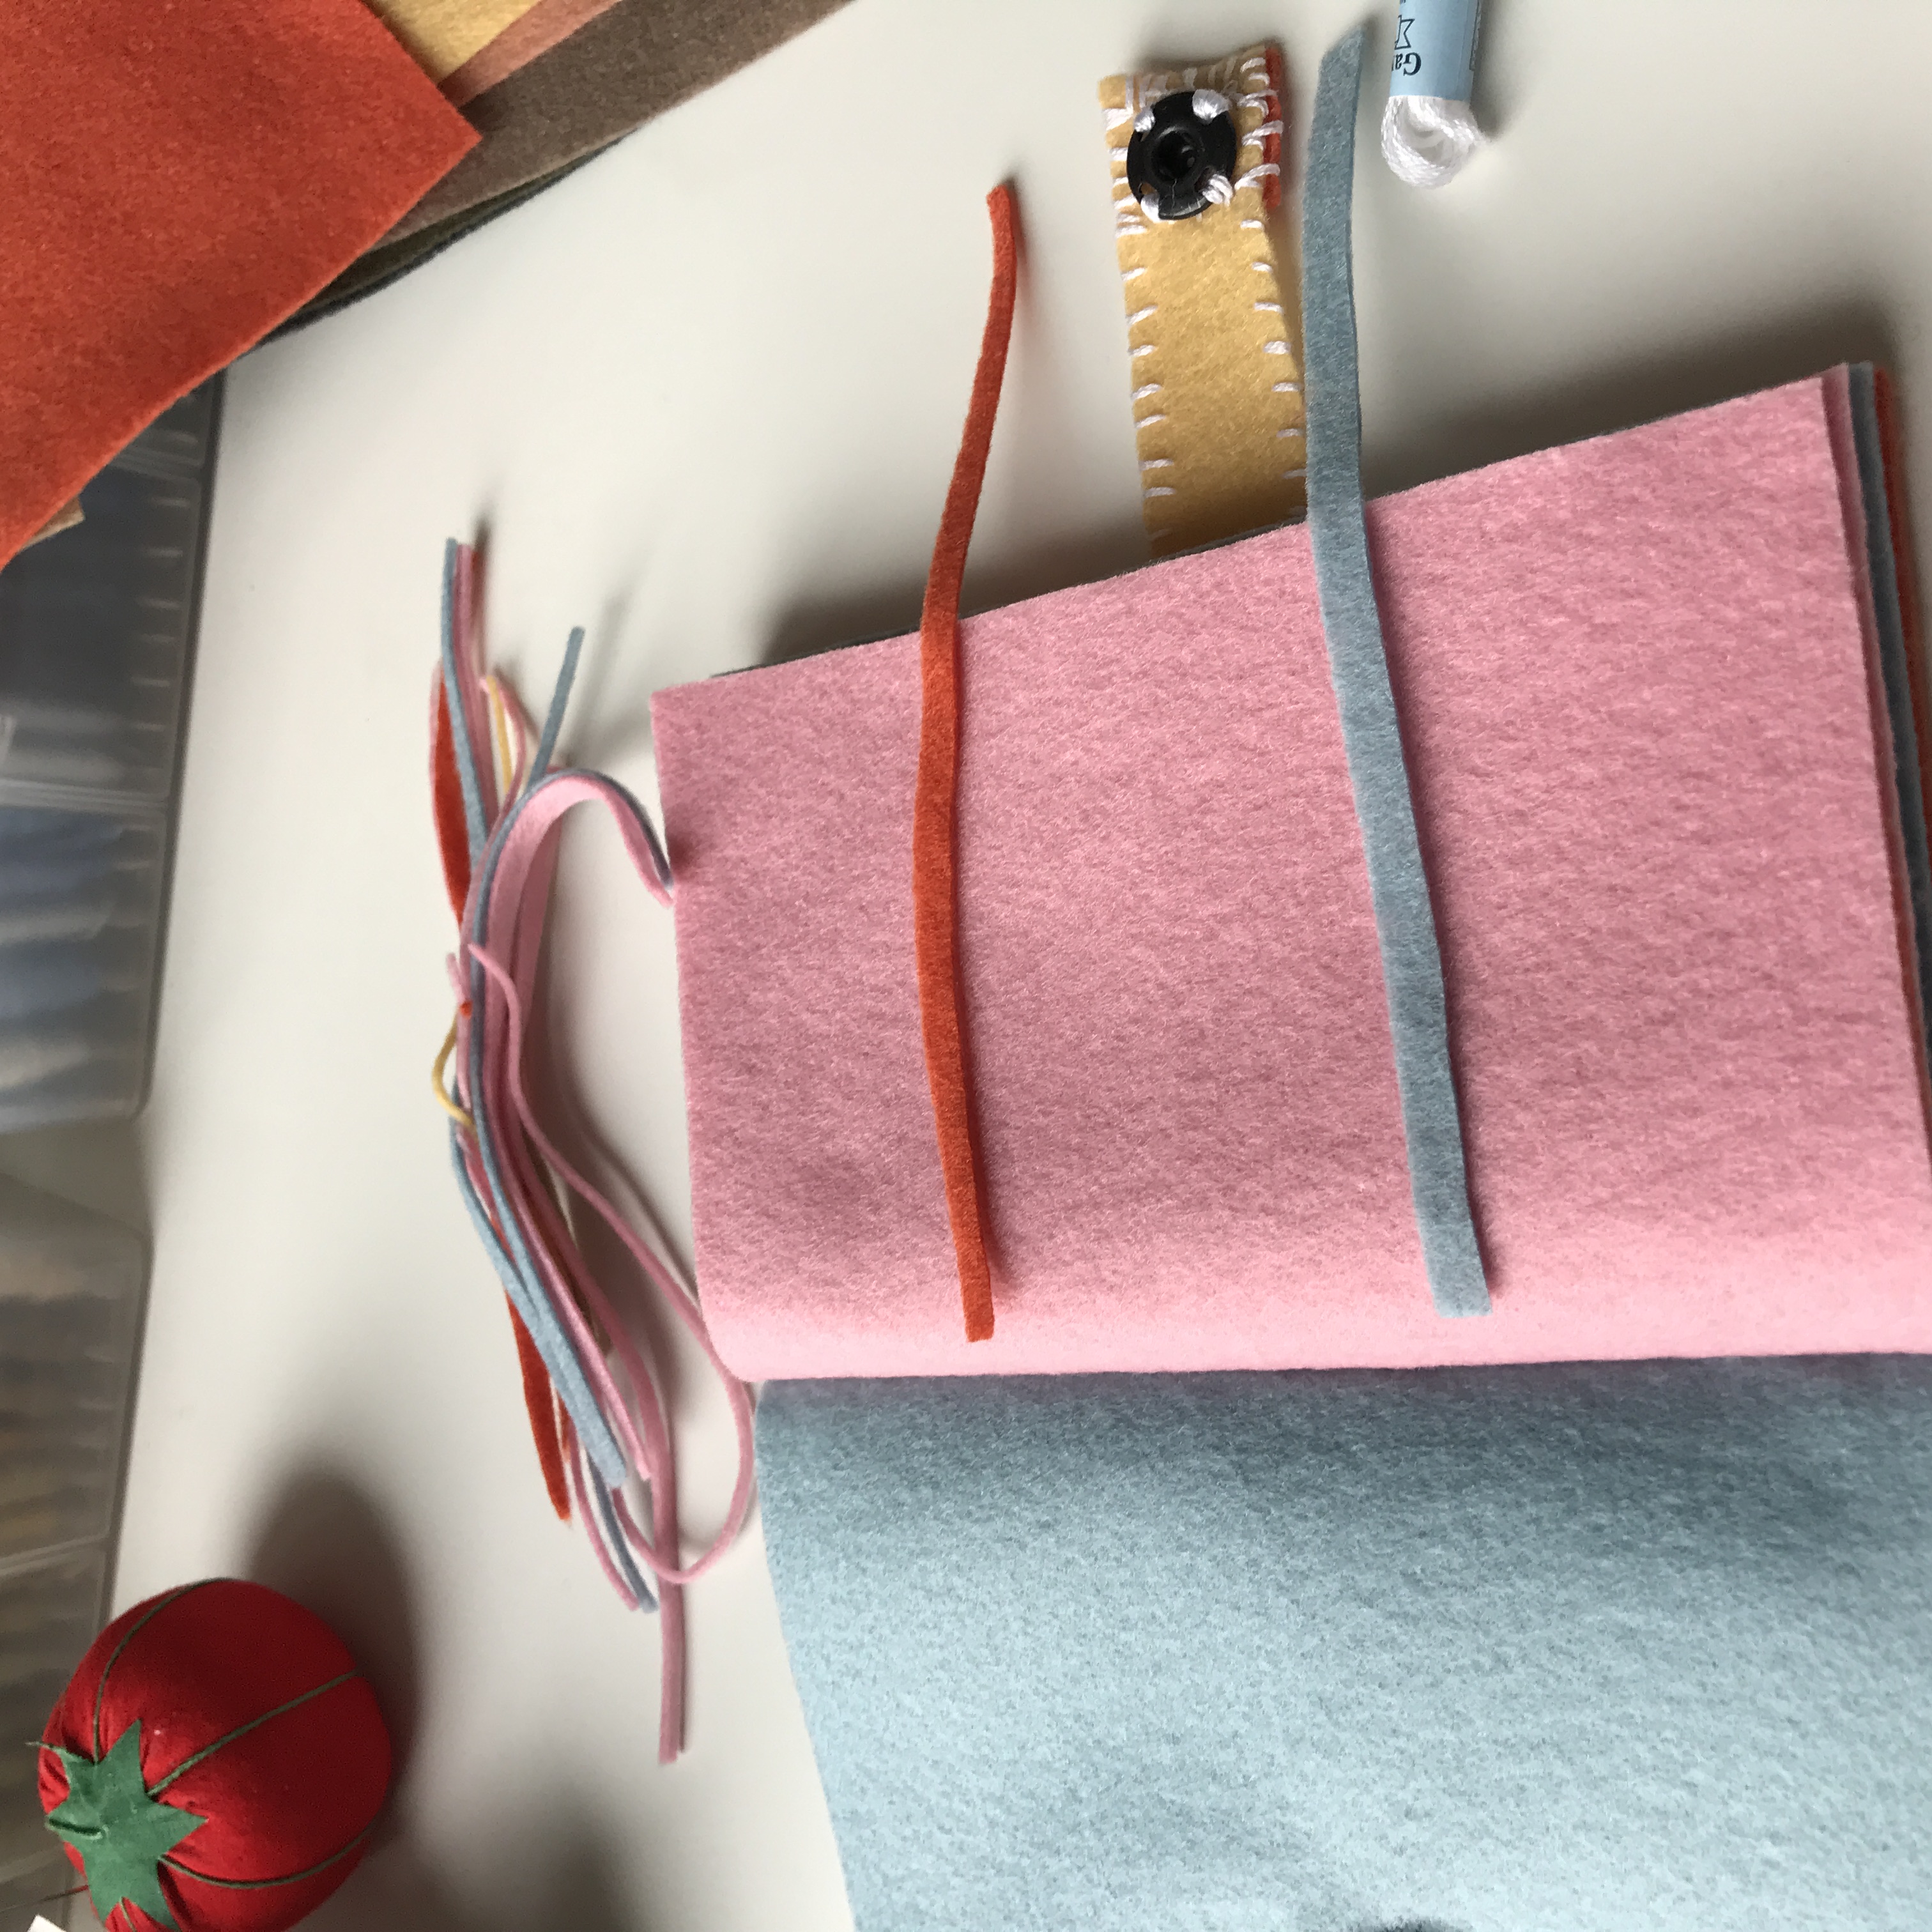
I use felt that I had left after the Isaac cathedral project. I folded an A4 piece of felt twice, and it feels to be a perfect in size. Fits 2 packs of needles!
Step 2. Cut and sew
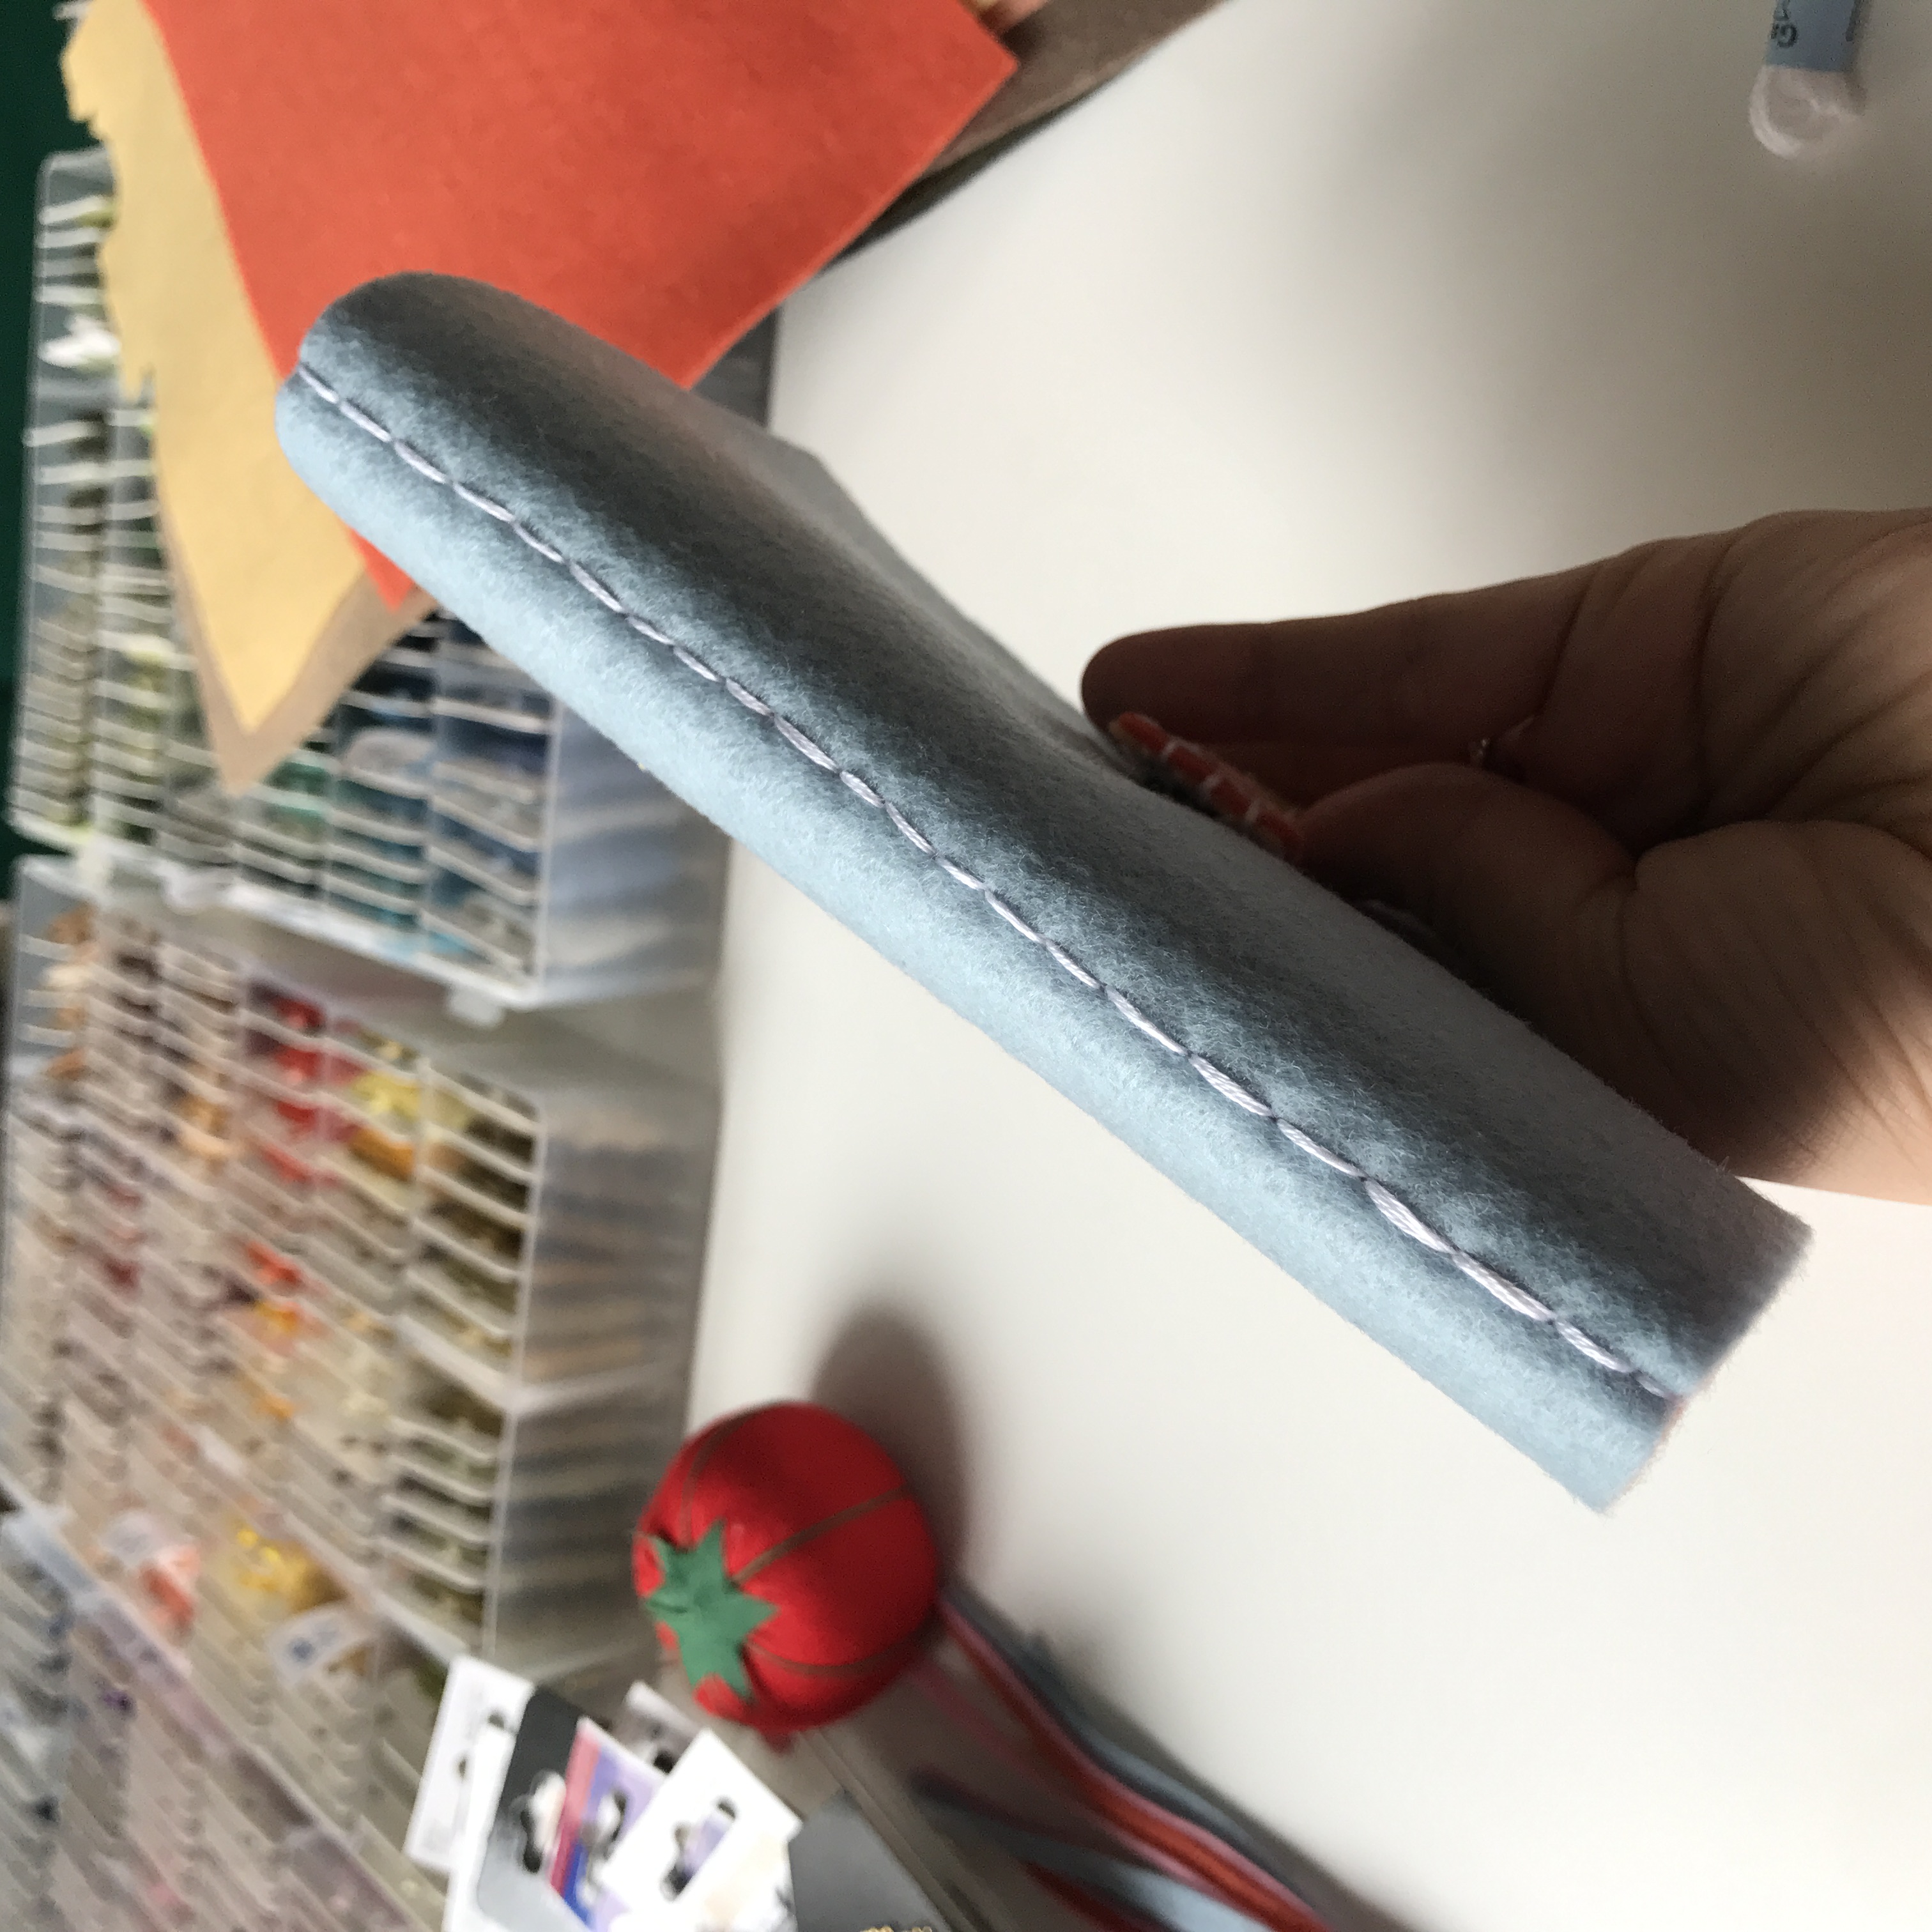
I ended up using 5 halves of A4 sheets. I cut them in half, attached them with a safety pin, and backstitched along the middle. The stitches outside look okay because I was making sure of that. But I completely forgot about the stitches inside, and the line looks wonky.
After stitching, fold the pages and cut them so all of them are the same length.
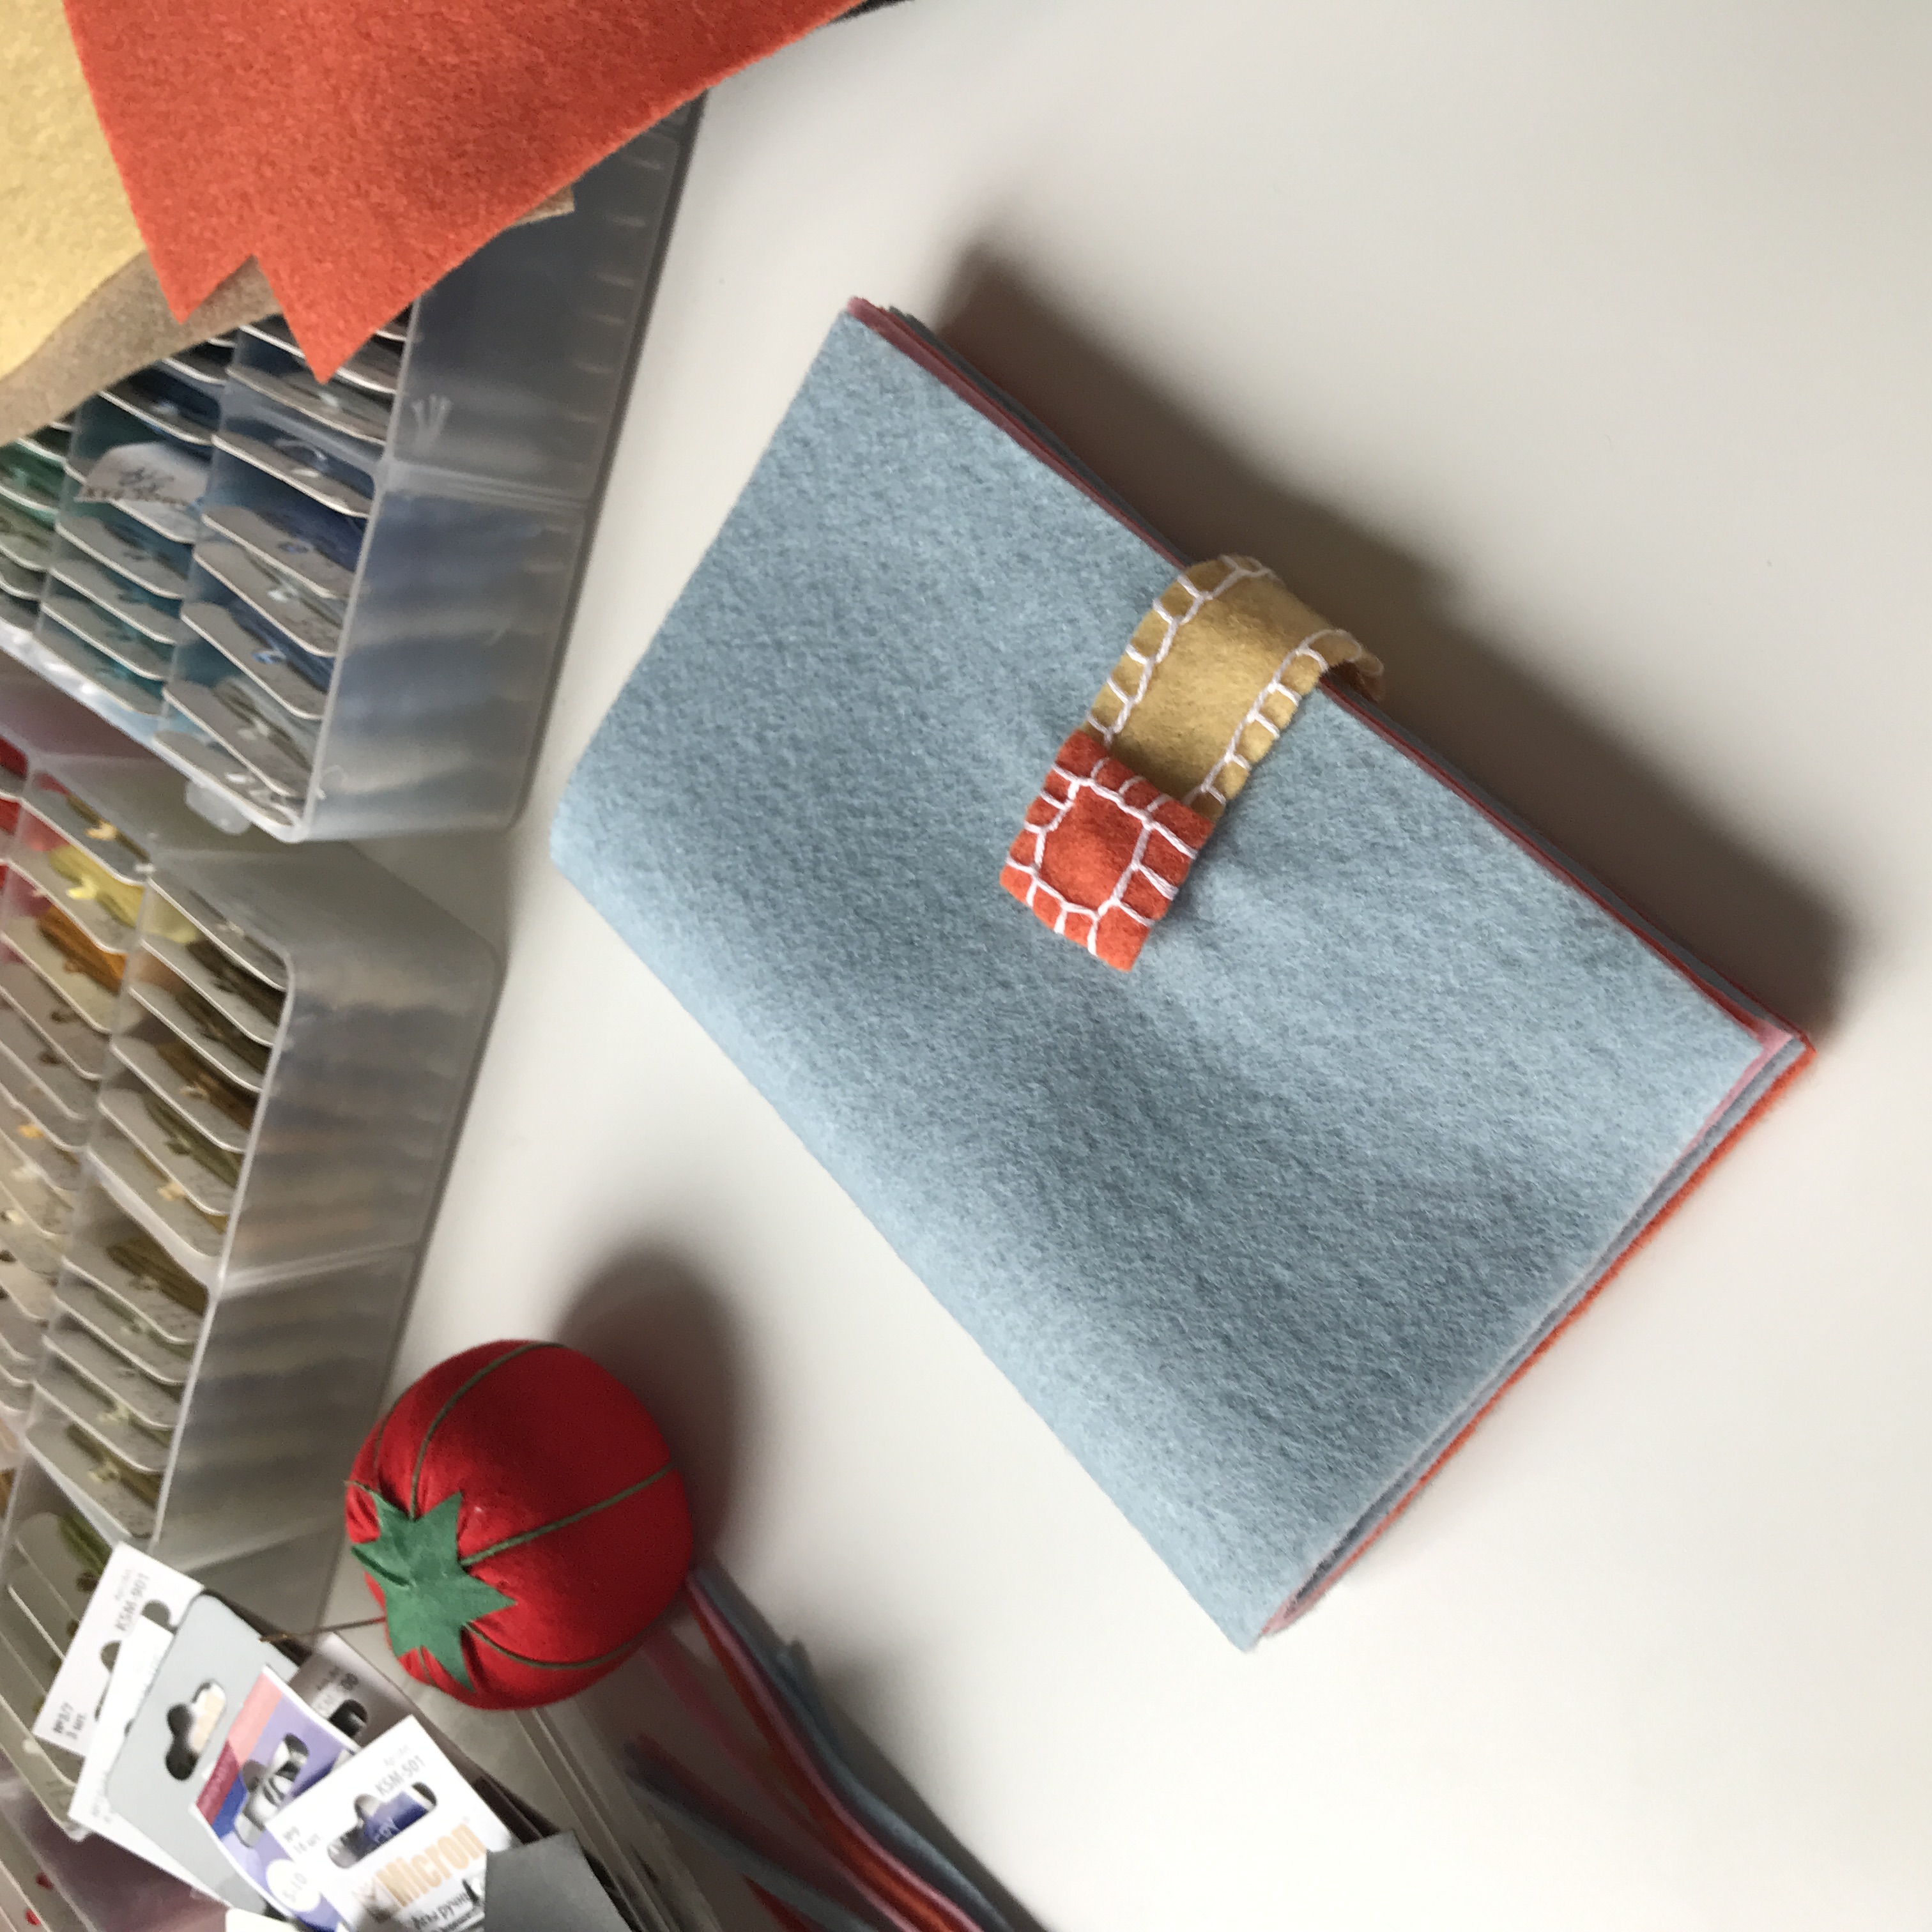
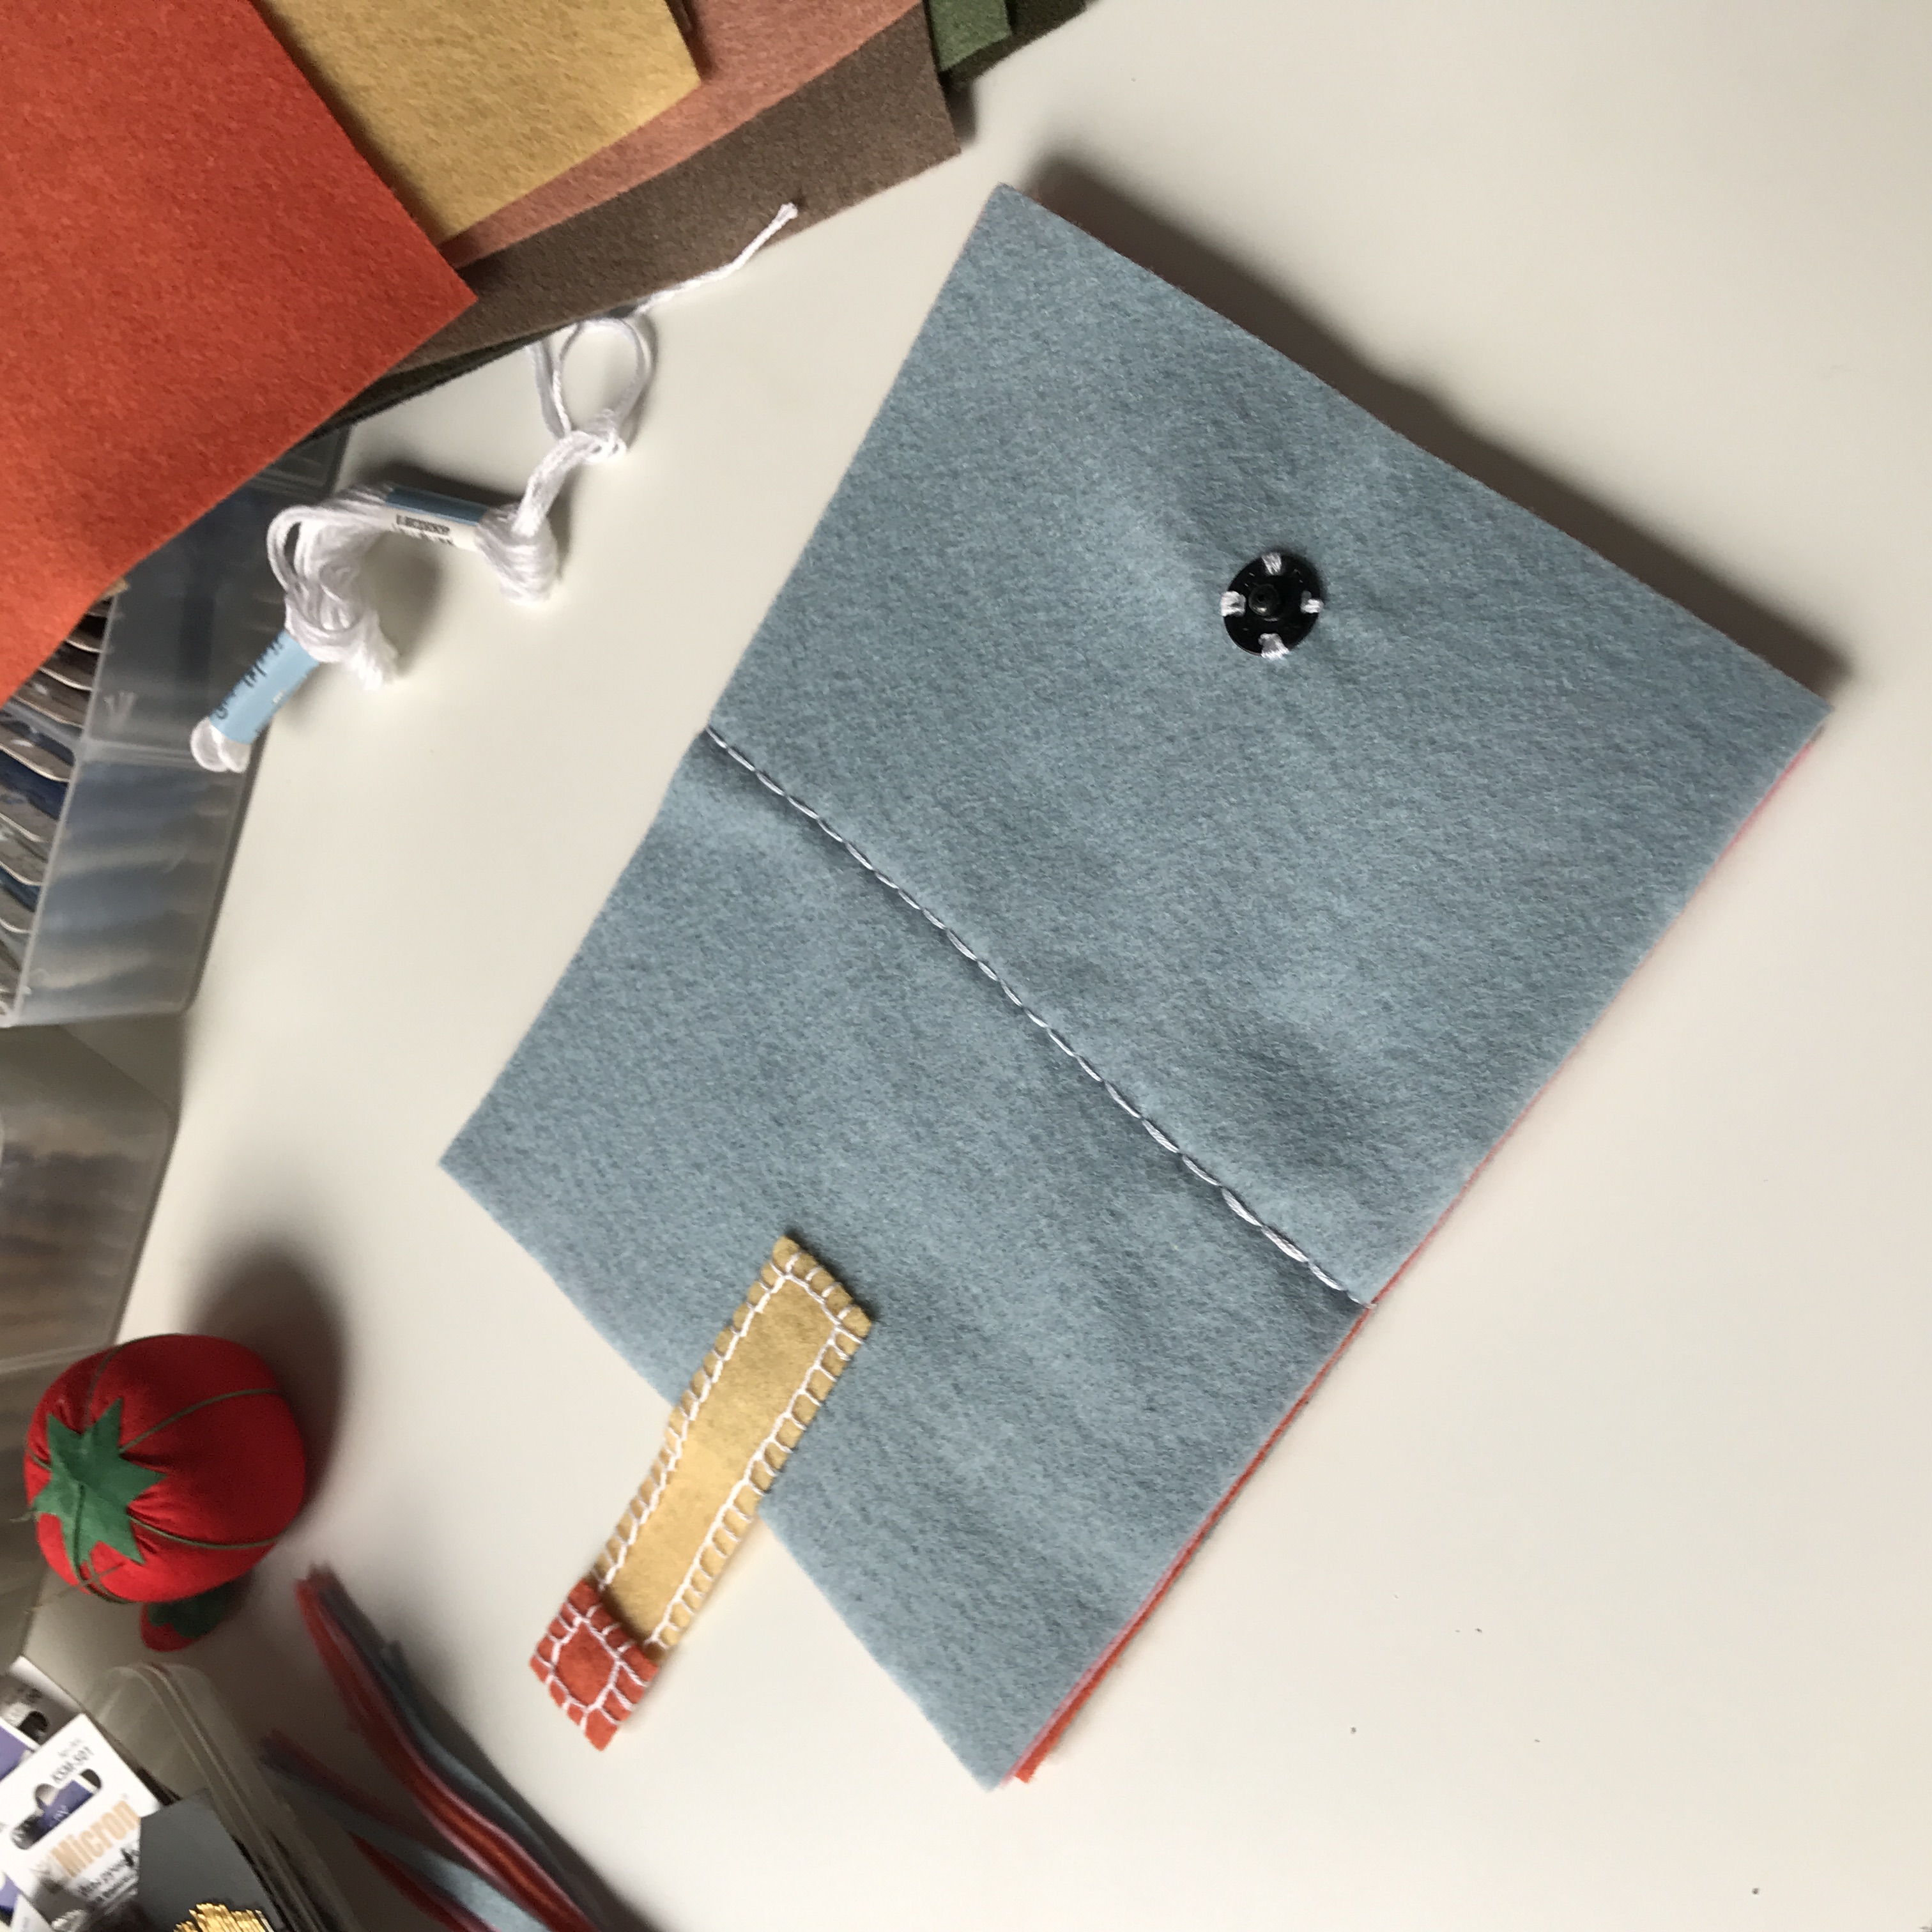
Step 3. Snap and more sewing
I cut two squares and rectangular pieces of felt. The rectangle should be long enough so you can use it to close the book. Sew one part of the snap fastener to the rectangle and the other to the back of the book cover. I covered the stitches with one of the felt squares using hot glue.
For the rectangular, even easier, place the square on, cover the stitches, and sew them using a buttonhole stitch, prolonging it, and then attaching the rectangle to the book.
Step 4. Count again, cut and sew
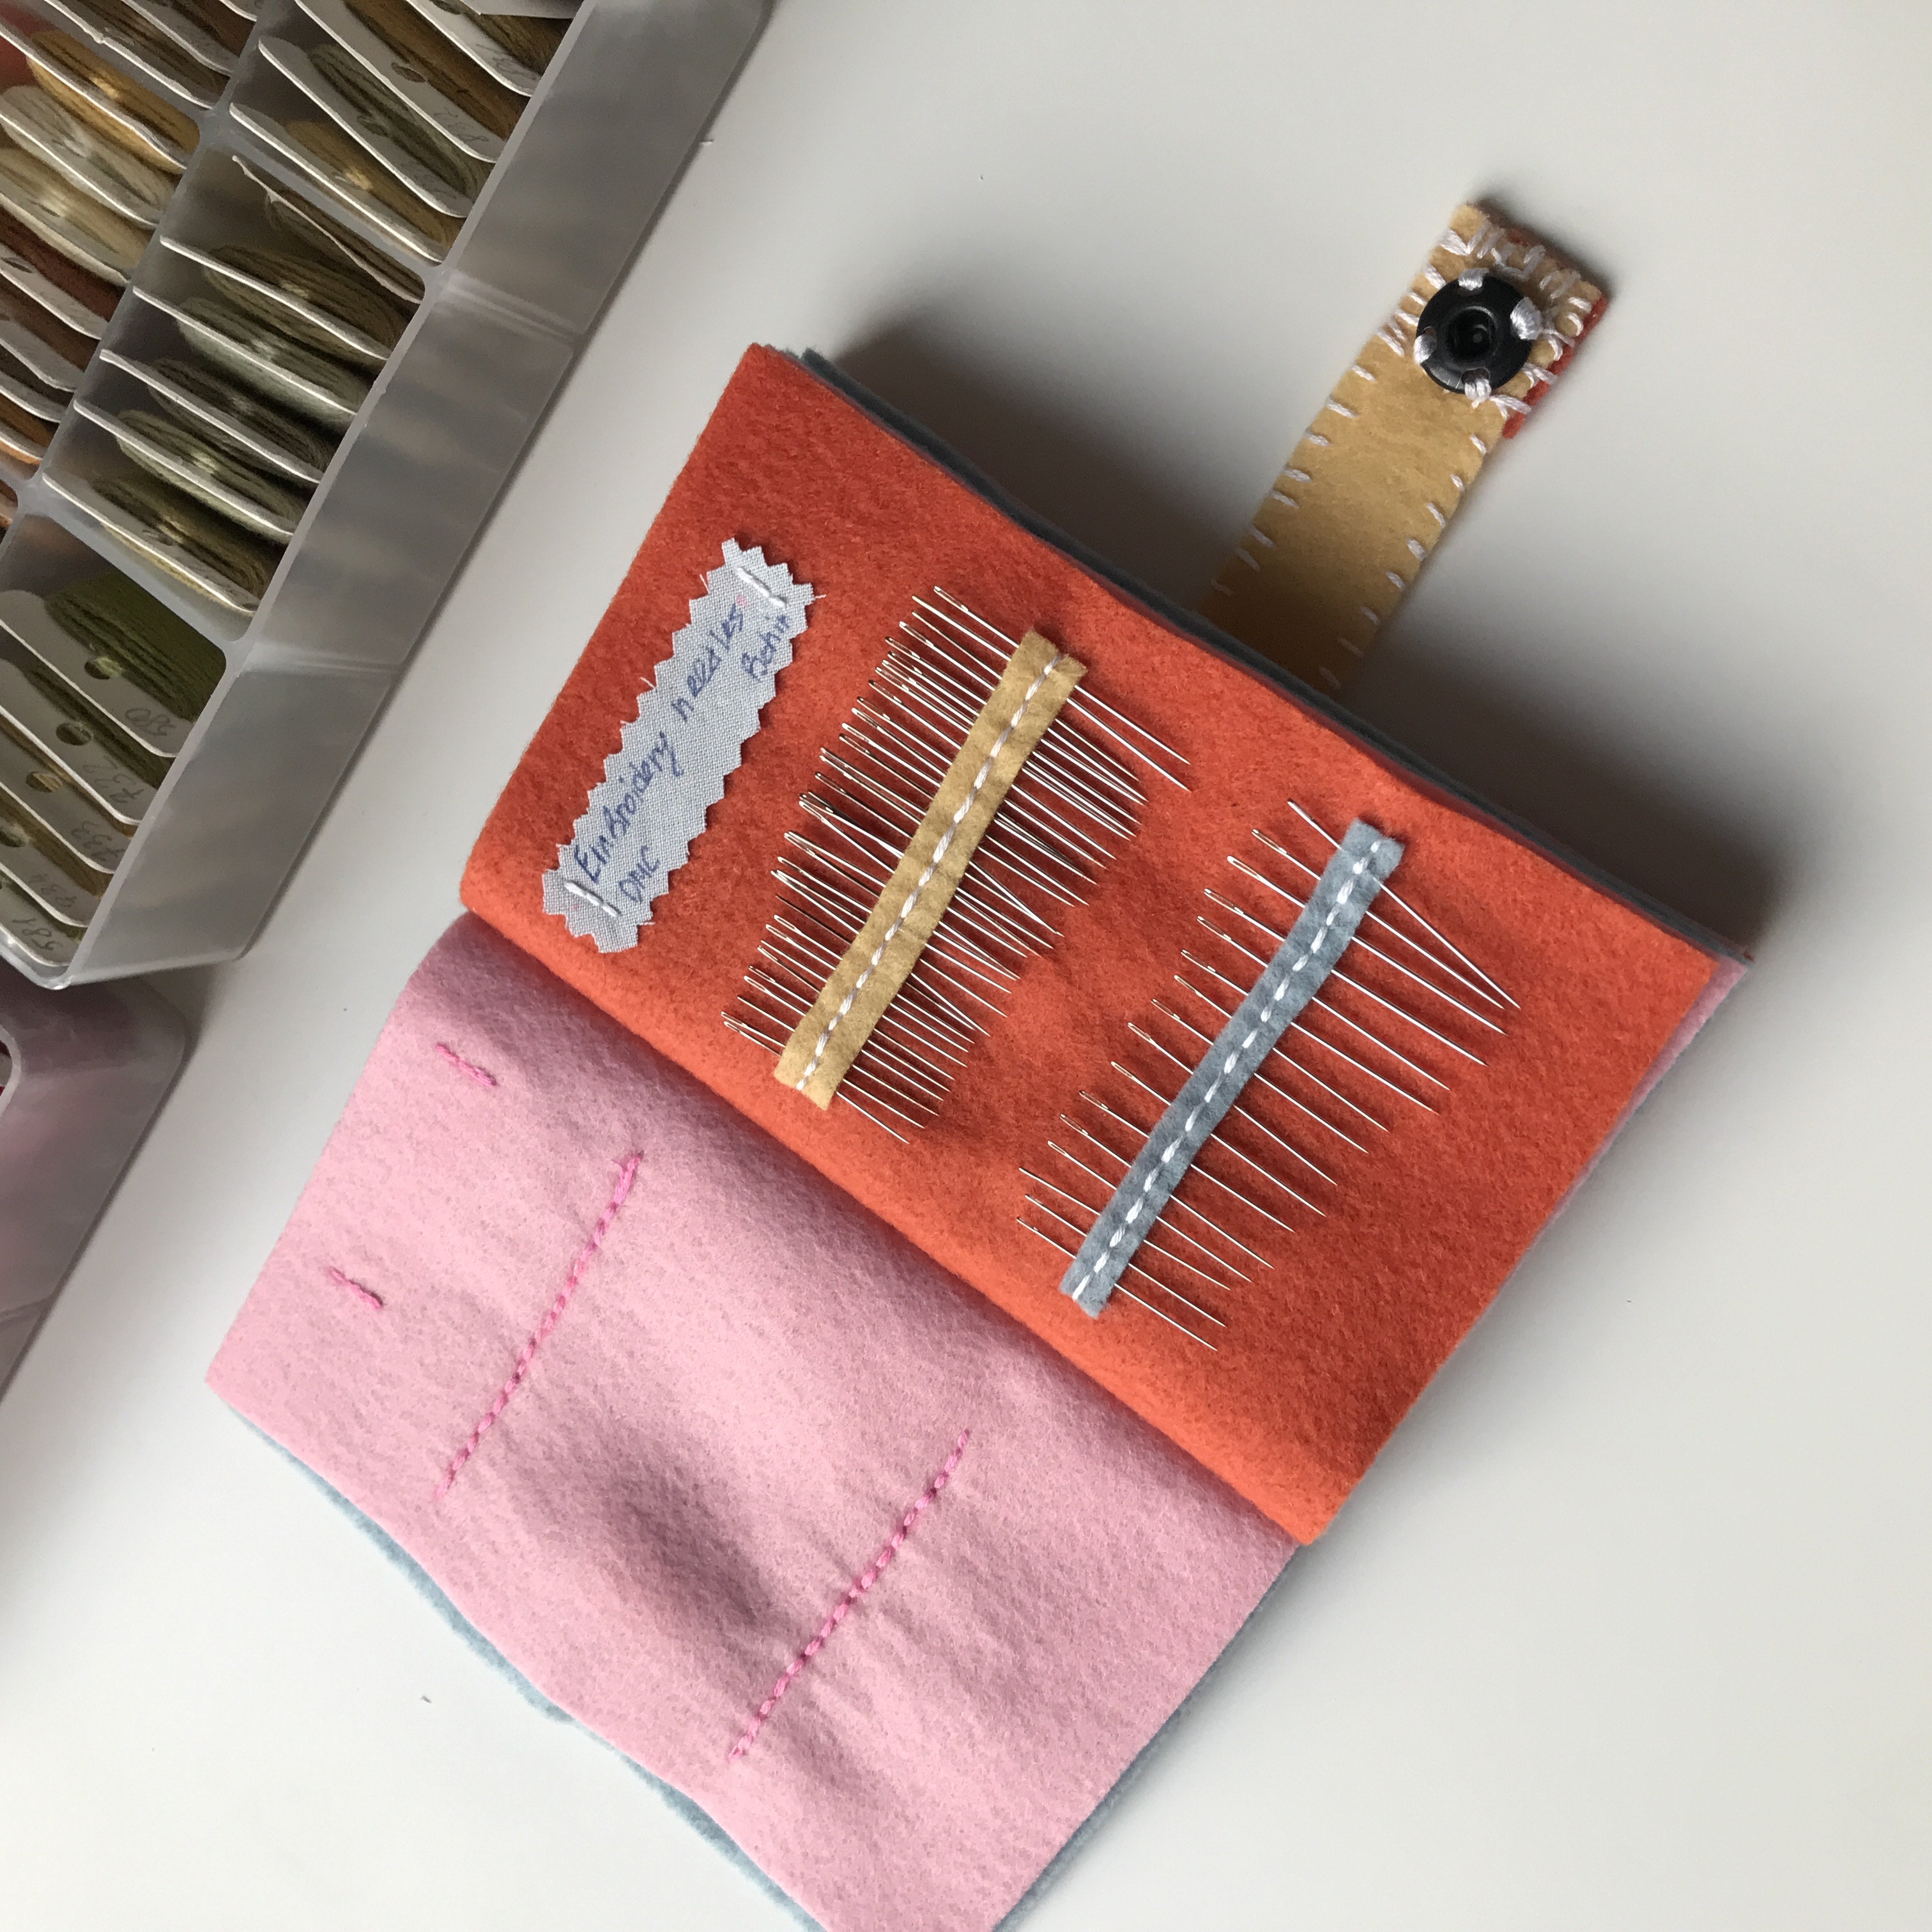
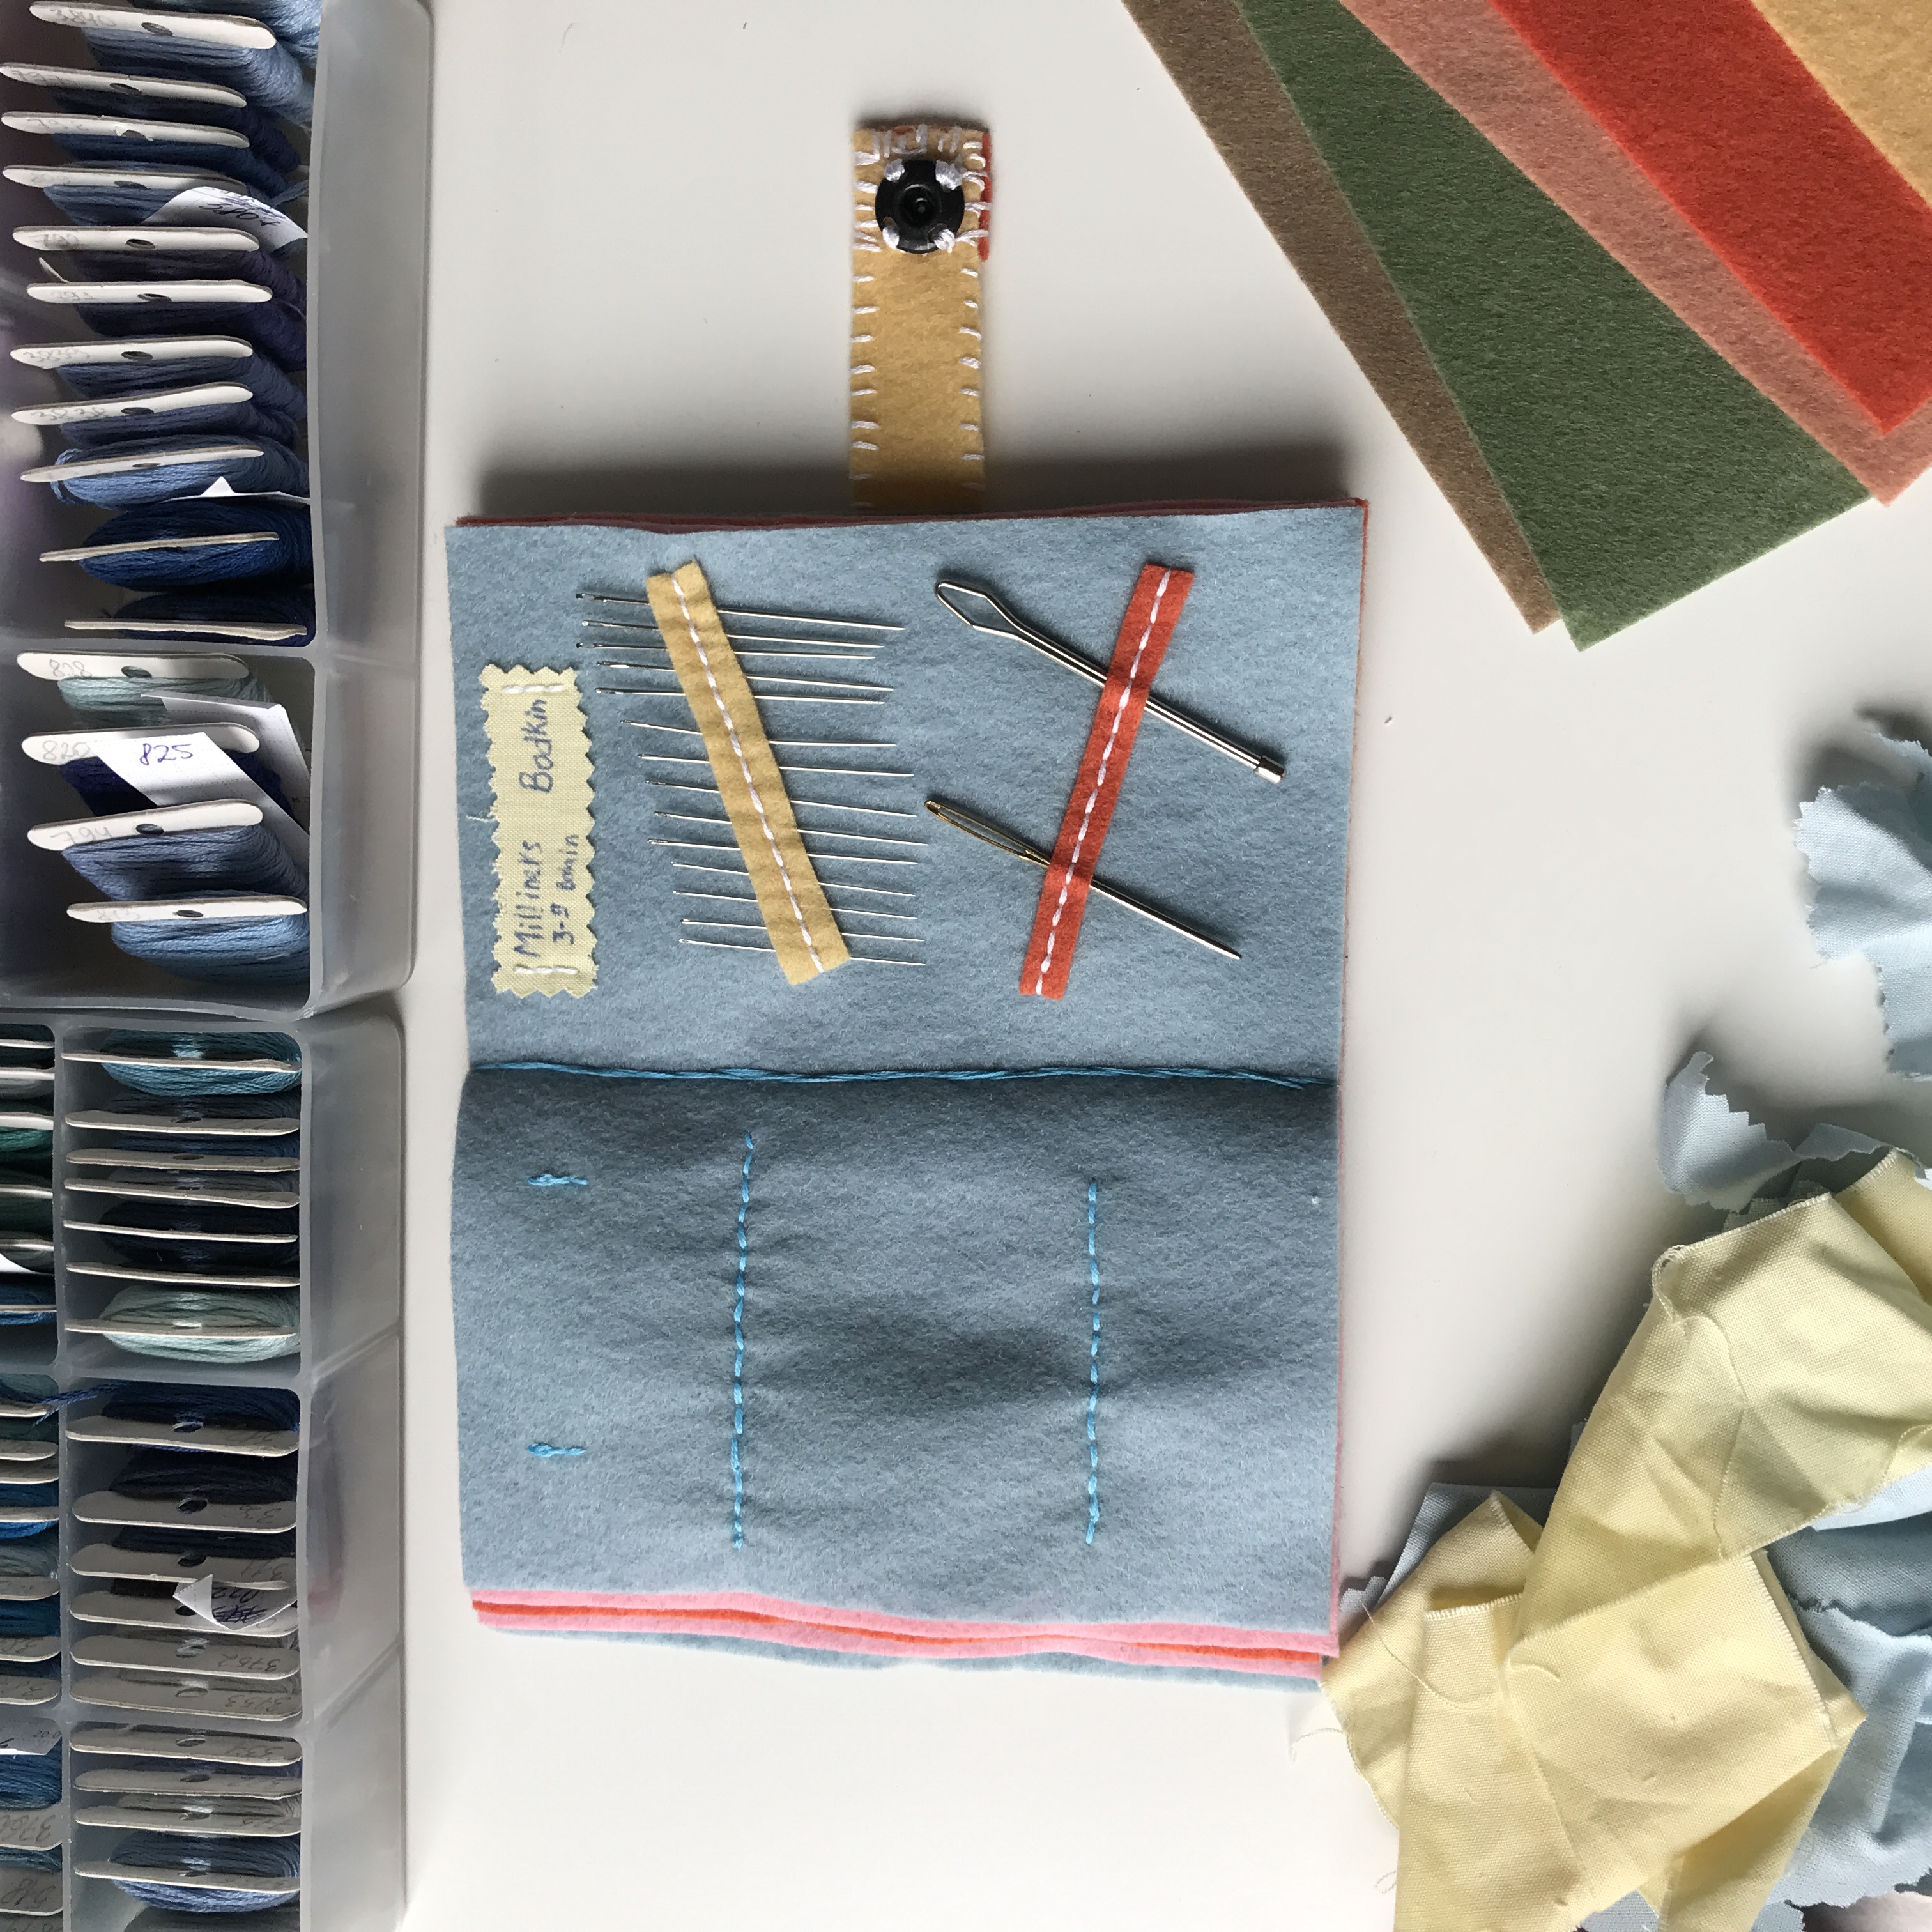
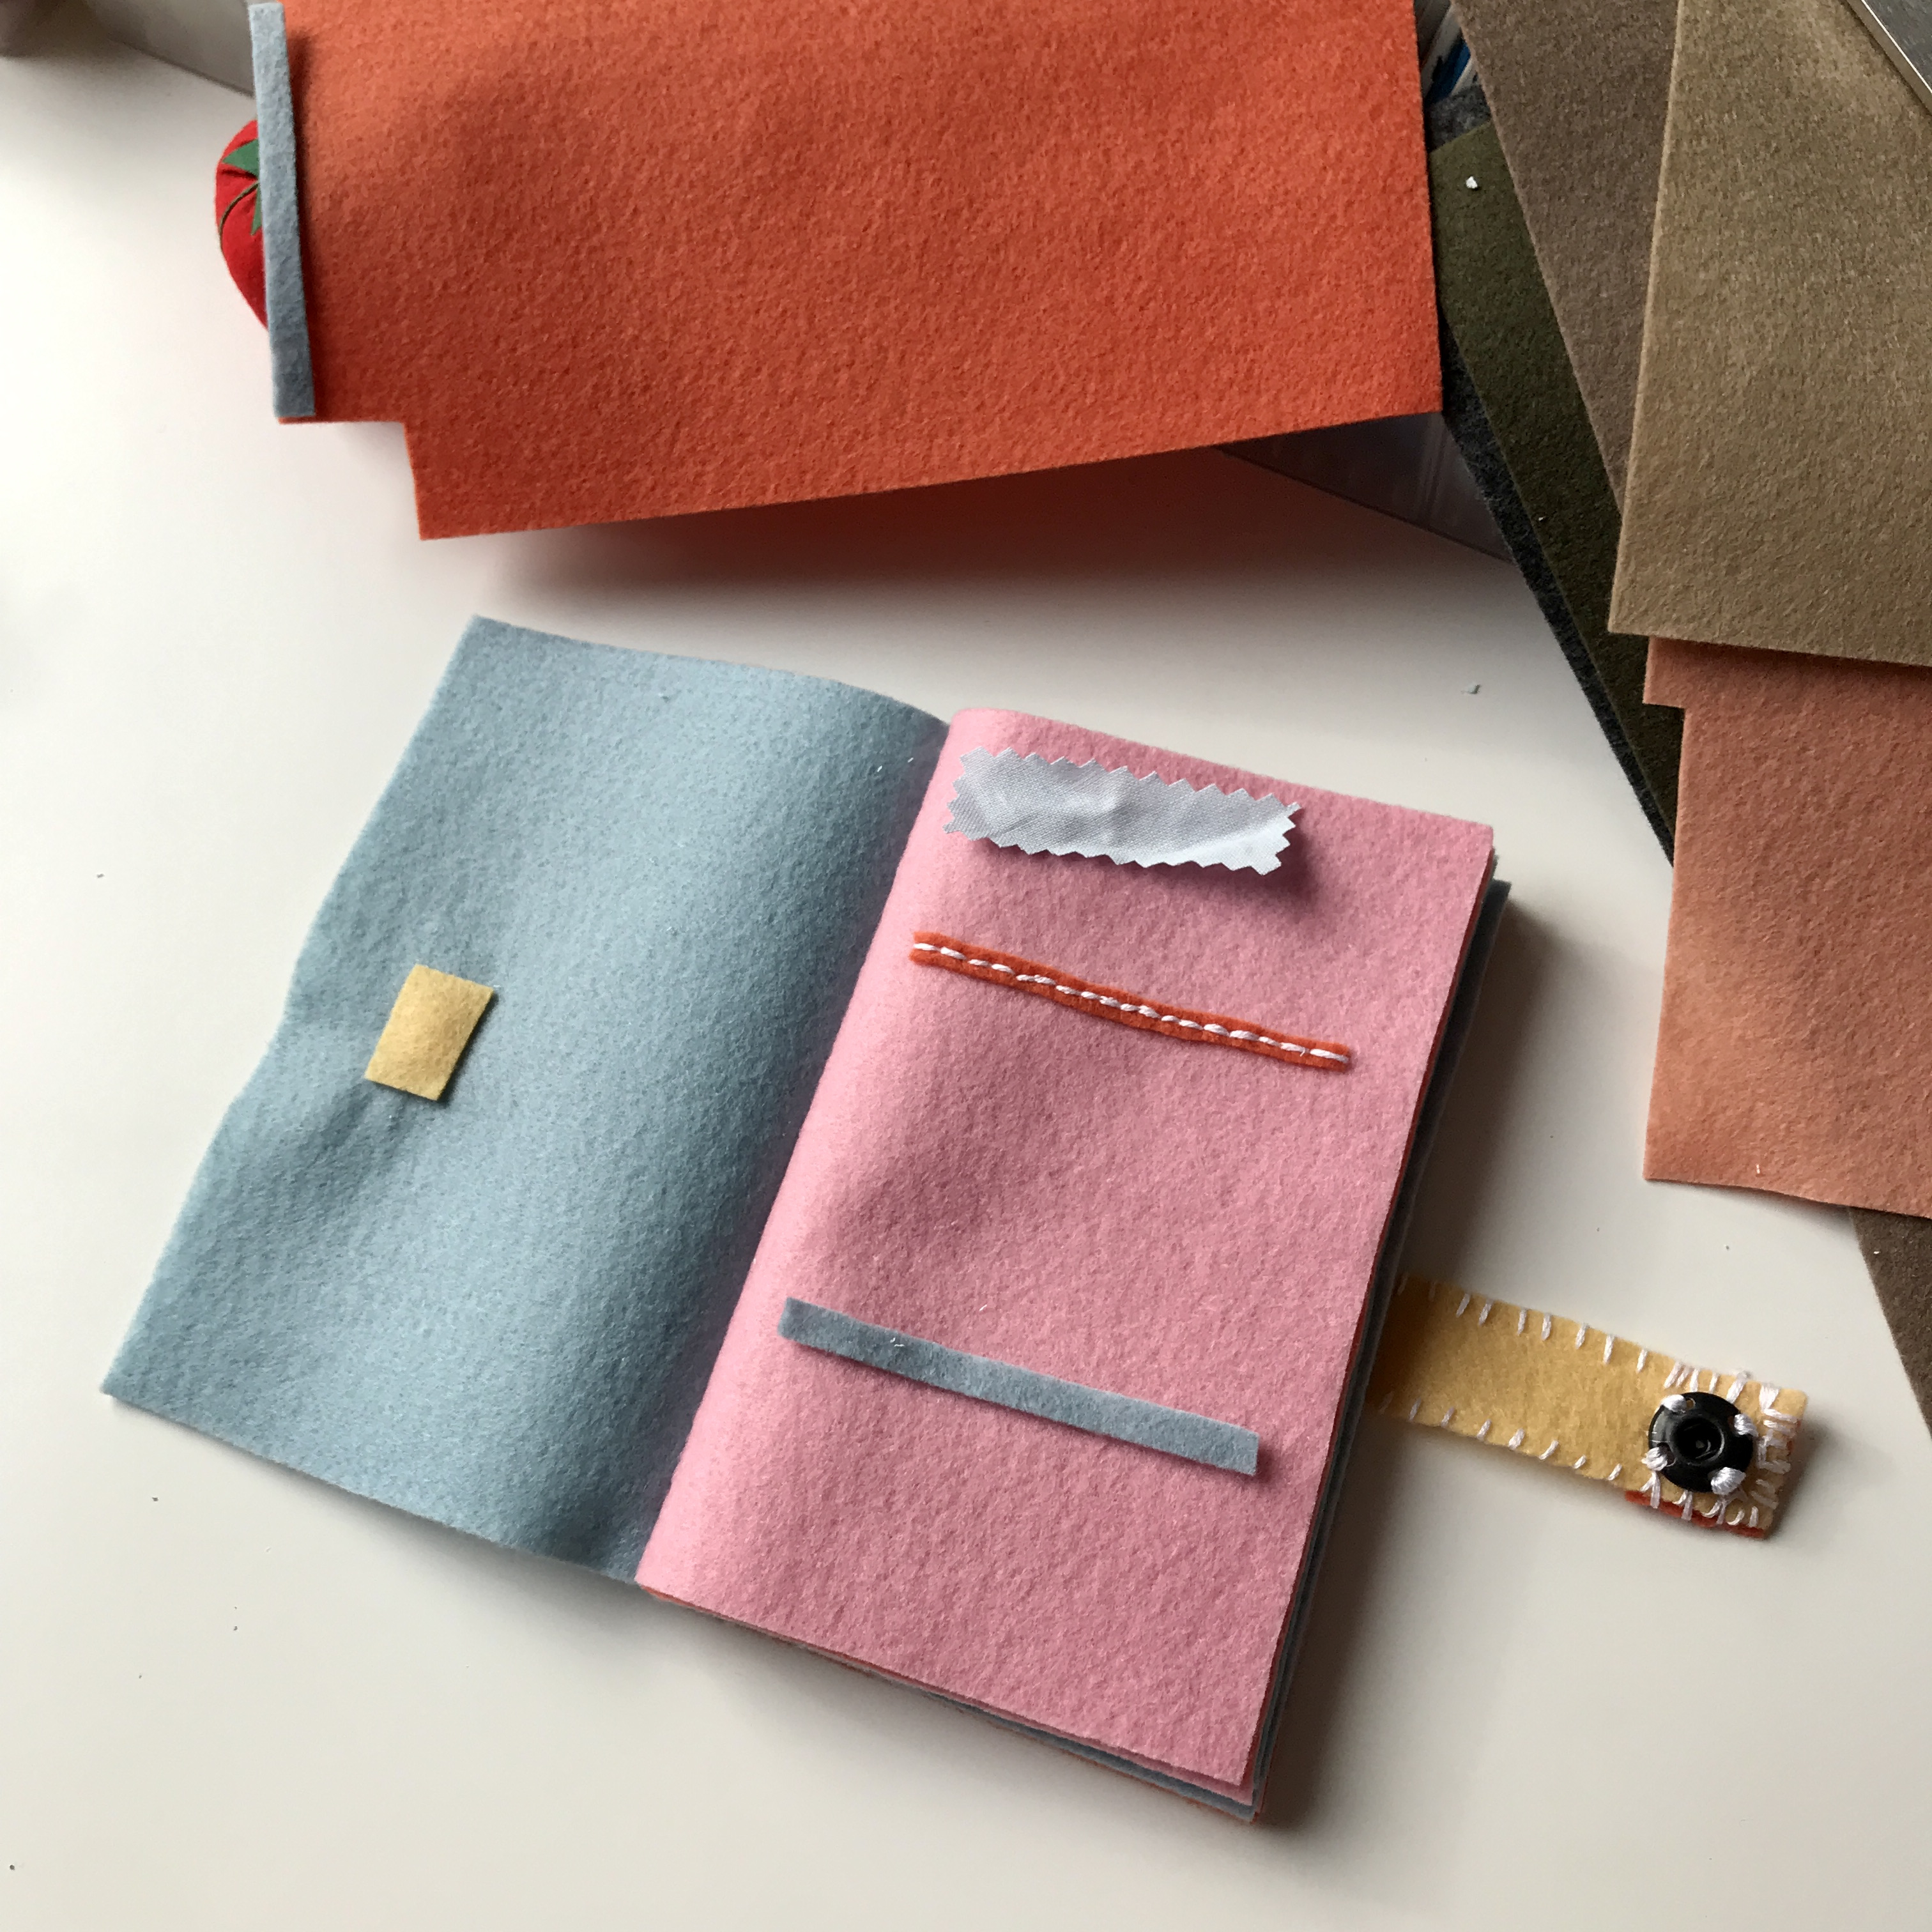
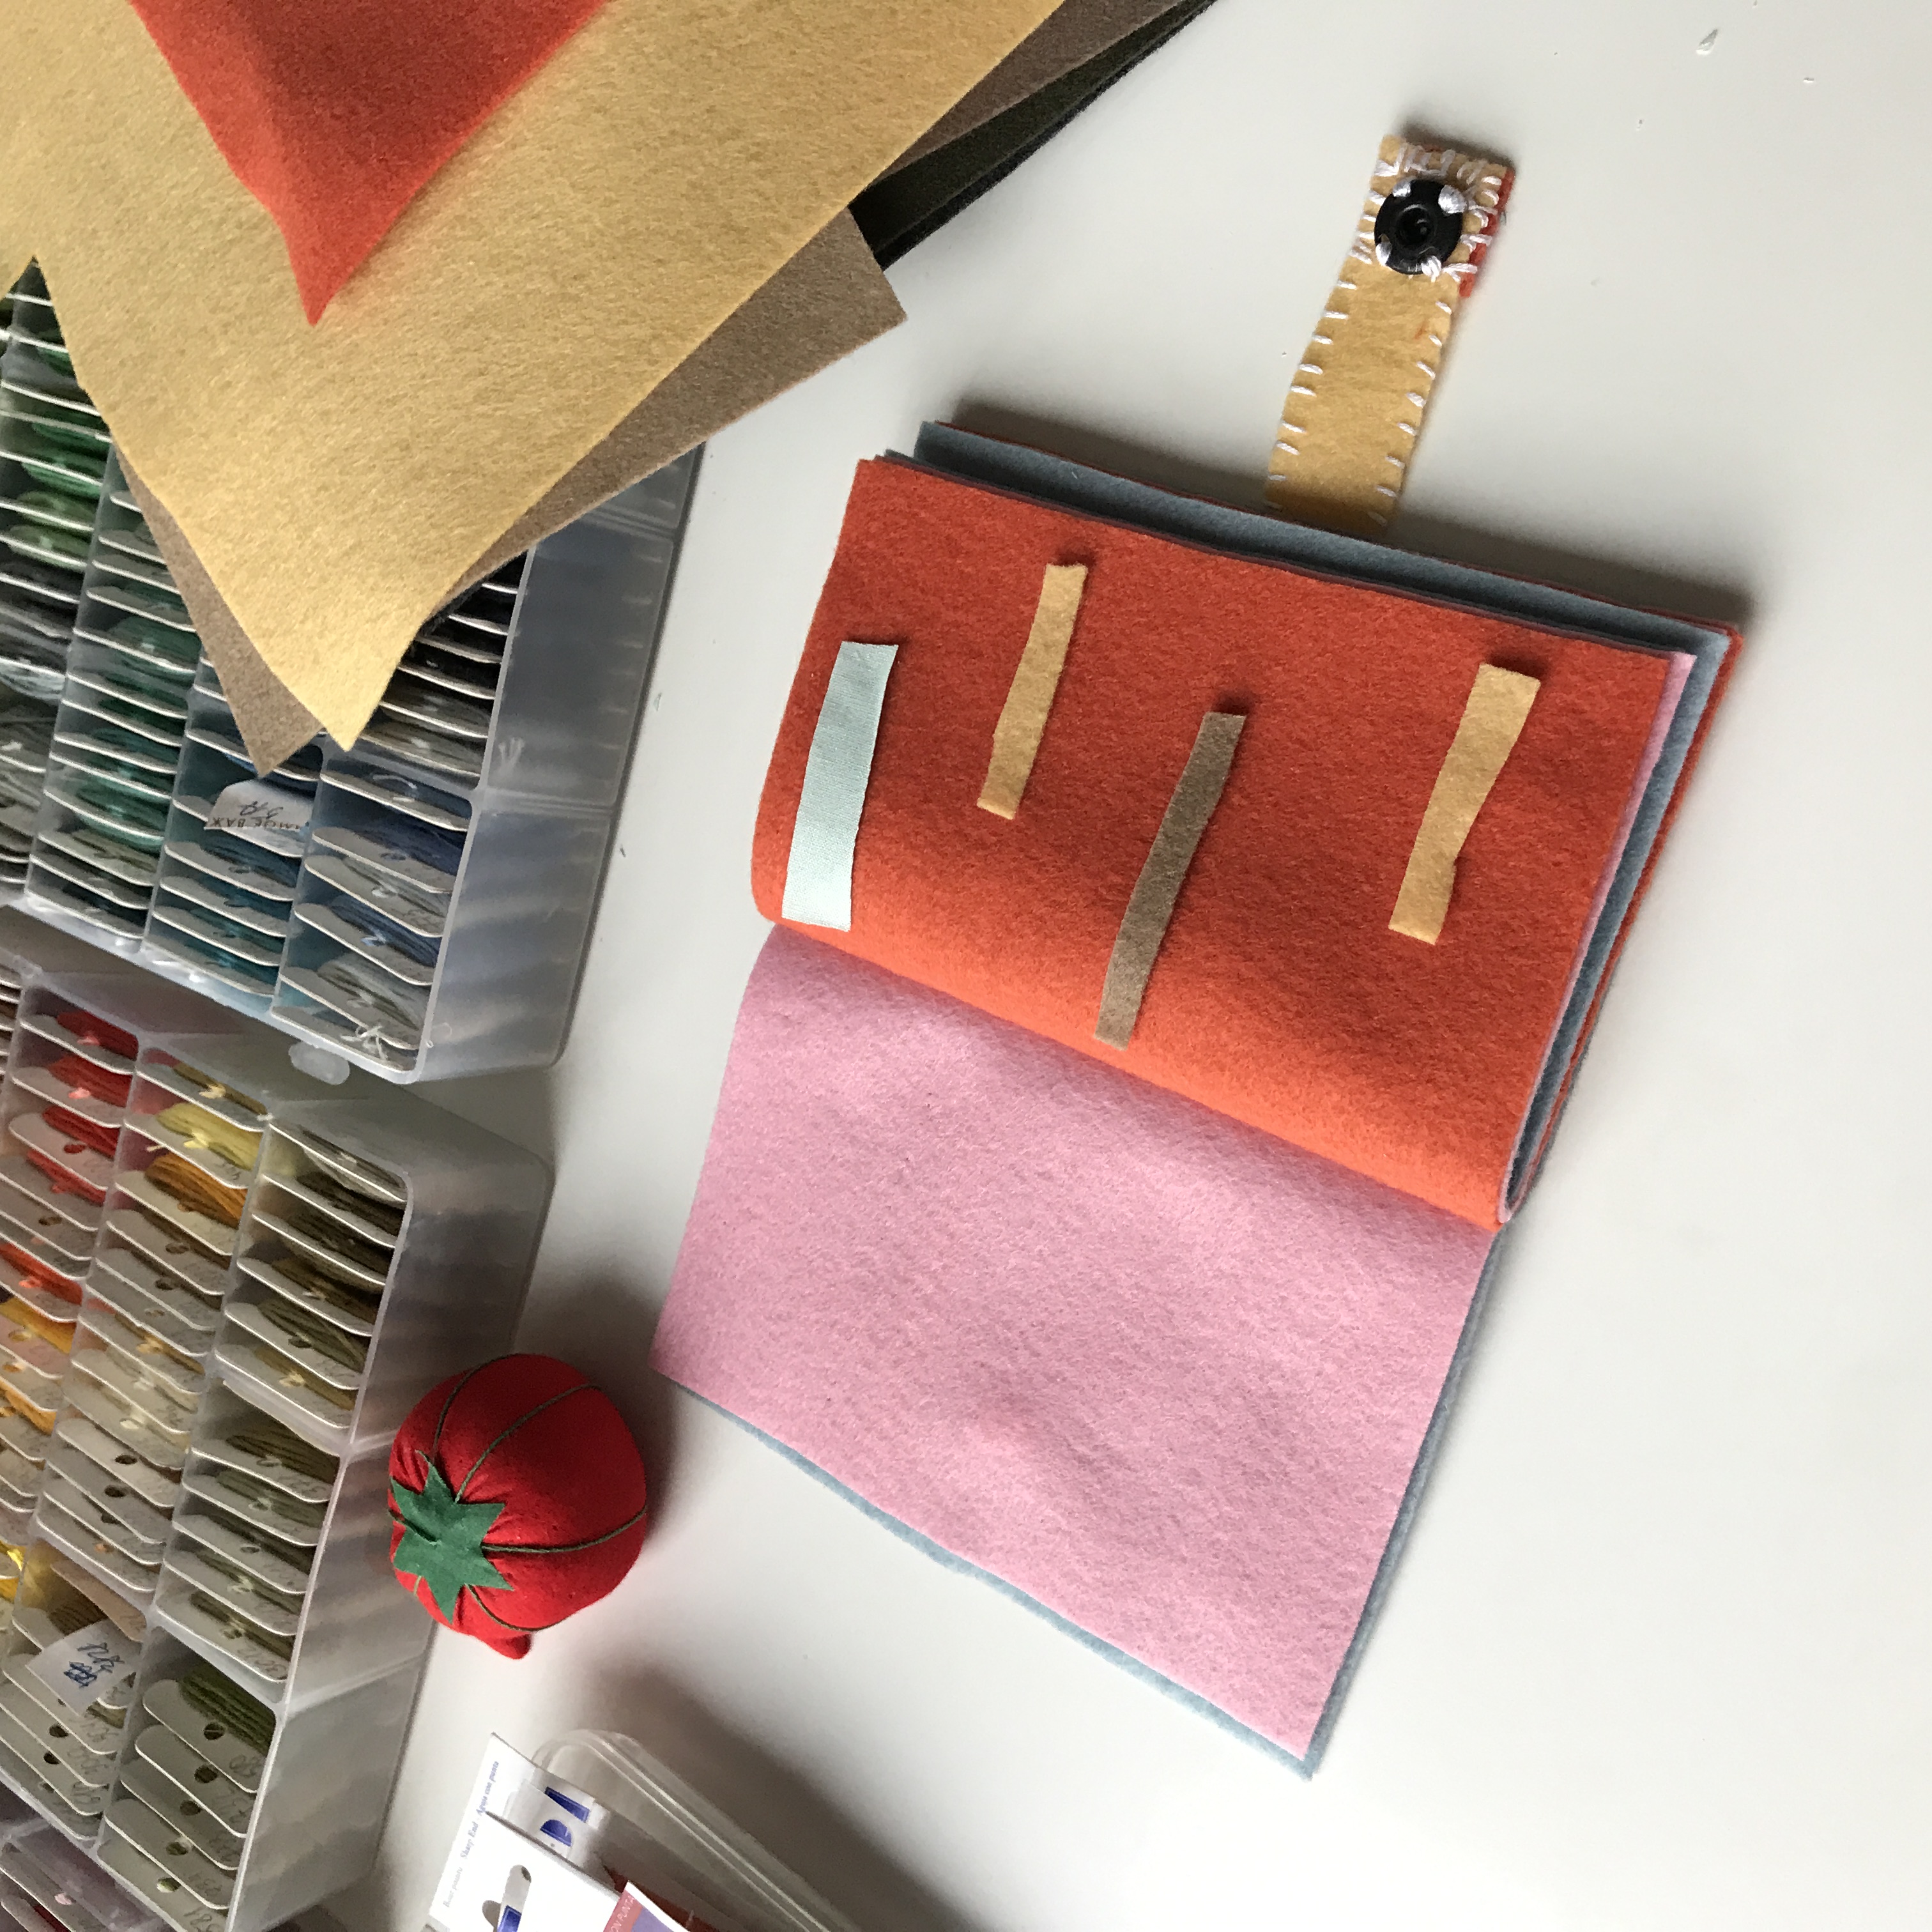
In this step, I was placing packs of needles on the pages, counting how many of the holder strips I needed. Most of the pages got 2 of them, but some unusual needles got 3.
So, on each page, I have a piece of fabric with the name of the needles. I draw with a heat-erasable pen, so if I want to switch the needles, I'll remove the writing with heat and write a new label.
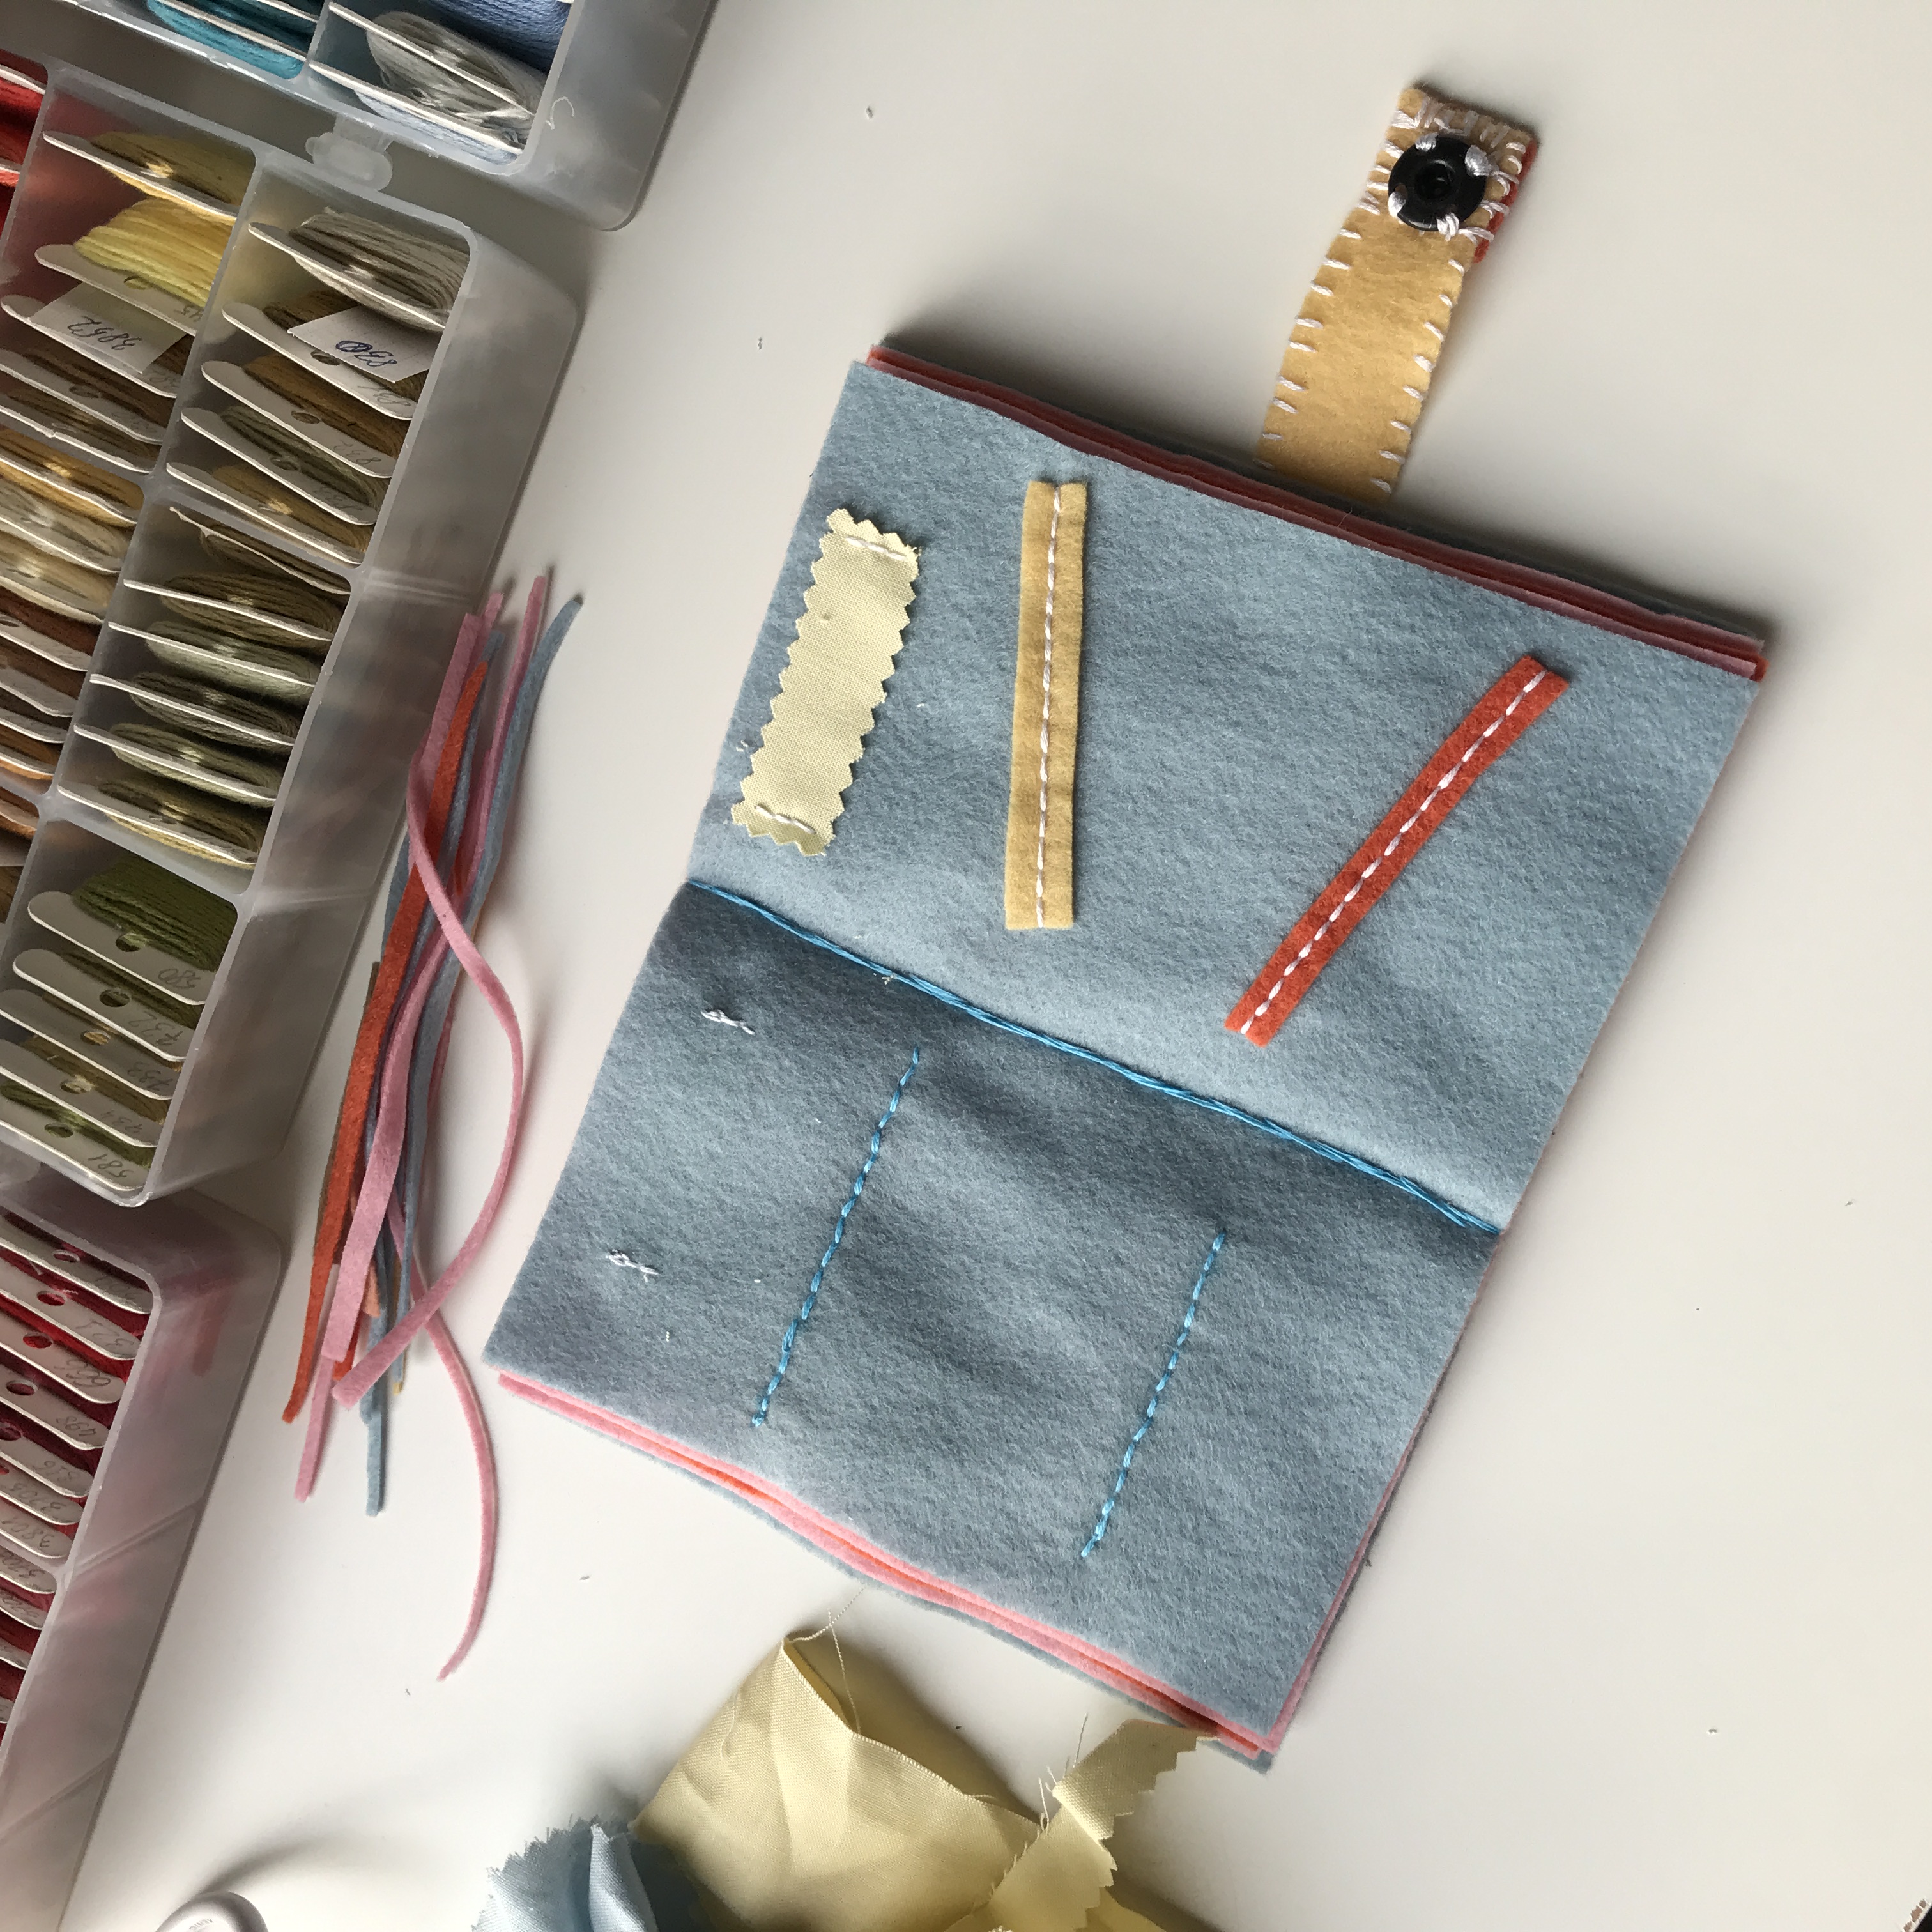
I cut strips and pieces of fabric from leftovers and sewed them on the pages with backstitches. I made loops start to avoid having knots and hid the ends in the felt.
Stitches were still visible on the back, and I wasn't thinking too long: I painted the thread into the felt colors so they wouldn't stand out as much. I used fabric markers and a mini iron to apply heat while the color sets.
Step 5. Insert needles and enjoy
The easiest part: insert needles, write on the labels, and never lose a needle!
It was my first try at making a needlebook, and I'm more than happy with the result. It didn't take much time, and it is very comfortable to use.
Making a needlebook will take even less time if you don't sew on the strips, but just insert needles into the felt directly.
Hope it was helpful. For more insight into the process, watch the video