How to Start Hand Embroidery
A Complete Beginner's Guide
Embroidery looks complex from the outside, but it's actually one of the most accessible crafts out there. It's calming, it's compact (you can take a project anywhere), and you don't need any prior experience. Never held a needle? Doesn't matter. I started from zero, too.
I'm Kseniia, and I've been teaching hand embroidery for years through patterns, courses, and online communities. This page is meant to be your starting point. Whether you want a quick beginner project or a proper structured course, I'll walk you through your options.
What you need to start embroidery
Before we get into how to learn, here's what you actually need to buy. The good news: it's not much.
Supplies
- Embroidery hoop. A 6" or 8" wooden hoop is a great start. Pick the one that has a tightening screw.
- 6-stranded embroidery floss. DMC or Anchor are the most popular brands you can find anywhere.
- Fabric. Plain patchwork cotton works perfectly.
- Embroidery needle. Grab a pack of 3-9 size embroidery (crewel) needles.
- Small scissors
- A design to follow. More on that below.
3 ways to start hand embroidery
Everyone learns differently, so I've broken this down into three paths. Pick the one that sounds most like you.
1. Learn hand embroidery stitches
The idea here is simple: start by learning a handful of stitches, then use them freely to create whatever you want.
You’ll find stitch tutorials on my website, on my YouTube channel, and in my Instagram profile. There's also a ton of free content across the internet.
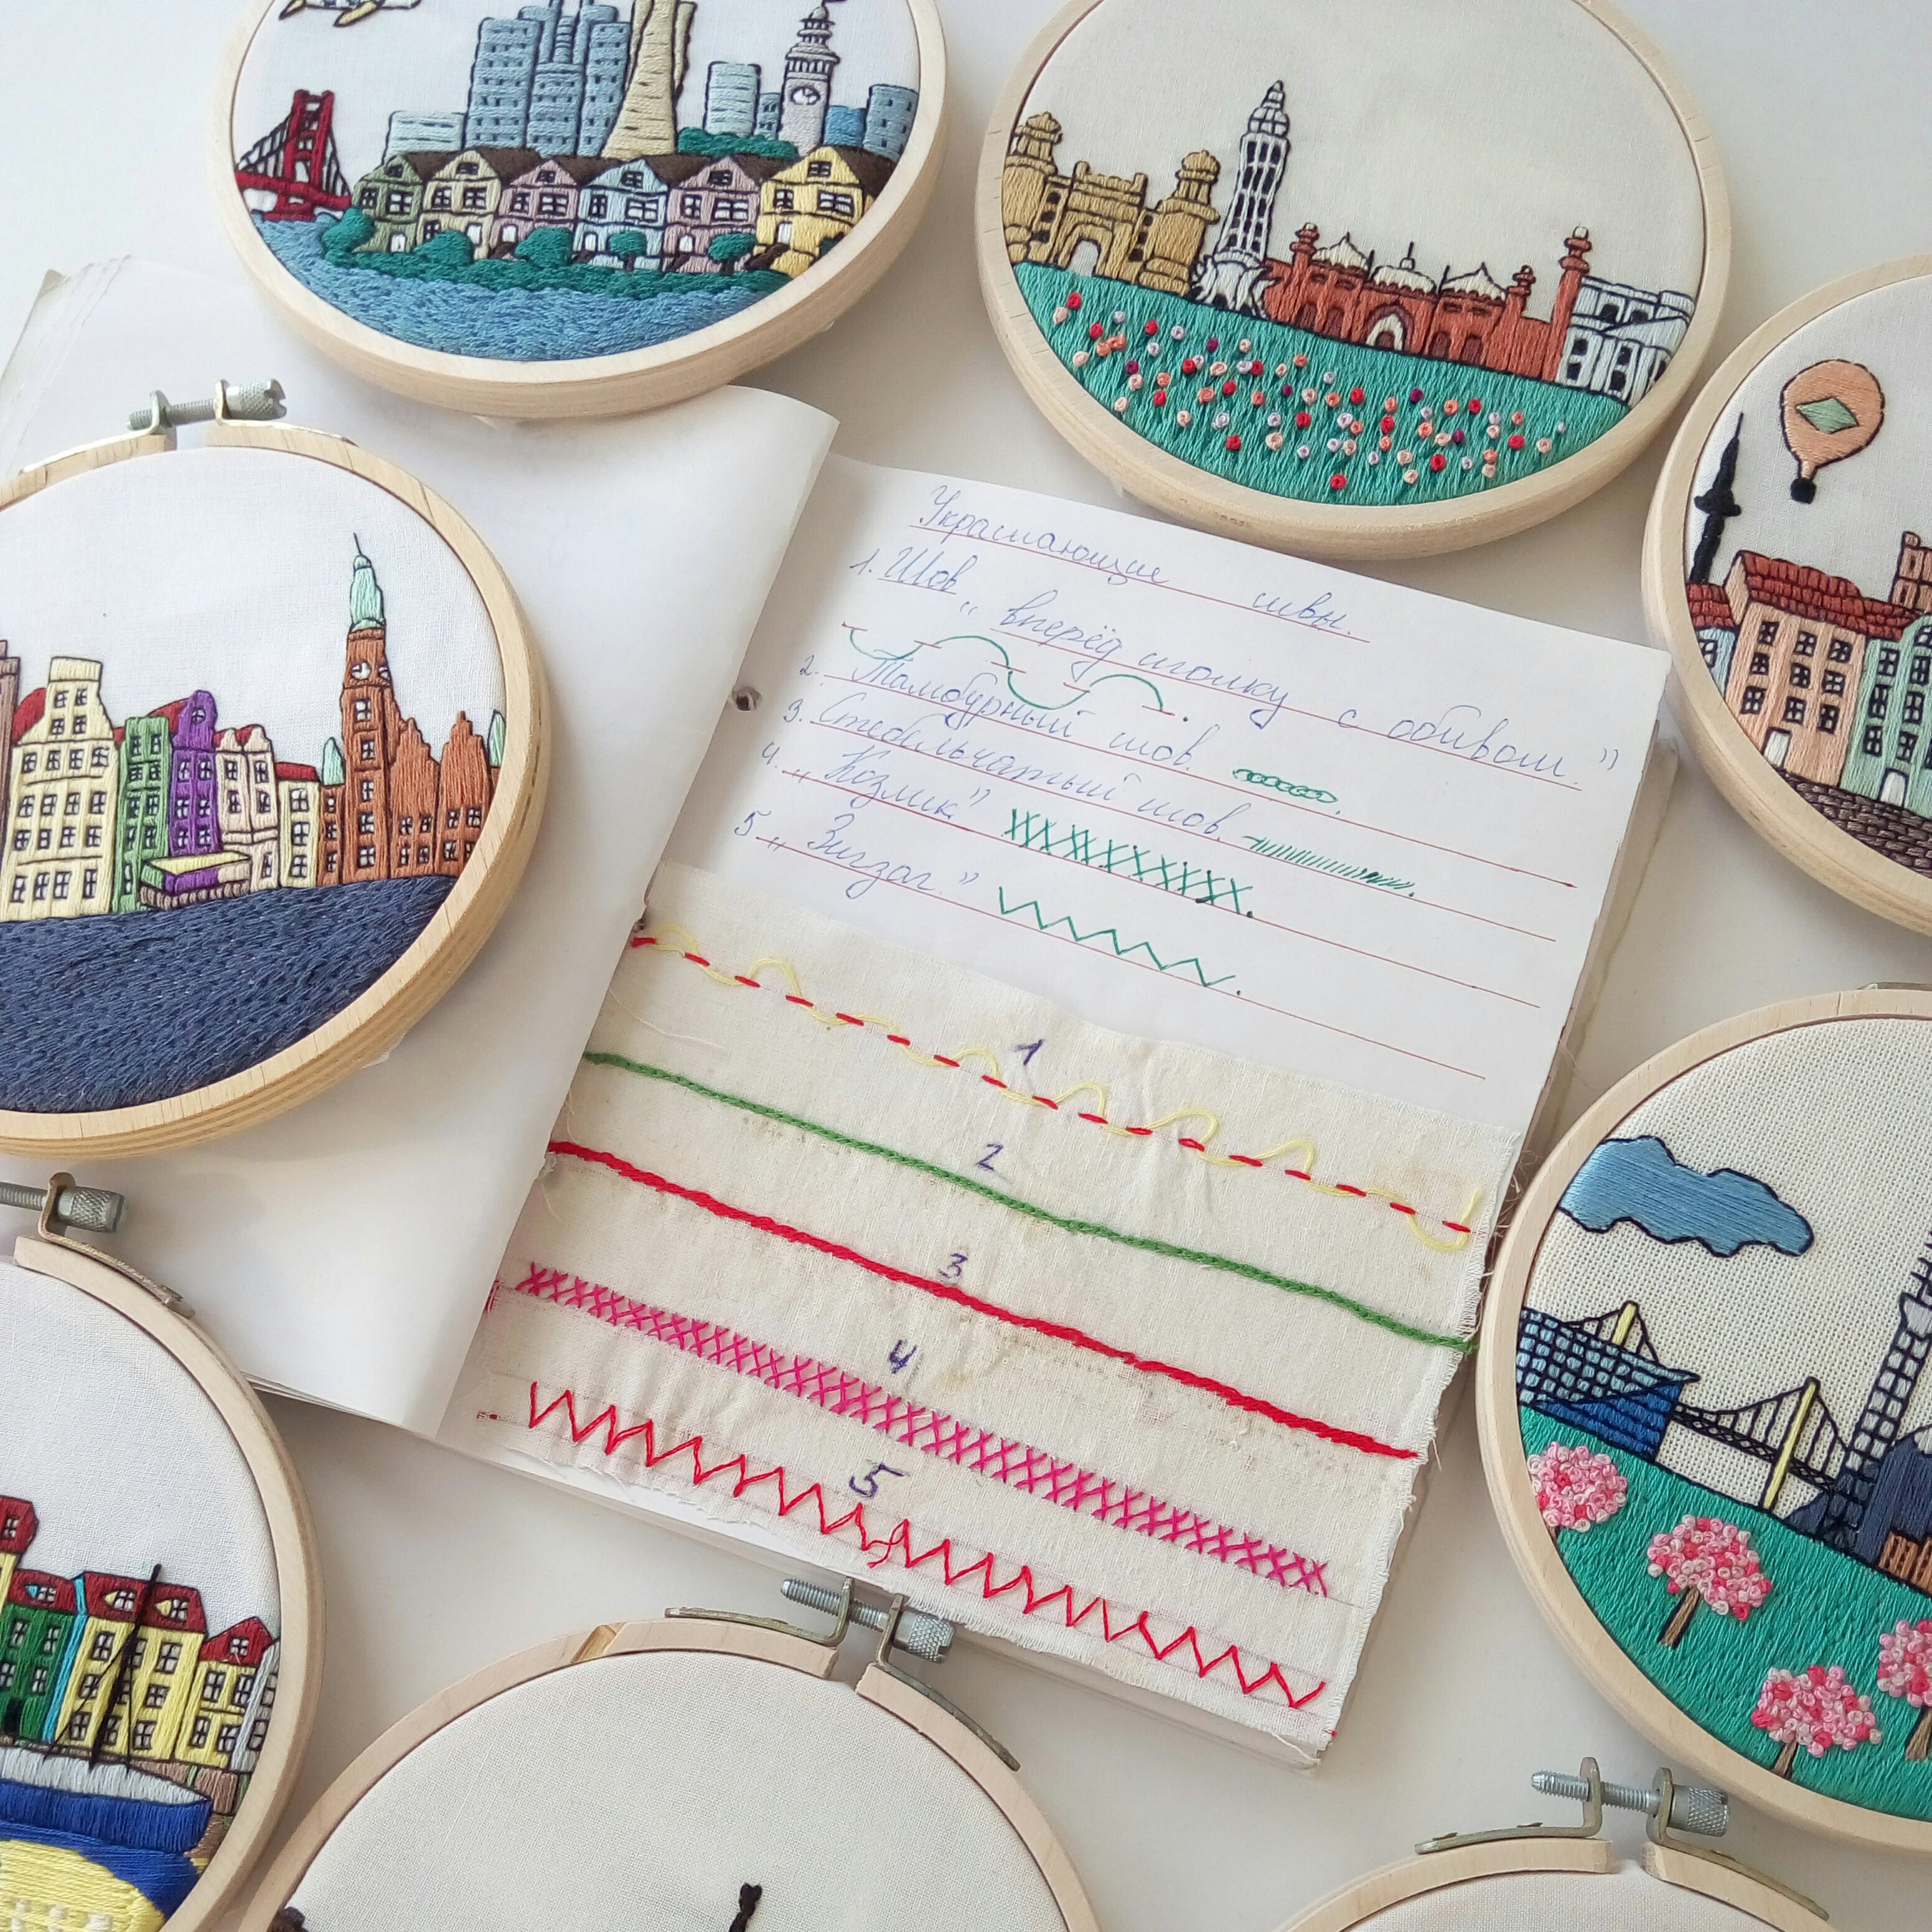
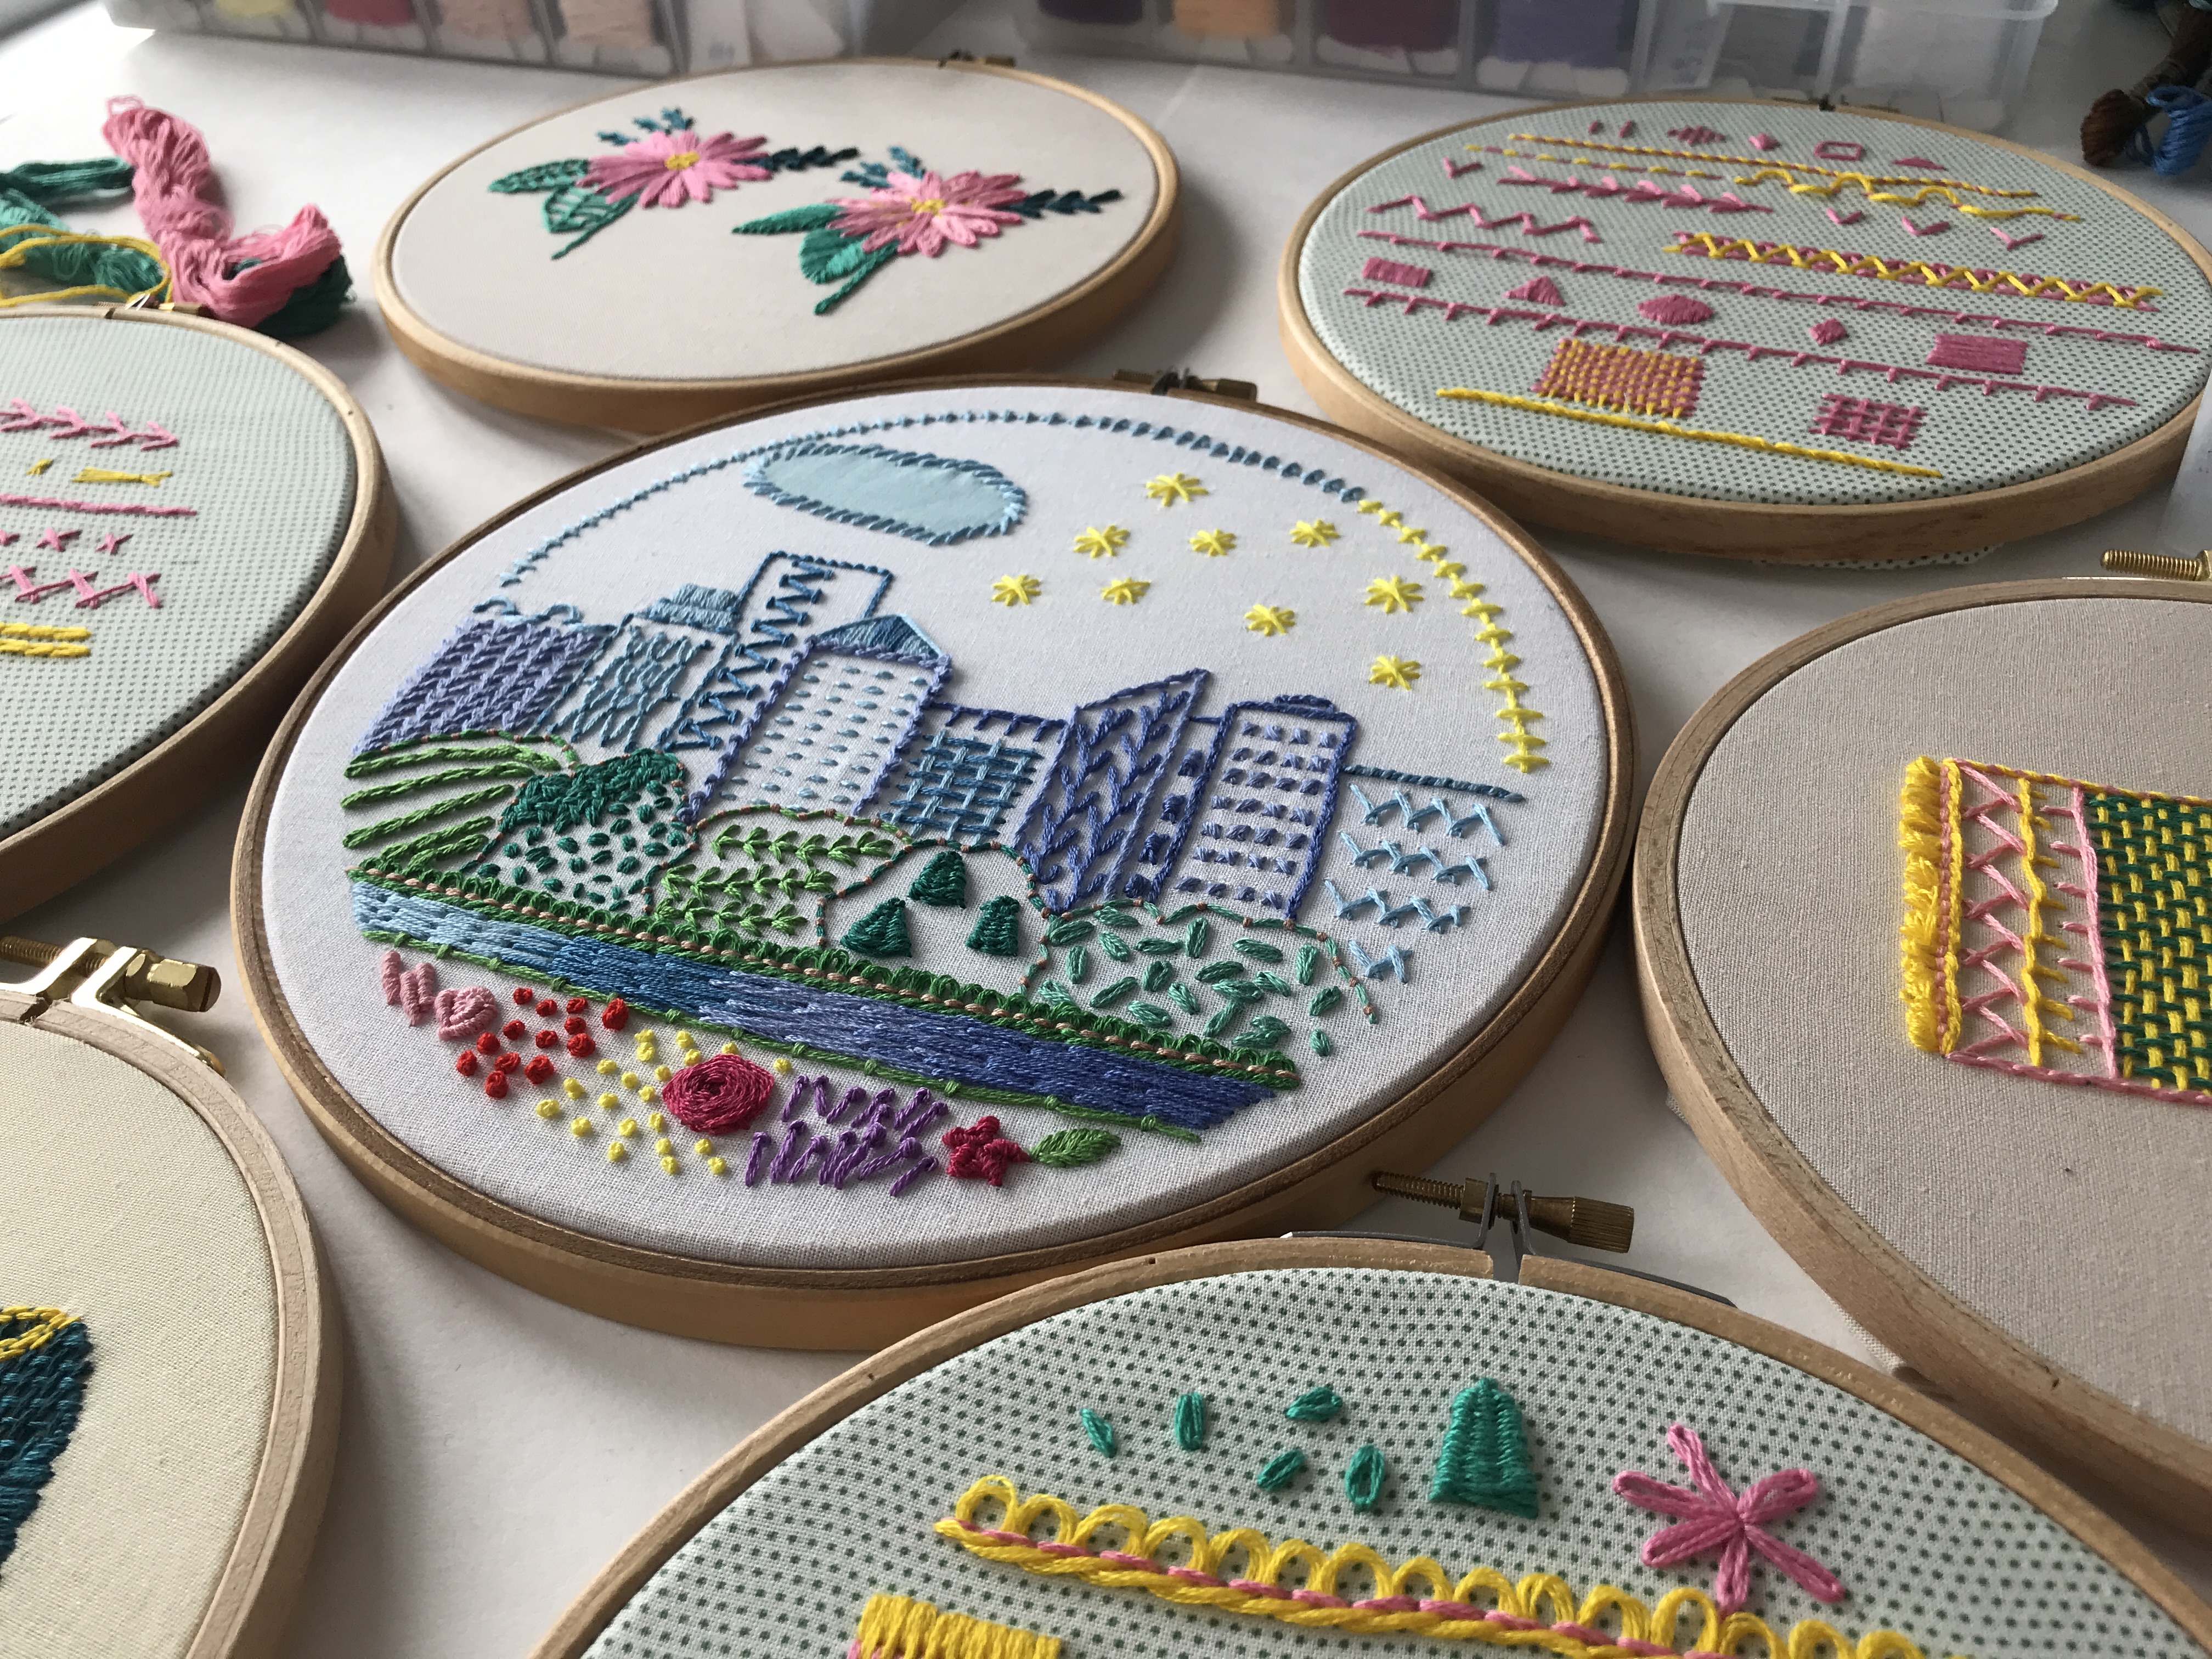
To make this easier, I created two sampler patterns. Each one comes with stitch diagrams, video tutorials, and guidance on the whole process: thread choice, fabric, transferring a design, and finishing your hoop.
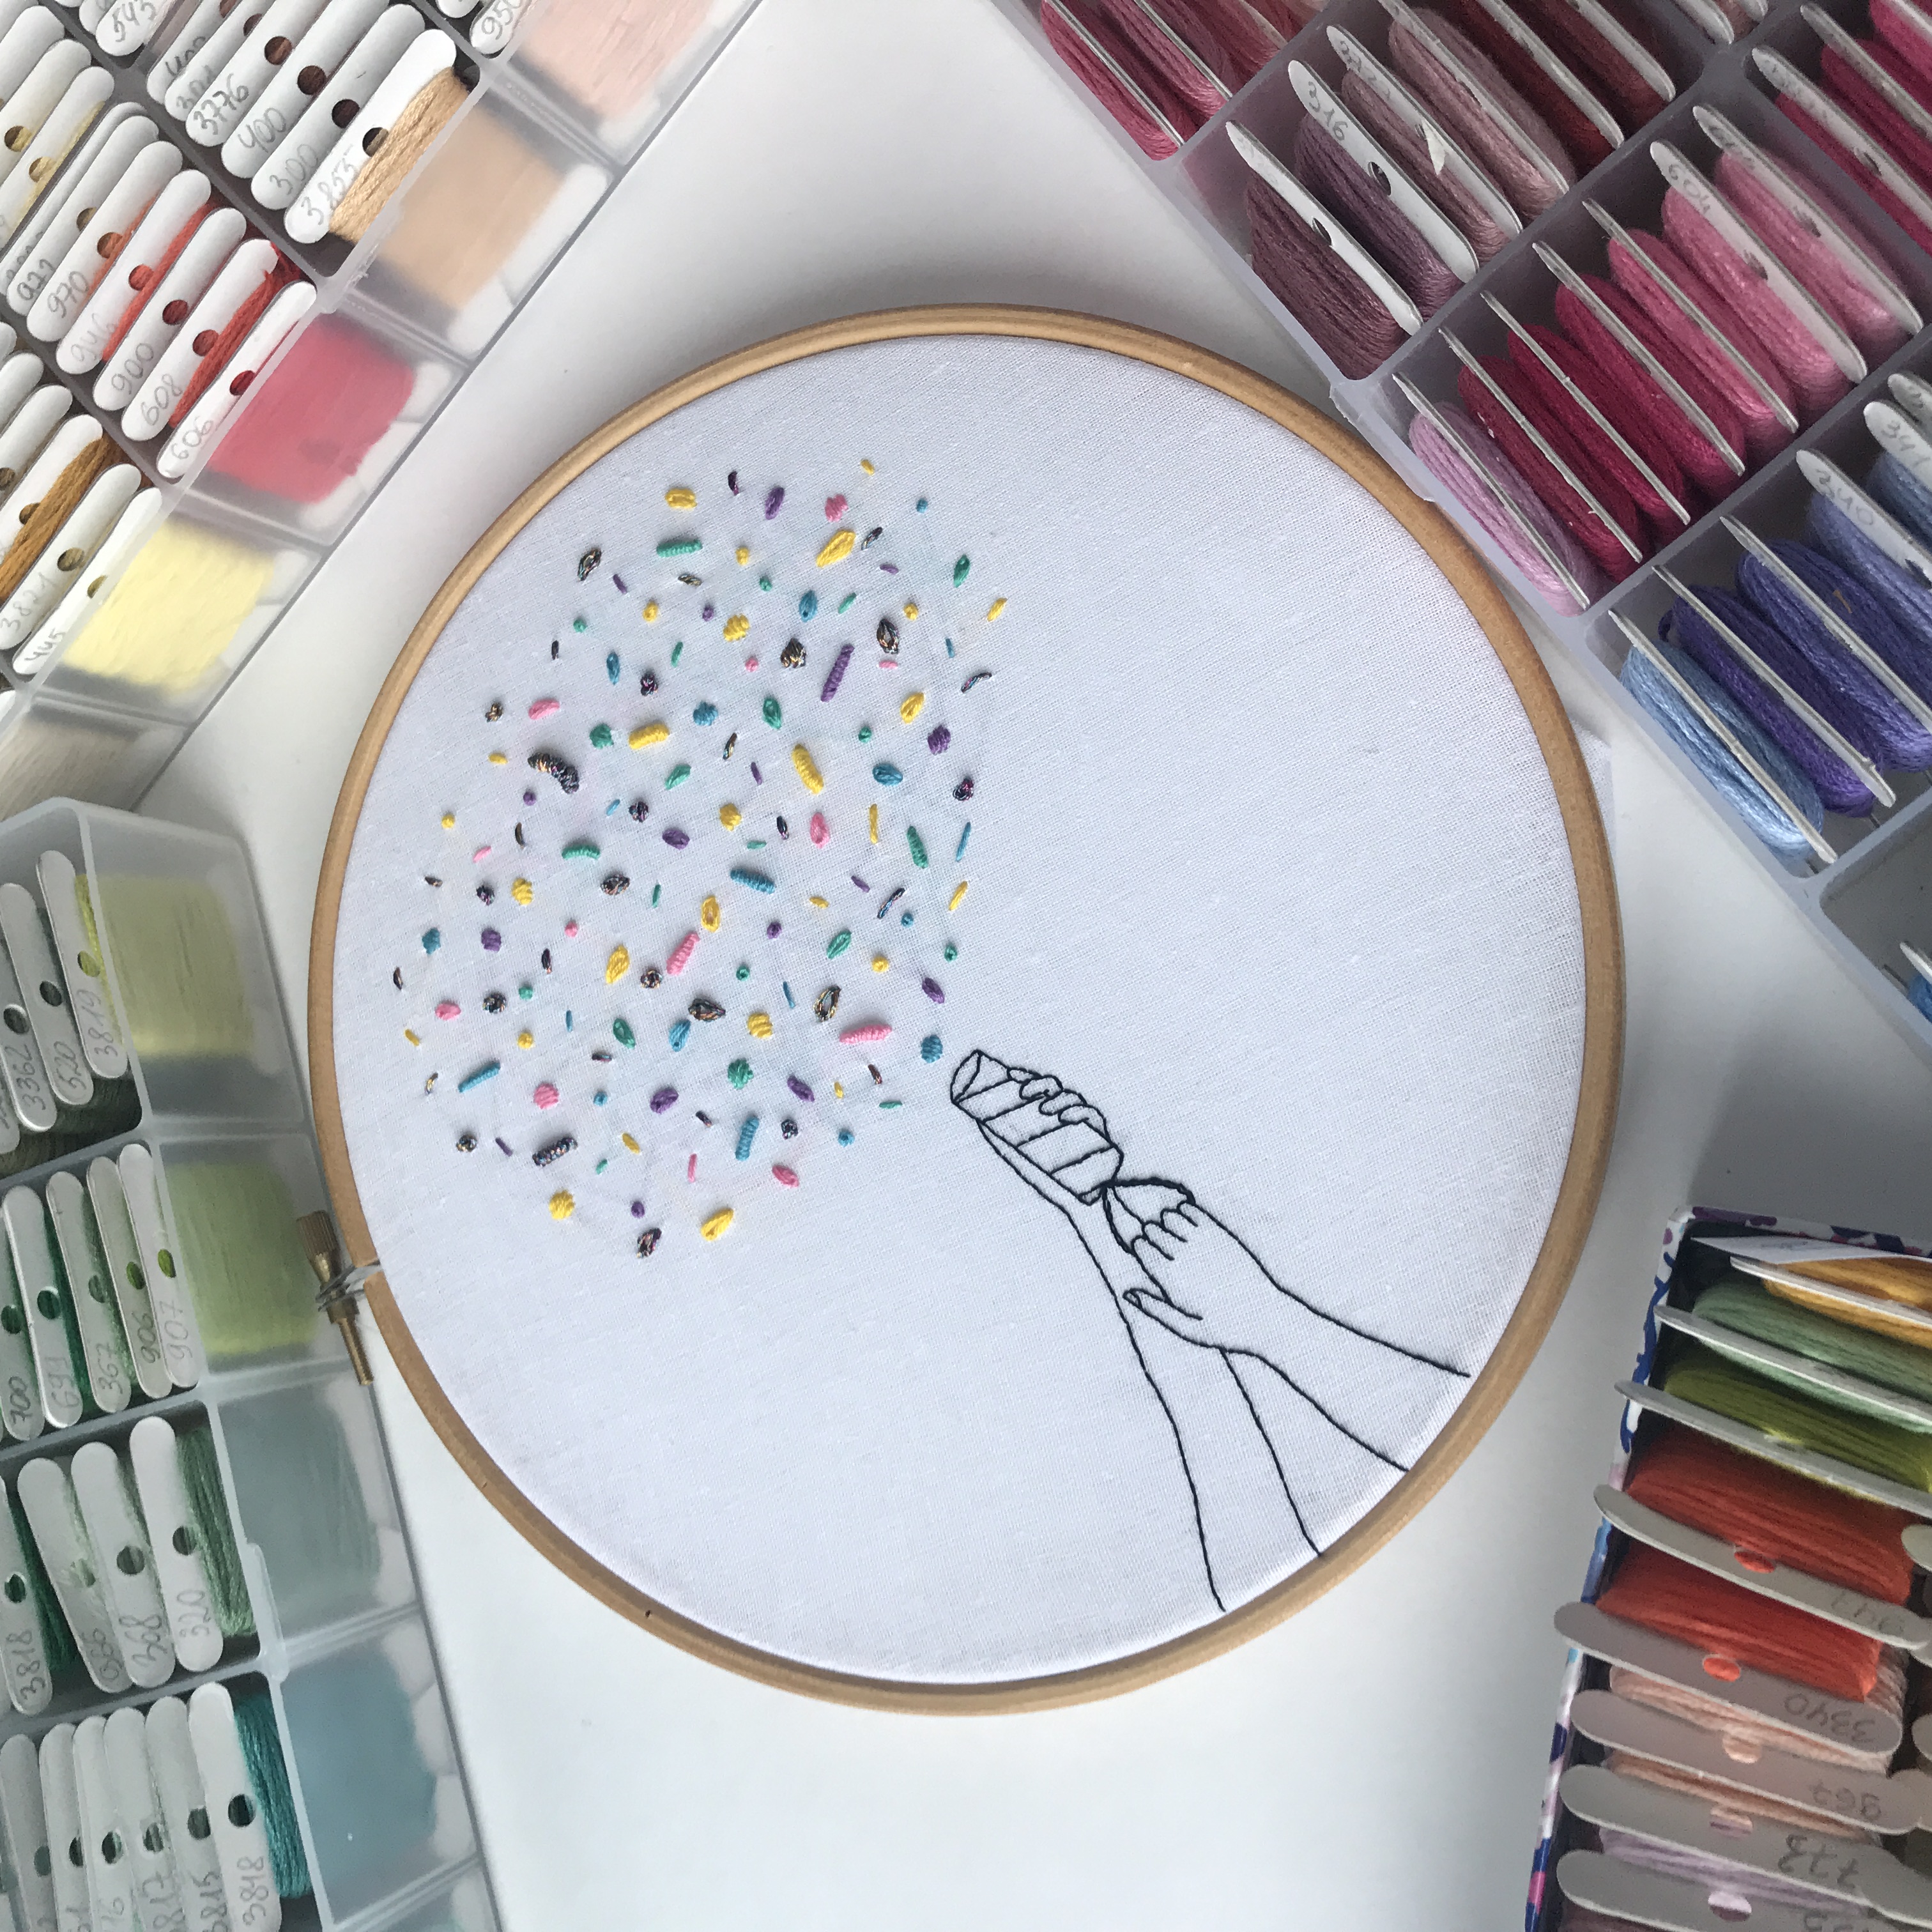
Party Popper Sampler covers 7 essential stitches: backstitch, straight stitch, chain stitch, satin stitch, lazy daisy stitch, bullion knot, and French knots. It's colorful, quick, and a great confidence booster.
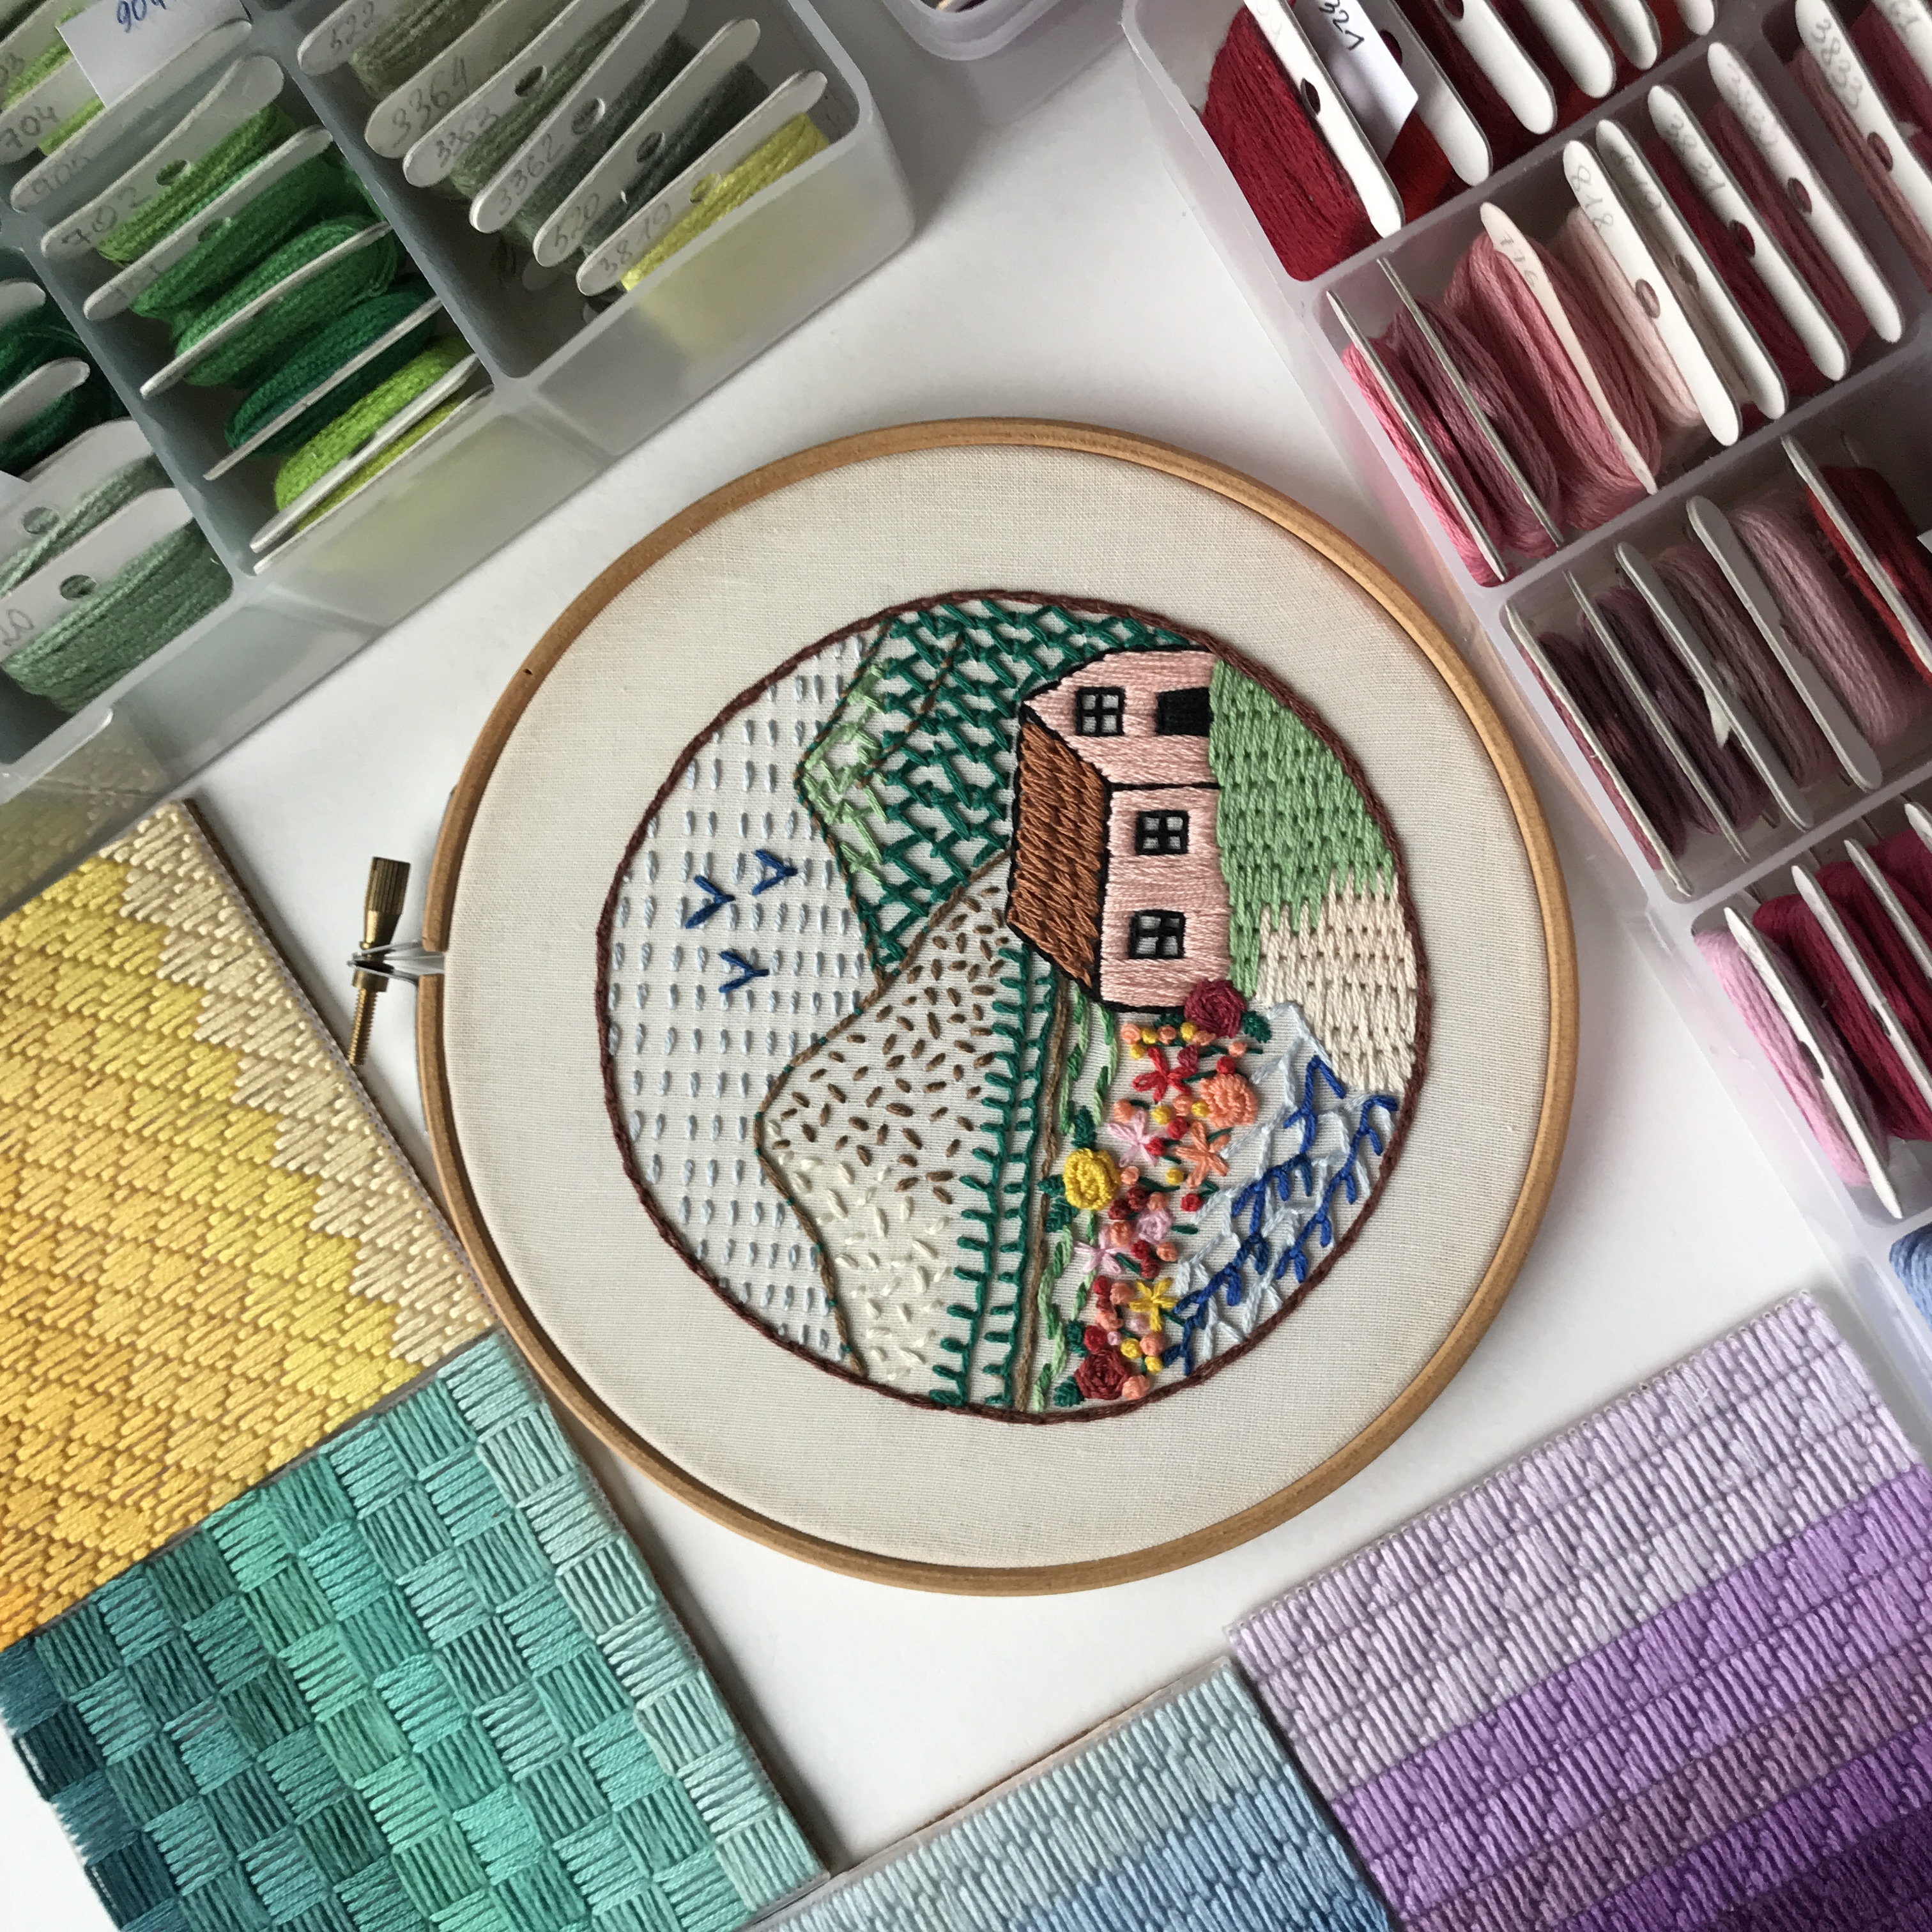
21 Stitch Sampler does exactly what it says: 21 stitches, from running stitch and stem stitch to feather stitch and rose stitch. You'll end up with a cute little landscape at the end.
Pros:
- You don't need many thread colors to get started
- Lots of free tutorials available
Cons:
- It can be hard to know what to do with the stitches once you know them
- Going from "I know this stitch" to "I made a design" takes a mental leap that some people find tricky without a pattern to guide them
2. Find a pattern you love and learn stitches as you go
This is probably the most motivating approach for a lot of people. You pick a design that excites you, and the stitches become a means to an end rather than an abstract skill you're studying.
There are thousands of patterns out there for all styles and skill levels. A good beginner pattern will tell you which stitches to use and how to do them, not just hand you a design and a color chart.
My patterns all include: a materials list, thread and fabric guidance, image transfer instructions, stitch diagrams, video tutorials, and finishing tips. Everything in one place, so you're not hunting around for extra info.
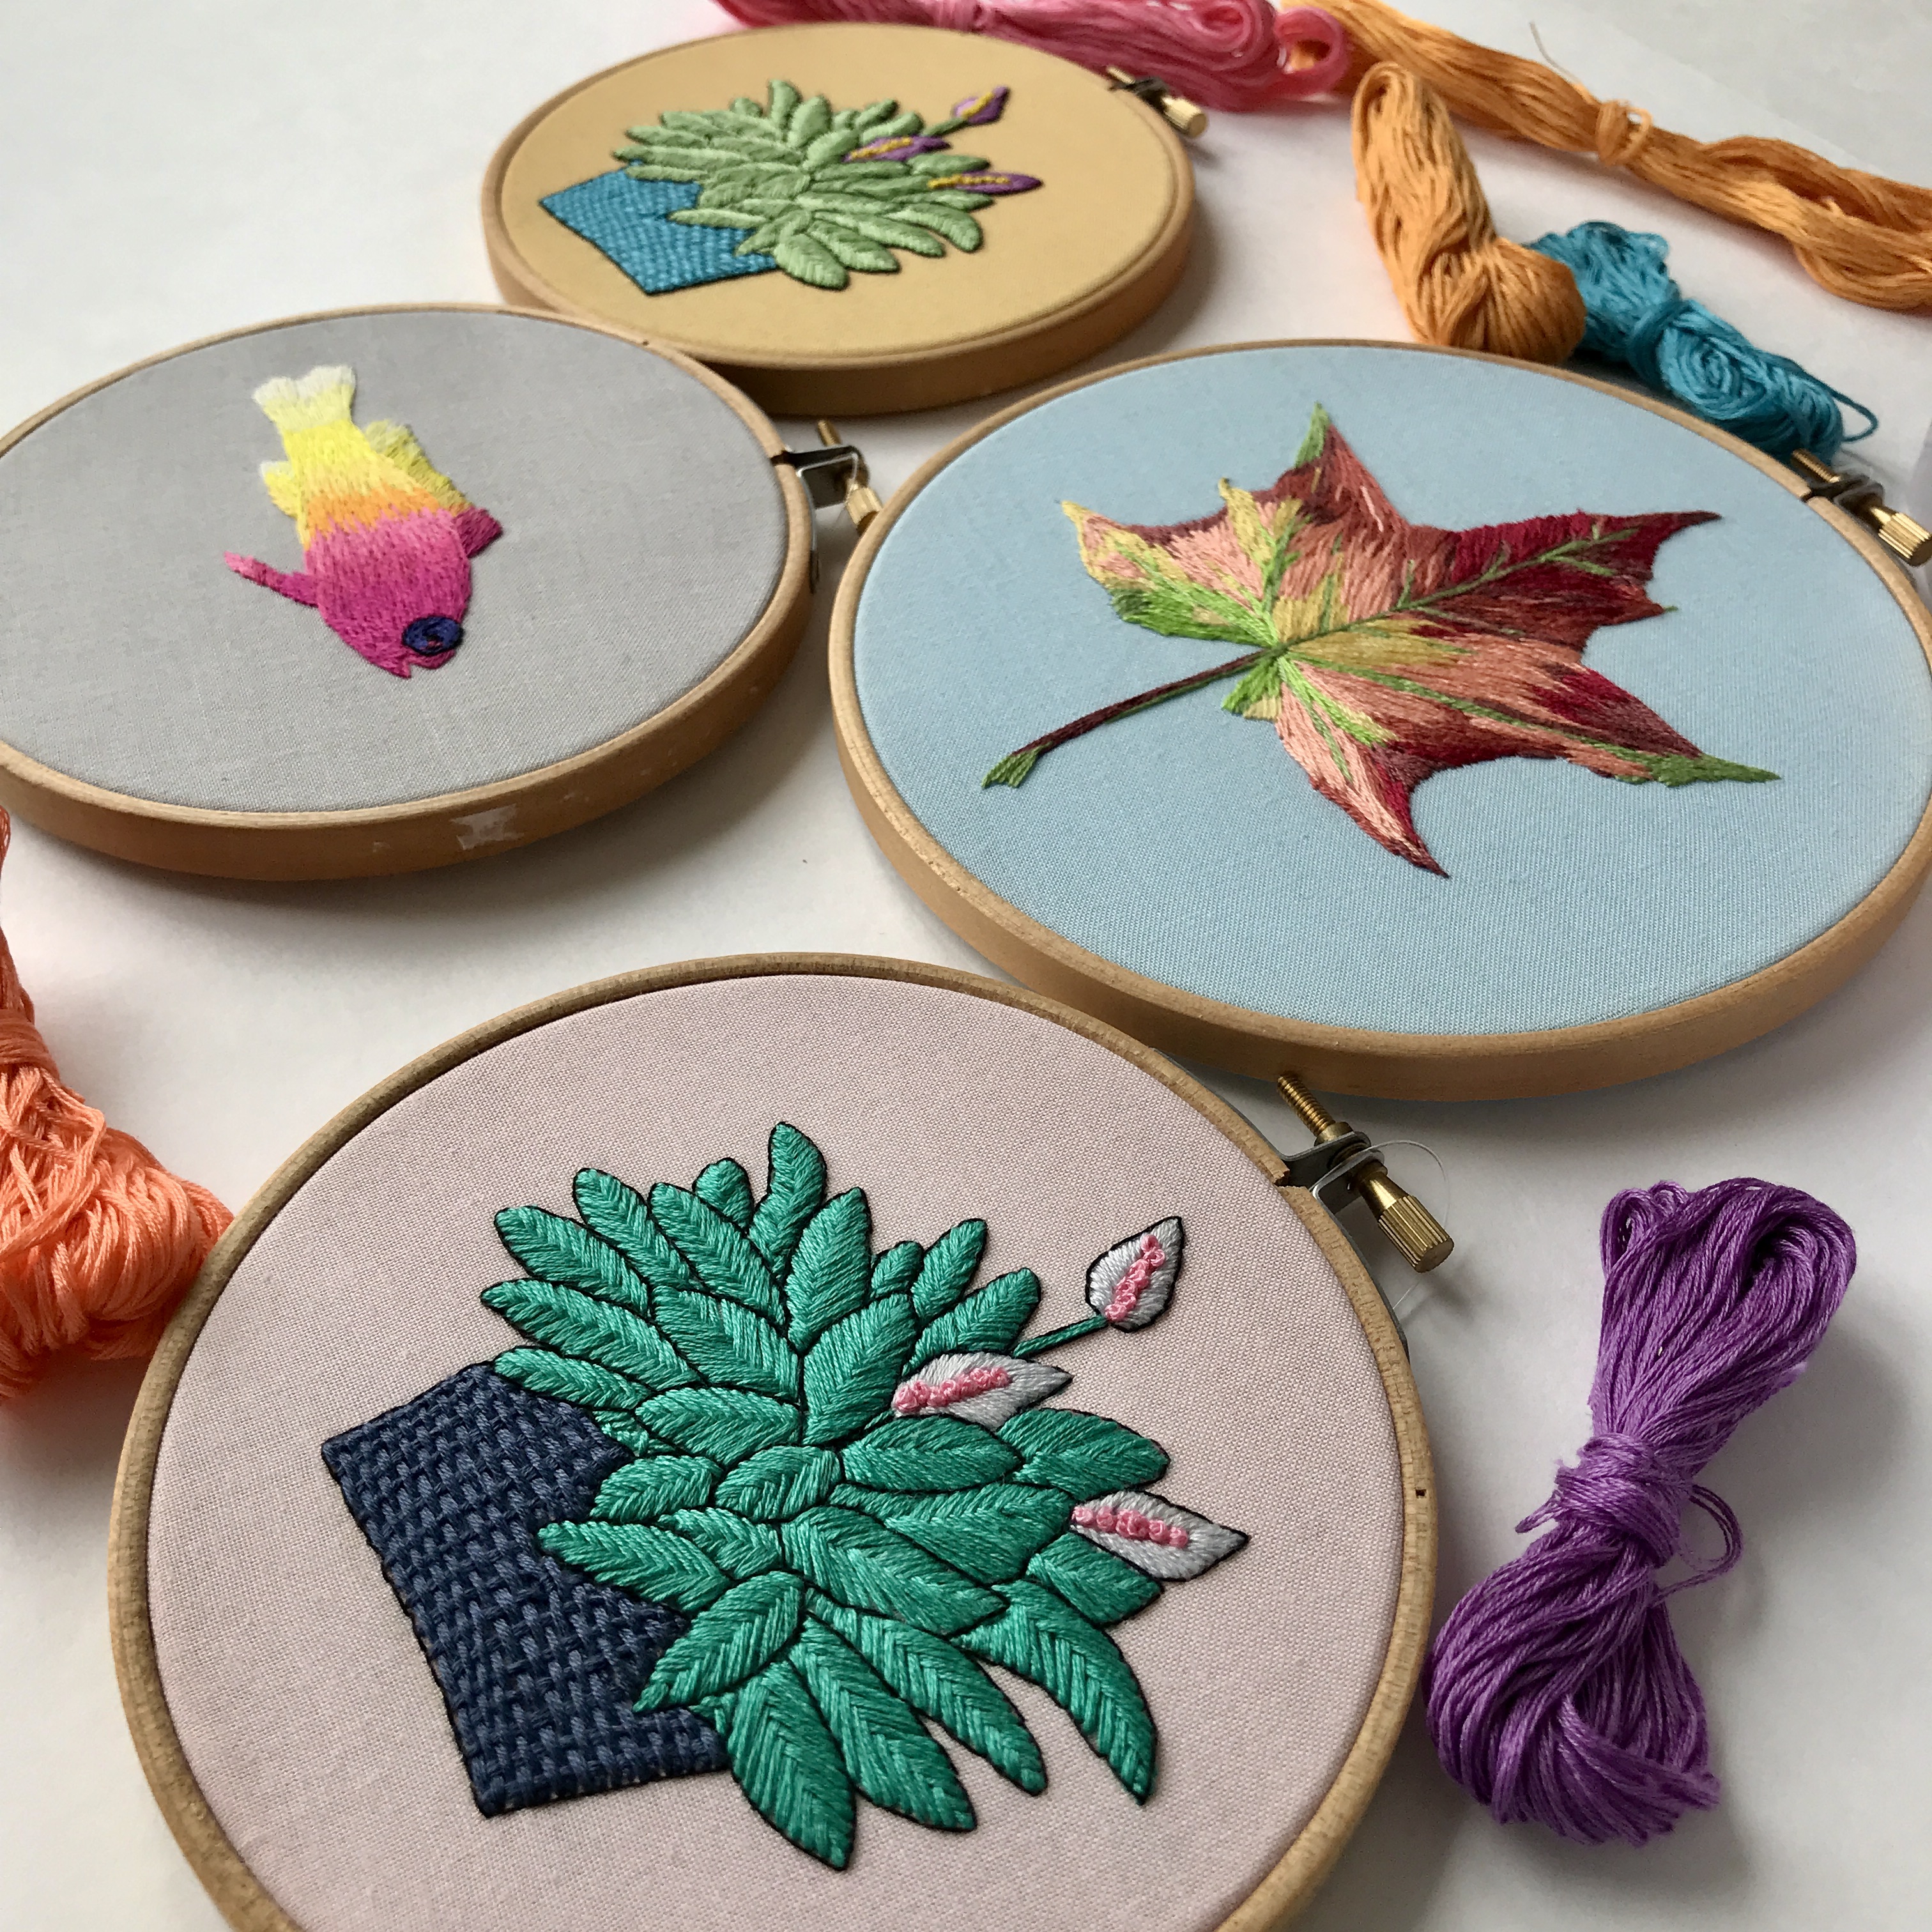
I have architectural designs, florals, interiors, landscapes... and yes, a tiger.

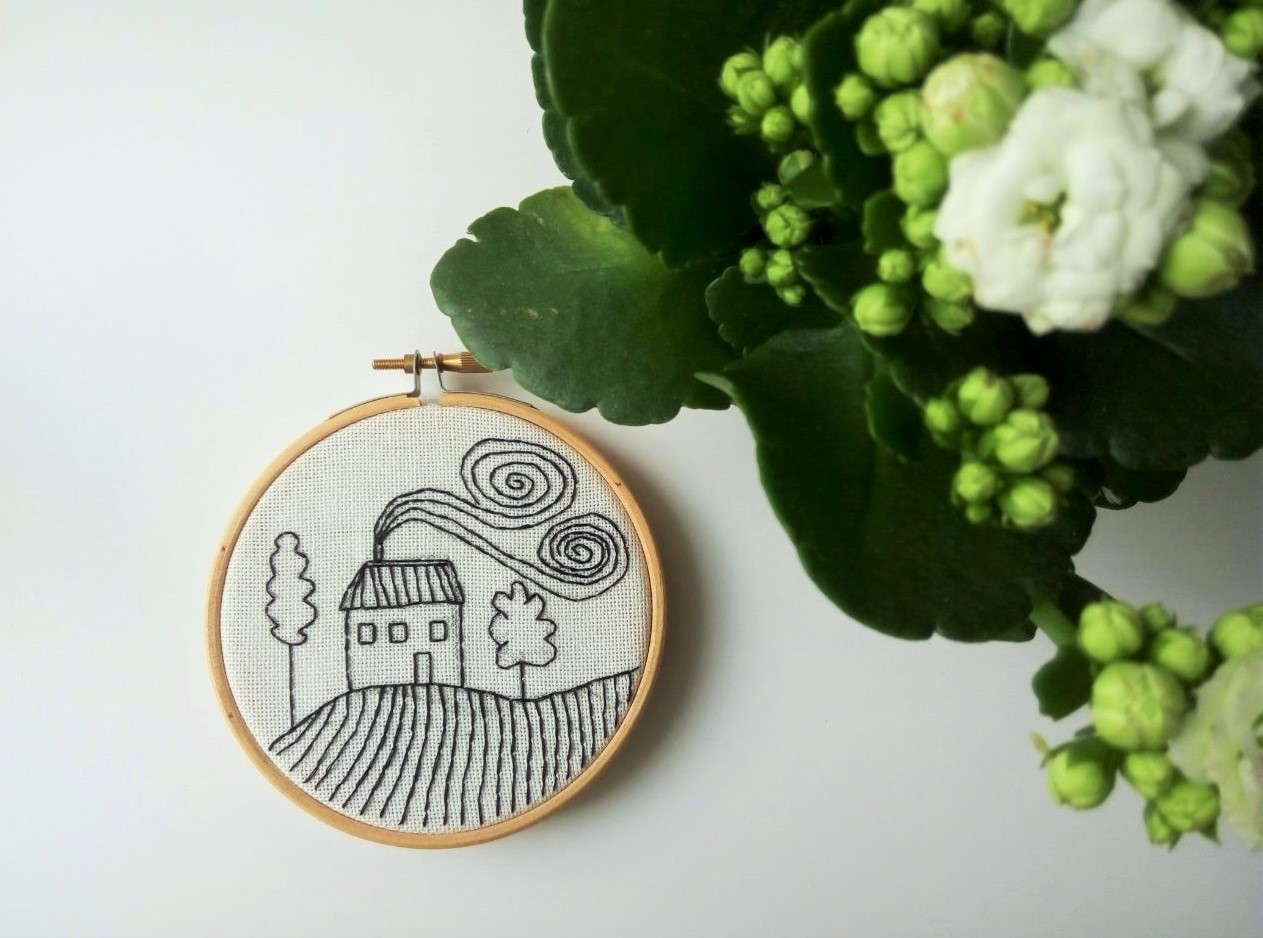
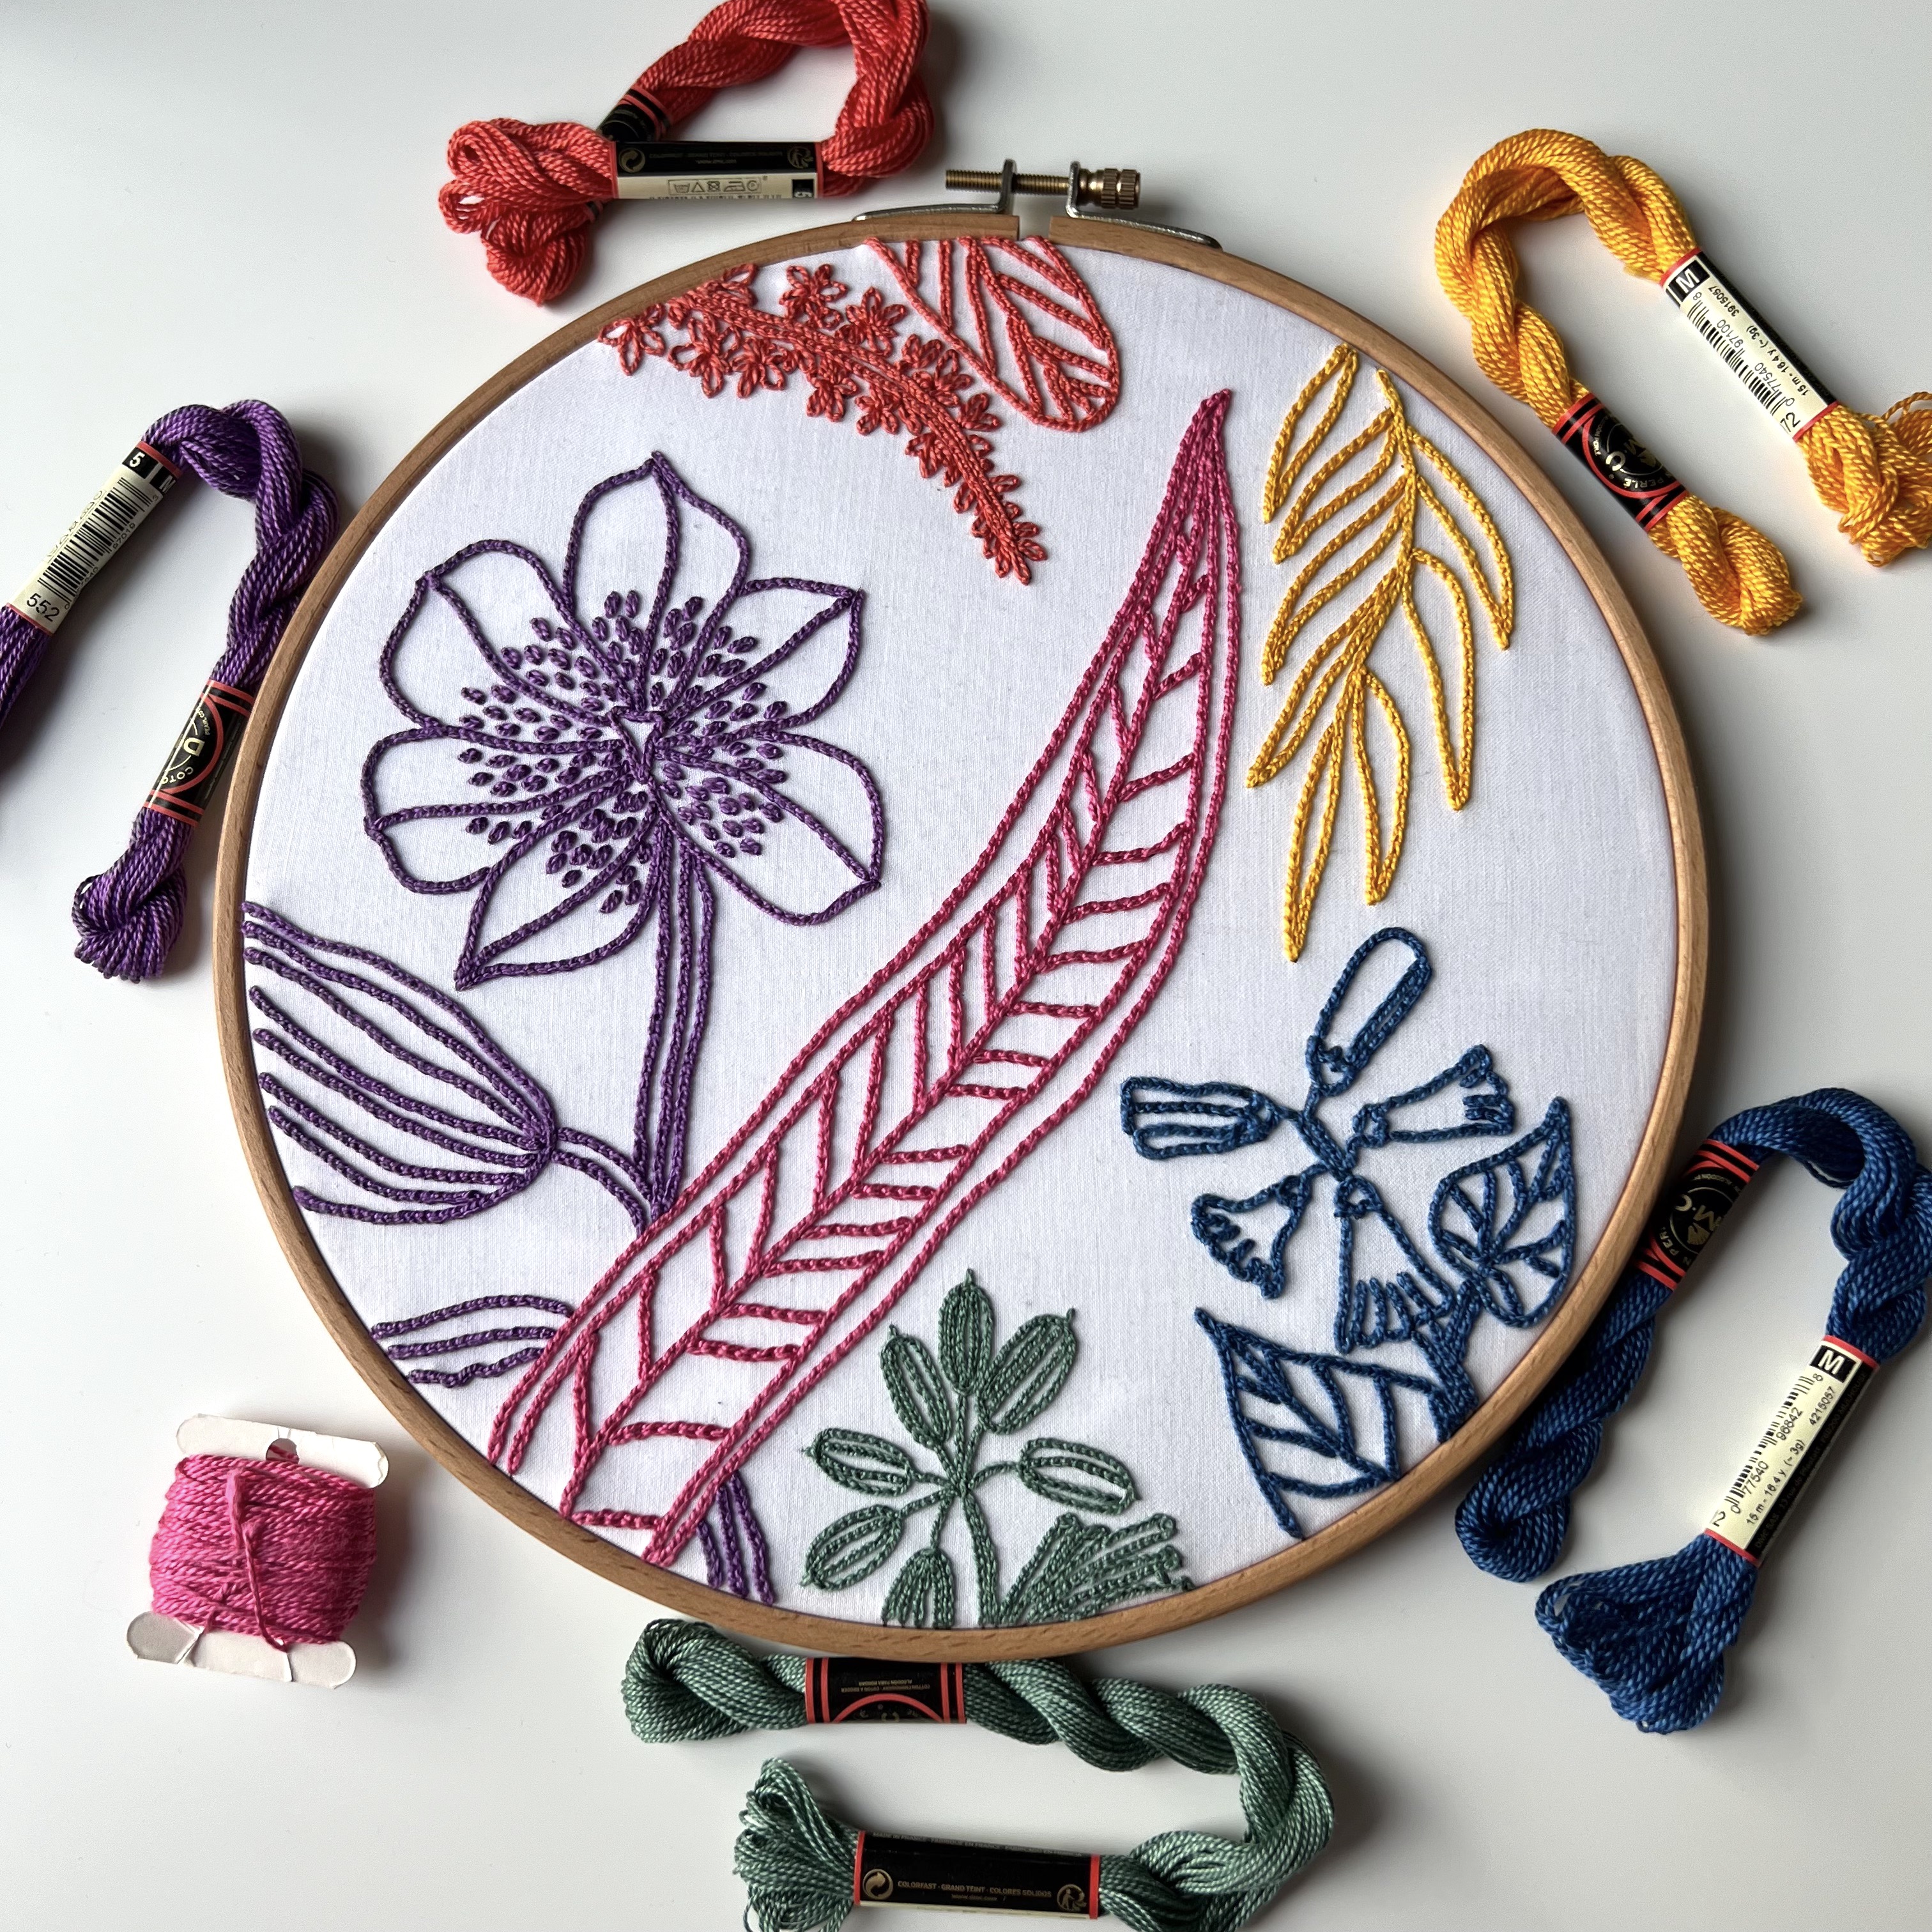
If you want the gentlest possible start, there's also my Florals mono-stitch pattern. The entire design is made with just one stitch: chain stitch. No switching between techniques, no decision fatigue. Just one stitch, repeated, until you have something beautiful.
If you'd rather start with something free, I have four stitch-along projects on YouTube with full video tutorials you can join at any time:
Pros:
- You end up with a finished piece you can frame, hang, or give as a gift
- You naturally start understanding which stitches work for filling, which work for outlines, and so on
- Having a design you're excited about keeps you going when it gets fiddly
Cons:
- Quality varies a lot. Look for patterns that explain the stitches, not just show you a design and a color chart
- It costs money, though free options exist (see the stitch-alongs above)
3. Take a course or go to a workshop
This is the most structured option. You commit more time upfront, but you usually finish with real knowledge, a finished project, and someone to ask when things go wrong.
Pros:
- Everything you need is in one place
- You get feedback, not just instructions
- You might meet other people who embroider (which is genuinely great)
Cons:
- It's usually more expensive than buying a single pattern
- (Honestly, I couldn't think of more. A good course is just a good course.)
I offer three courses:
Hand embroidery stitches and practice
teaches you 40 stitches, helps you understand when to use which one, and walks you through color choices. You'll make 3 samplers, one embroidery using all 40 stitches, and 3 more designs, plus 20 extra practice designs after the course ends.
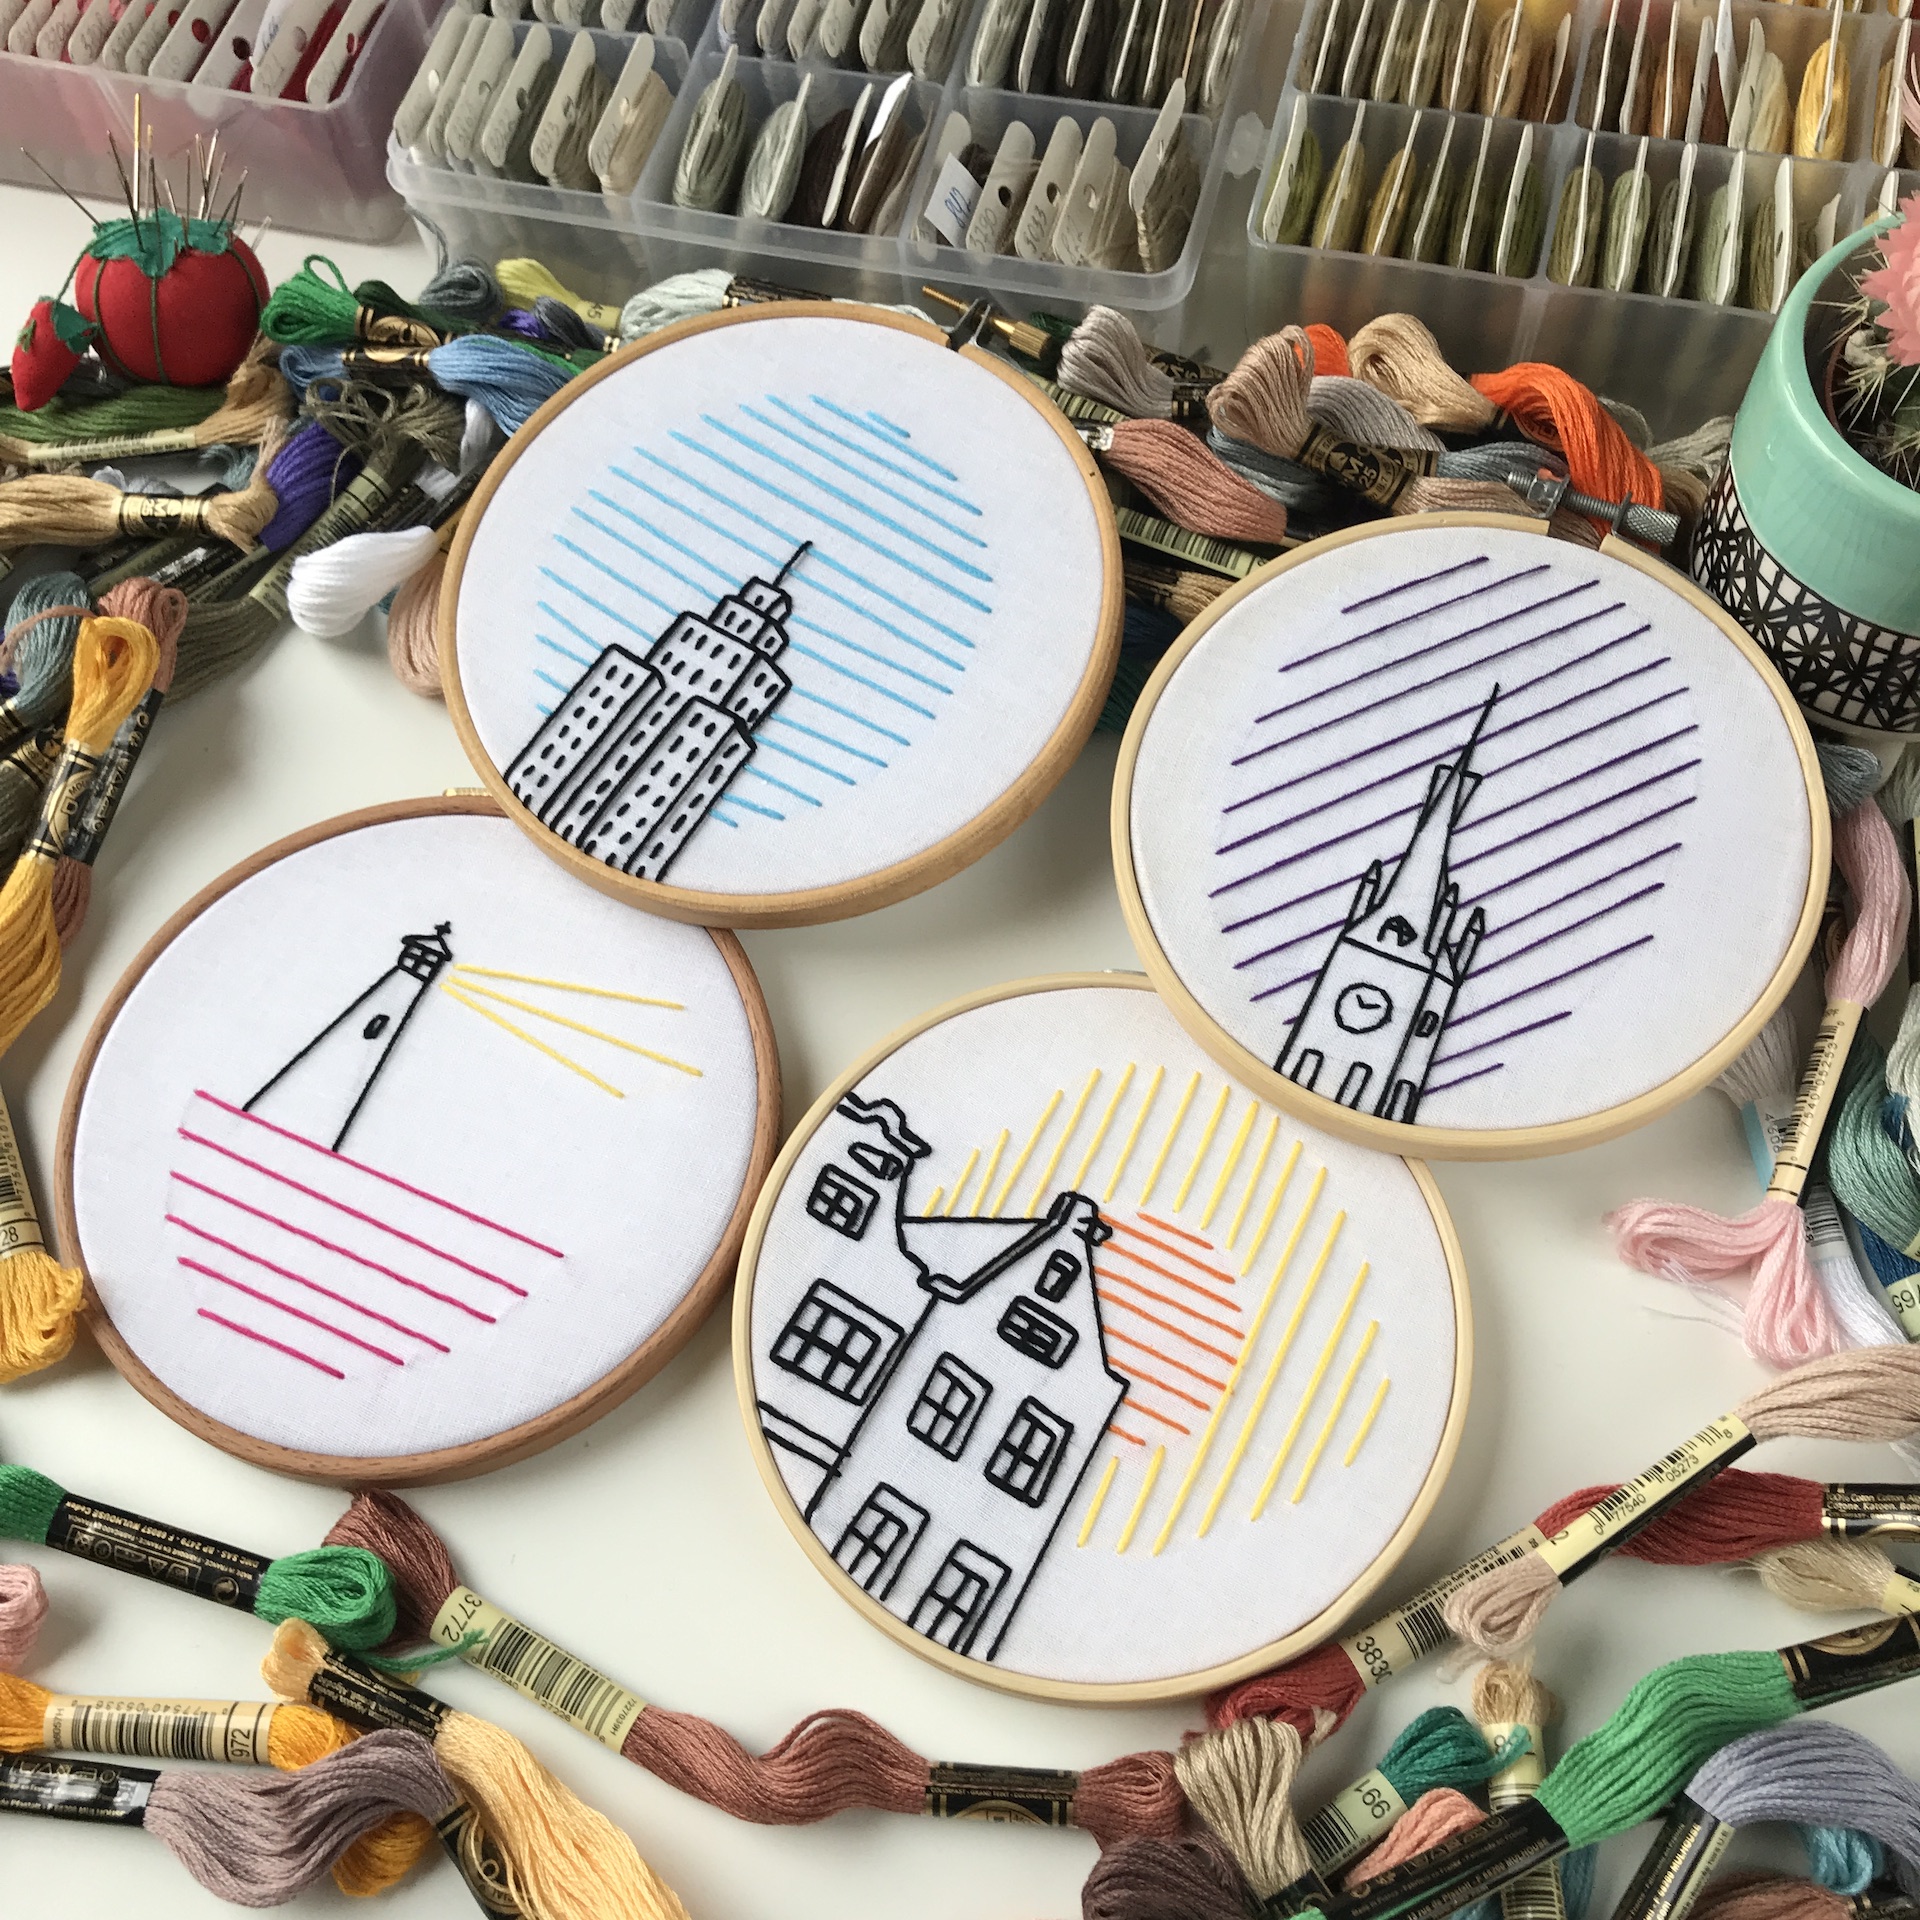
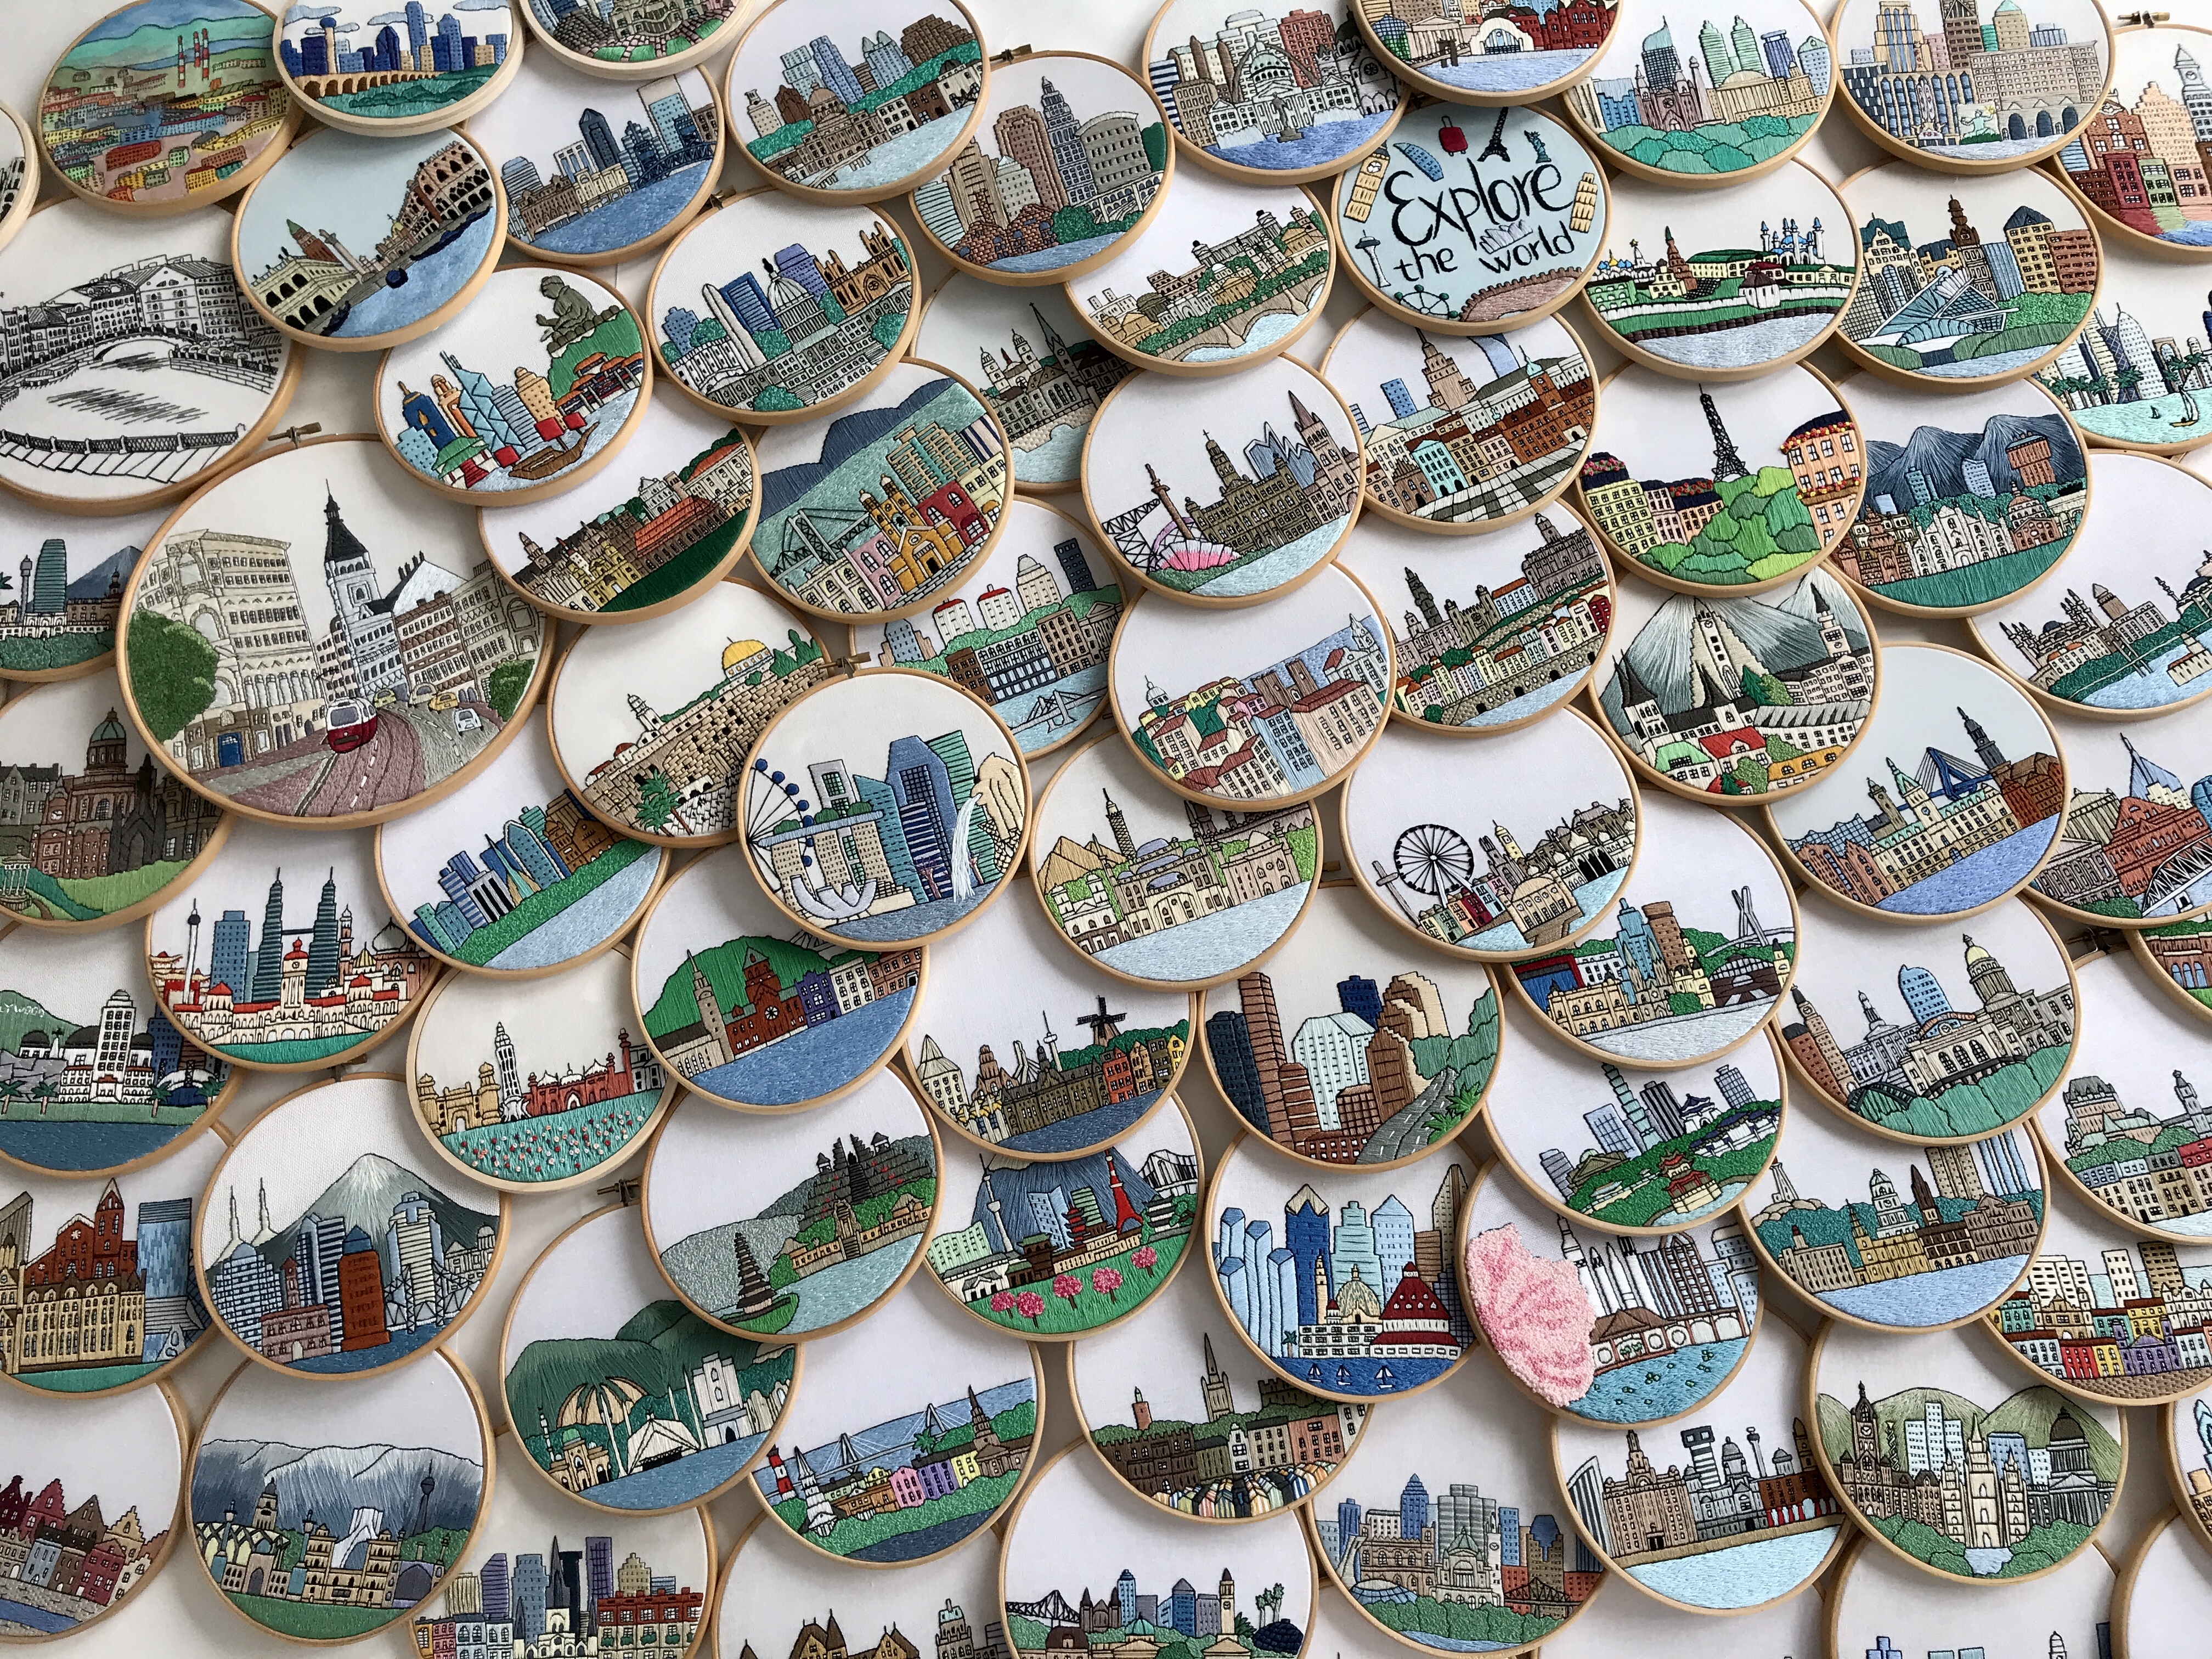
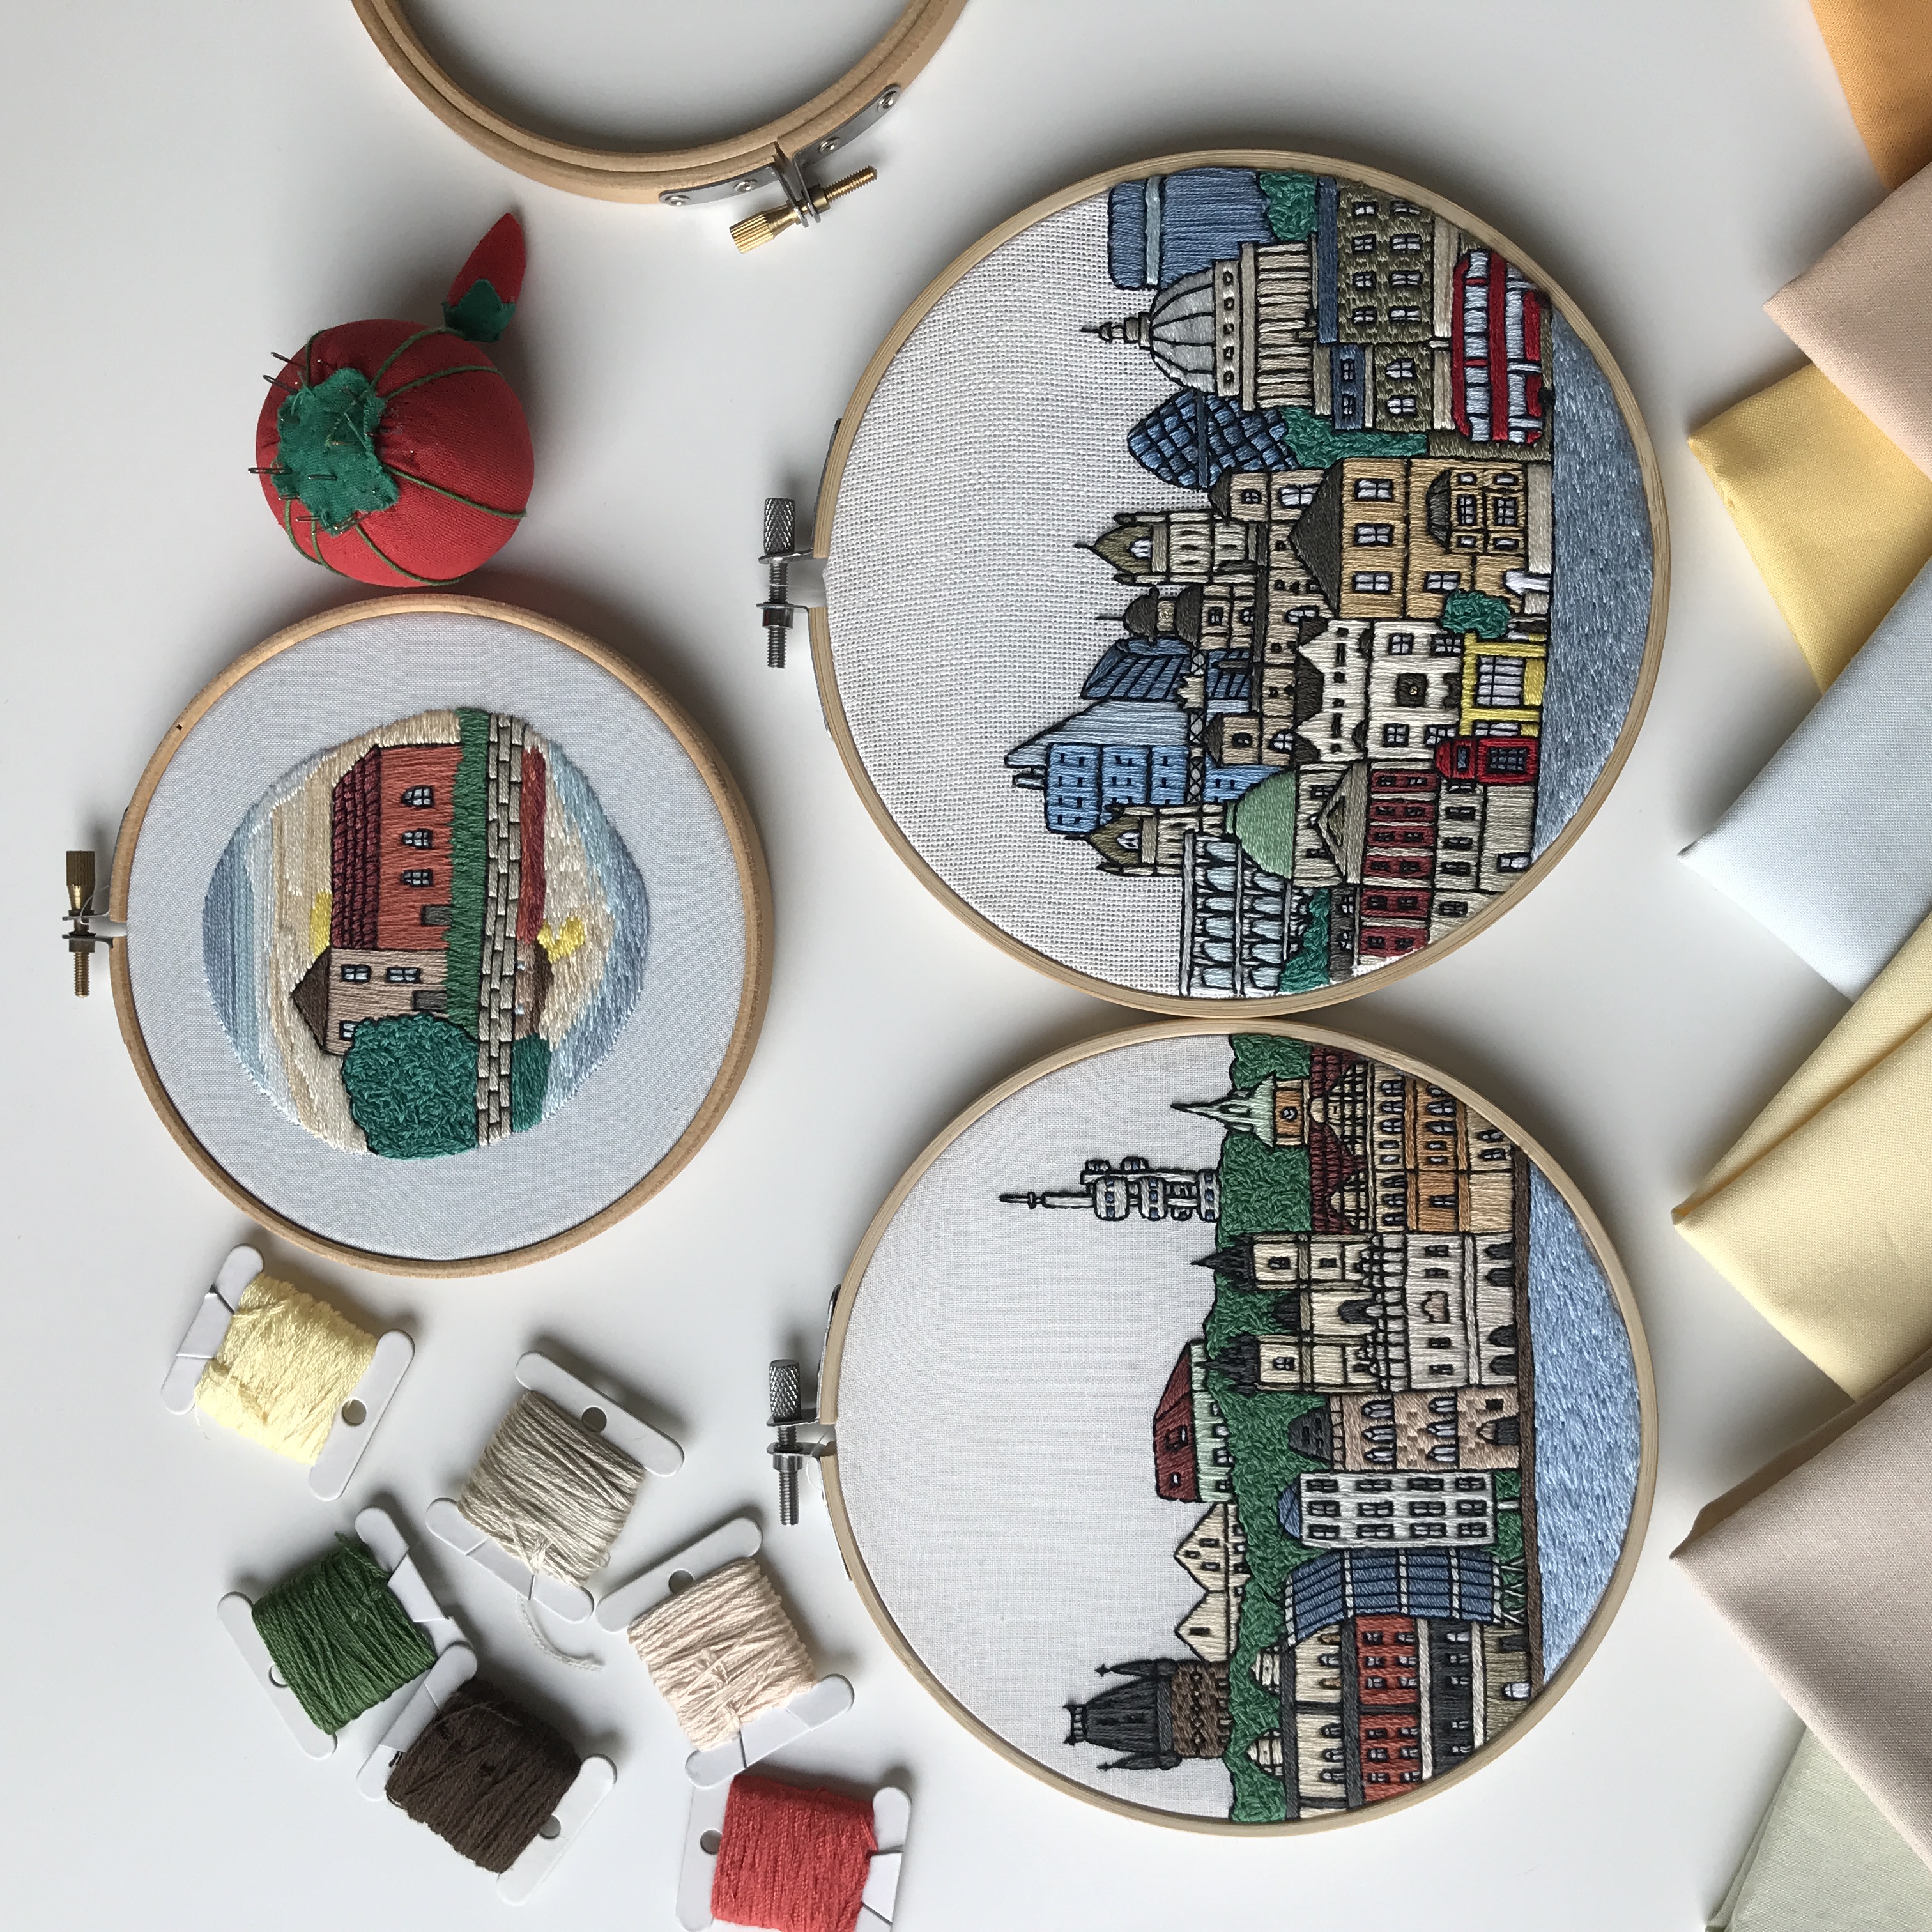
Draw and embroider your city
is exactly what it sounds like. You'll sketch your own landmarks, practice embroidering textures like water, bricks, and greenery, then stitch London and Prague.
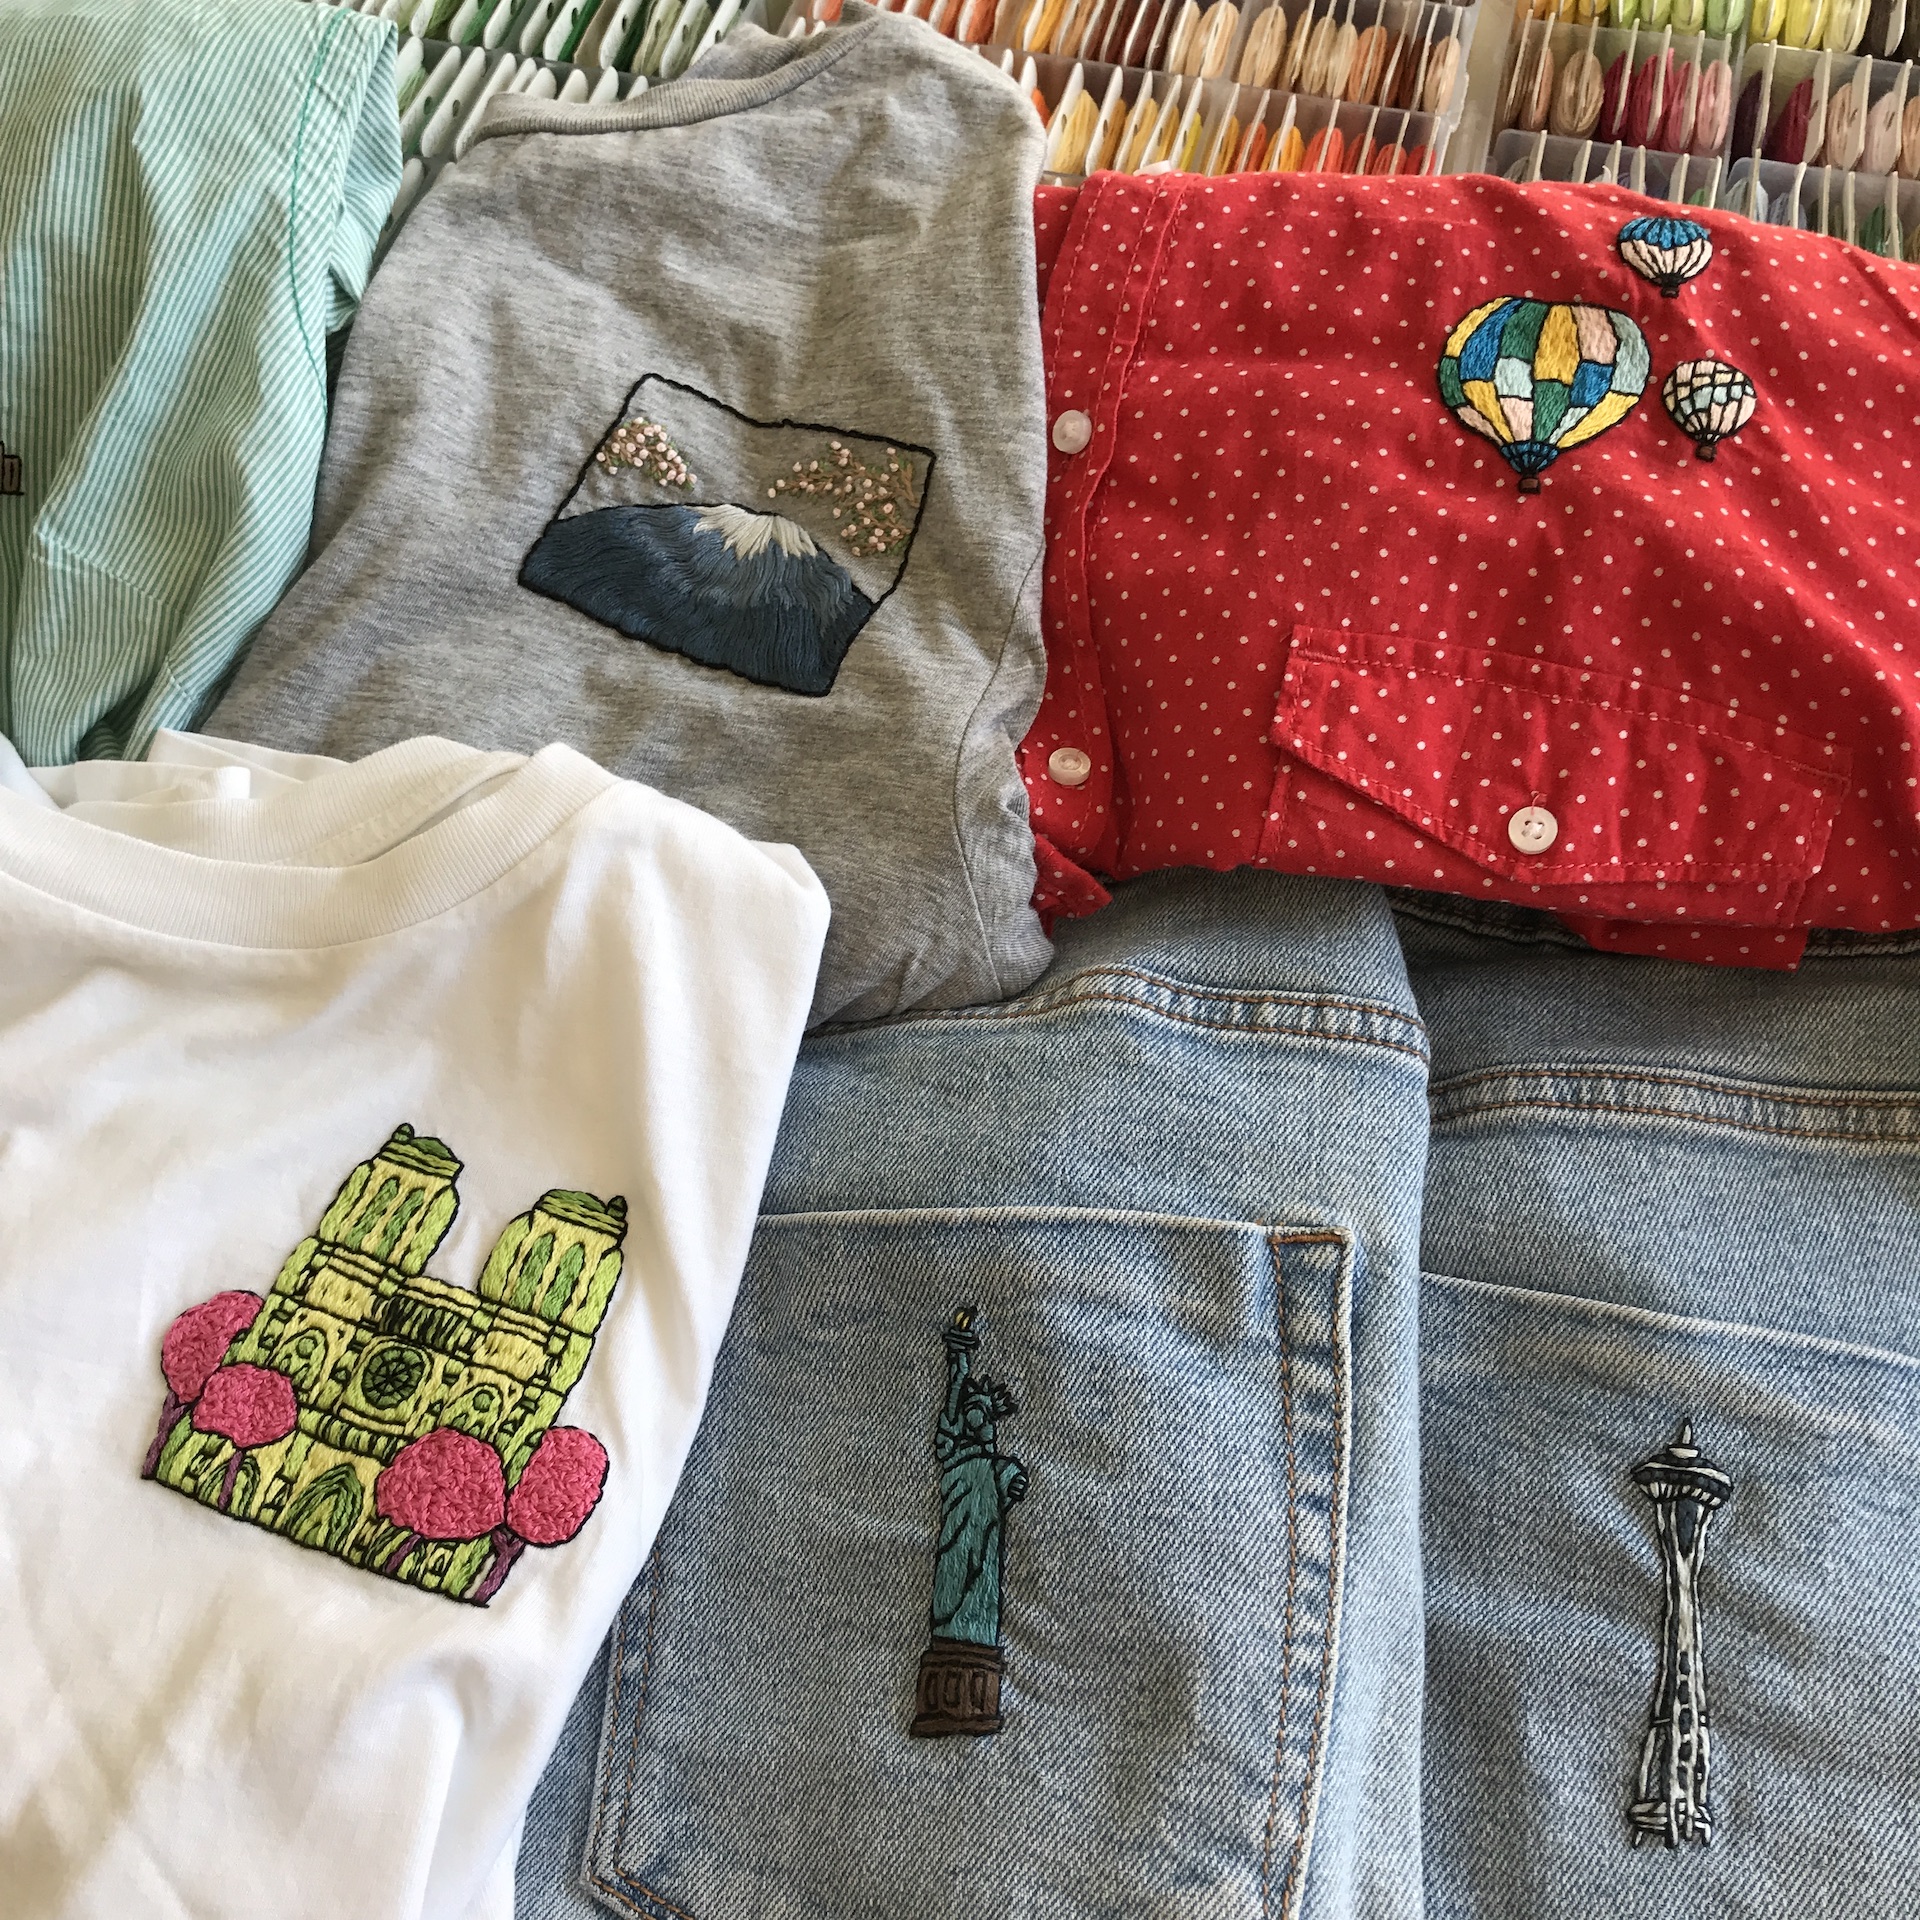
Upcycling with embroidery
(on Domestika) covers how to work on any fabric, when to use stabilizer, color selection, and all the embroidery basics. It includes 13 designs and 11 reference files. Subtitles are available in English, Spanish, Portuguese, German, French, and Italian.
Want to go further?
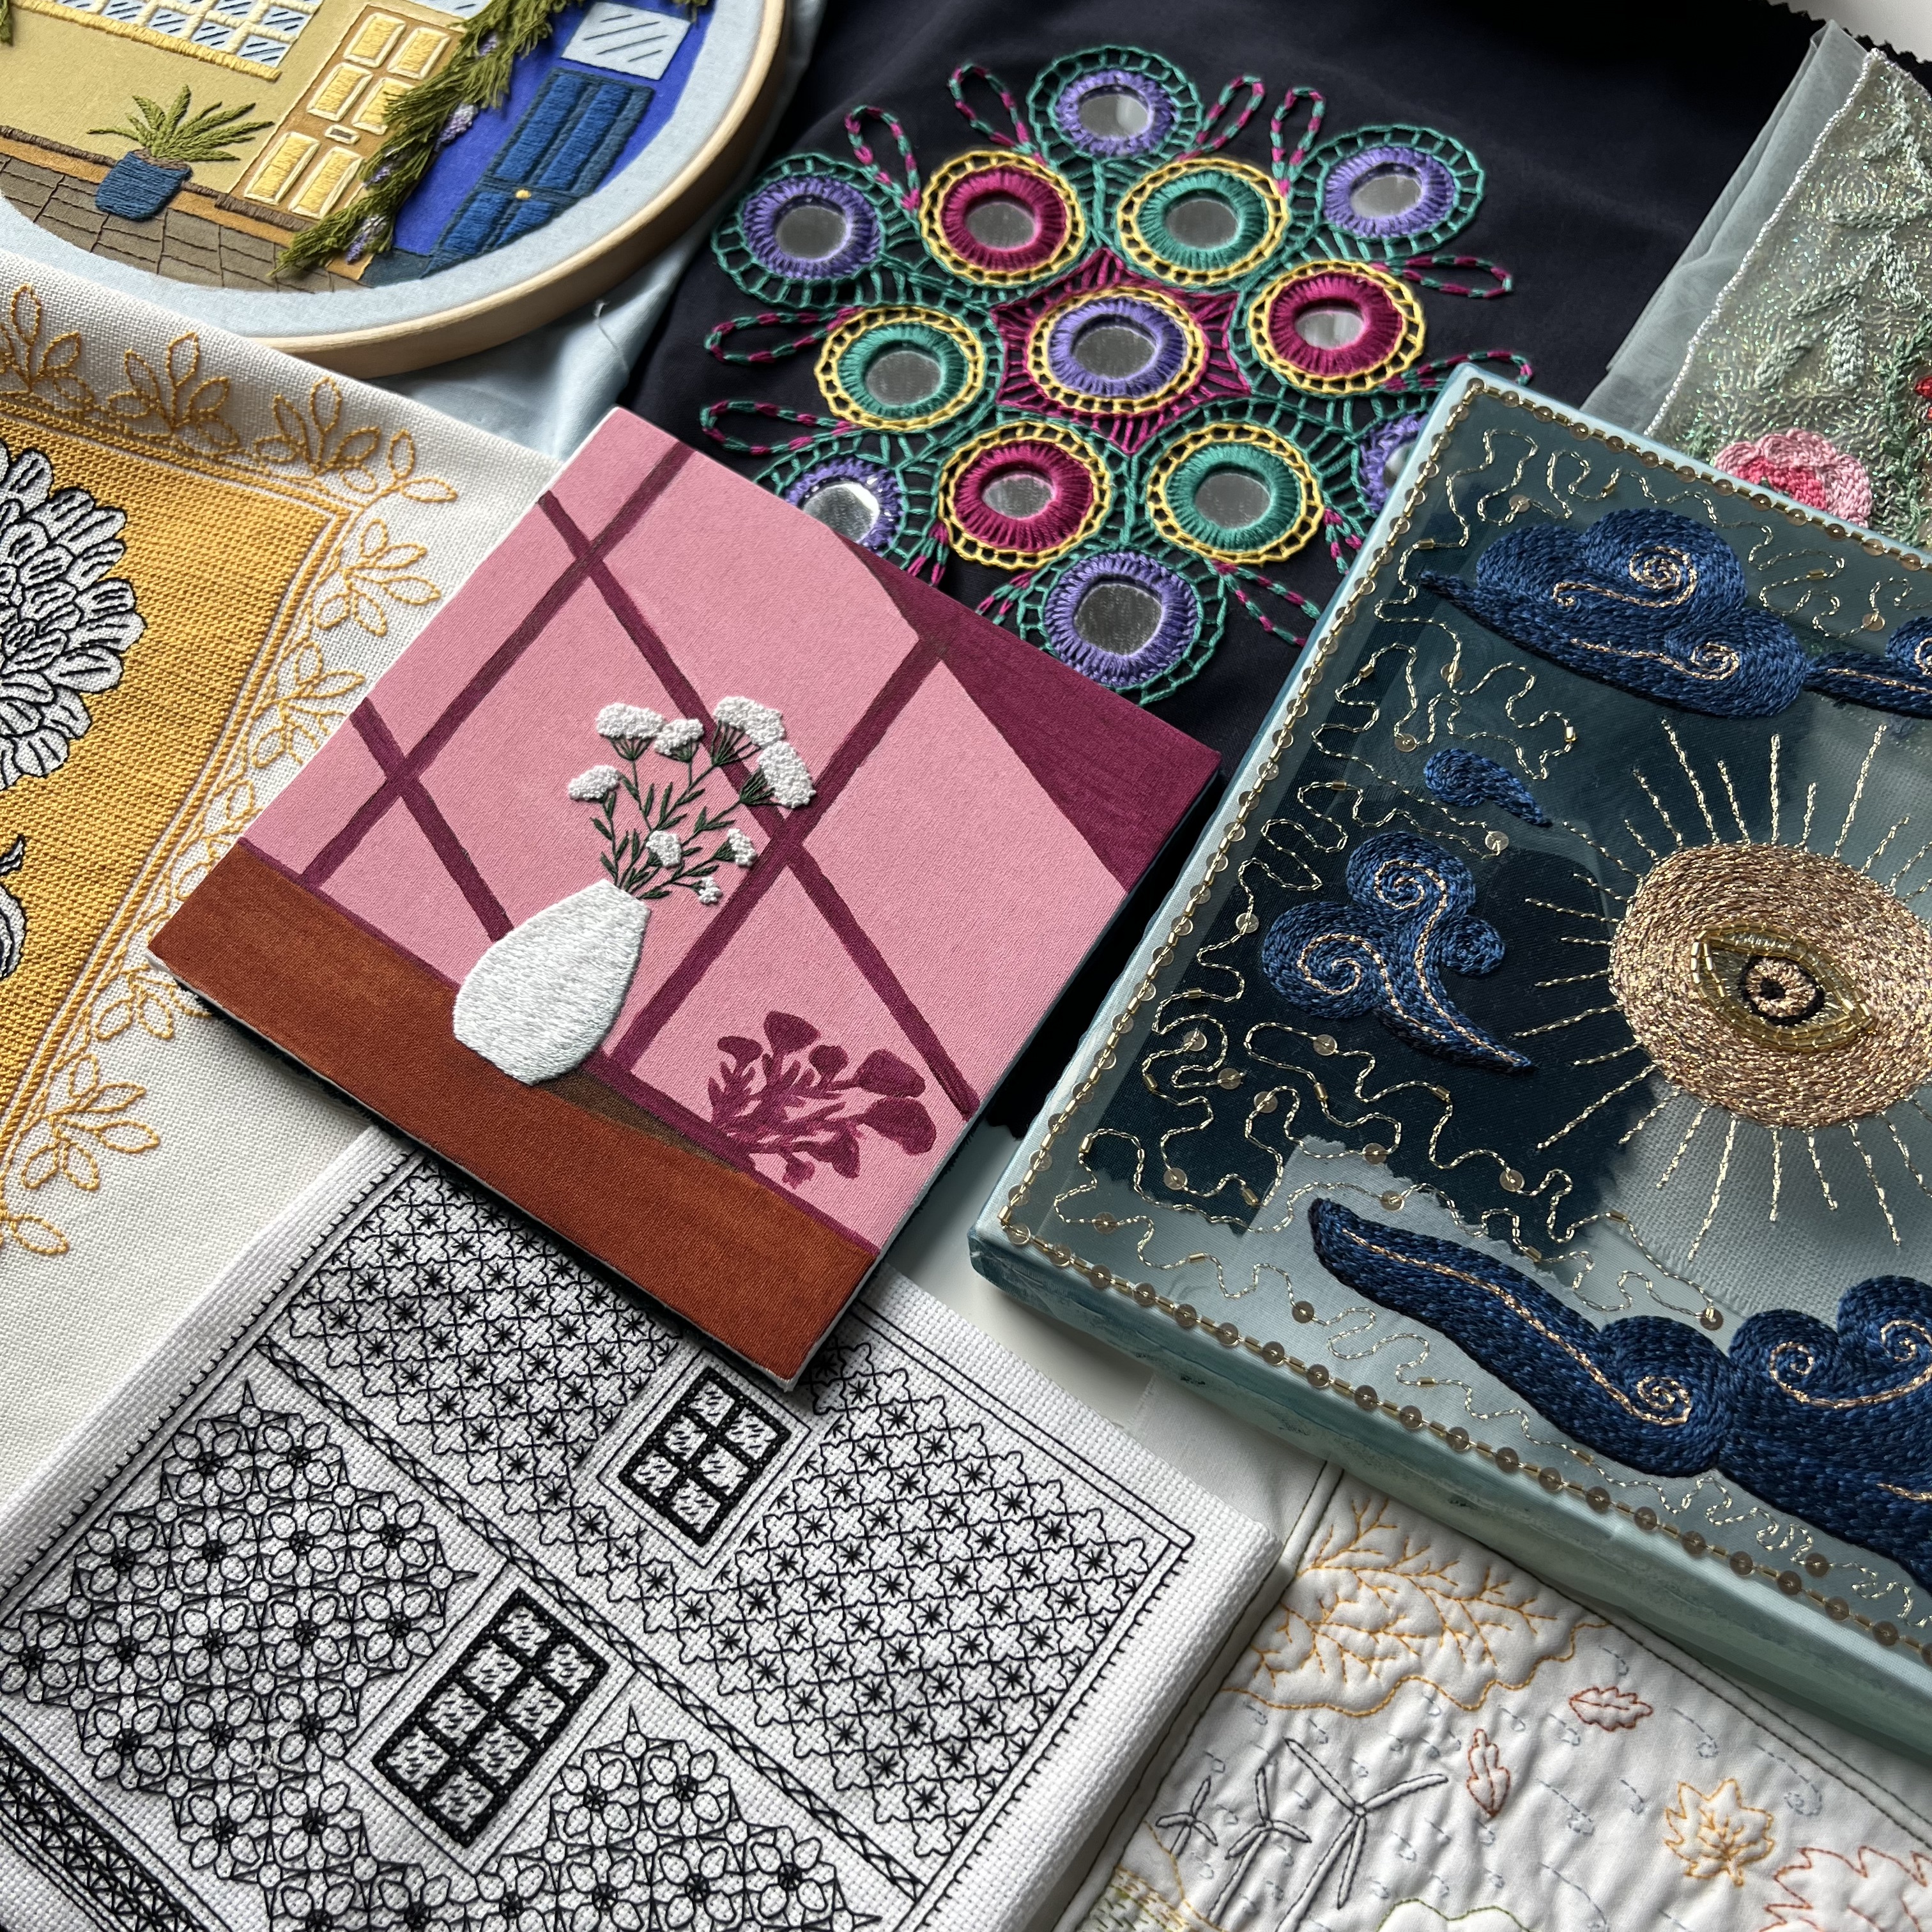
Once you've got the basics down and want to explore more advanced techniques, I share extra content on my Patreon. Think of it as going beyond the beginner stage: more complex stitching approaches, creative experiments, and things that don't always fit into a structured pattern or course.
Which path is right for you?
Not sure where to start? Here's a quick guide:
- You want to understand how embroidery works before jumping into a project → Start with the stitch samplers
- You're motivated by a specific design and want to make something you'll love → Find a beginner pattern that excites you
- You want proper structure, feedback, and to learn everything in one place → Take a course
Frequently asked questions
- Is embroidery hard to learn for beginners?
- Not at all. The basic stitches (backstitch, running stitch, satin stitch) can be picked up in an afternoon. The learning curve is gentle, and even early attempts usually look pretty good once they're in a hoop.
- How long does it take to learn embroidery?
- You can complete a simple beginner project in a few evenings. Getting comfortable with a wide range of stitches and developing your own style takes longer, but there's no pressure to rush. Most people find the process itself enjoyable, not just the result.
- What's the easiest embroidery stitch to start with?
- Straight stitch and backstitch are the most beginner-friendly. Backstitch, especially, is versatile enough to create outlines, text, and simple designs on its own.
- How much does it cost to start embroidery?
- Very little. A hoop, some floss, a needle, and a piece of cotton fabric can cost under $20. Patterns and courses are optional extras.
- Can I learn embroidery on my own?
- Yes, completely. There are tons of free tutorials online, including on my YouTube channel. That said, a good pattern or course will save you a lot of time spent searching for information and second-guessing yourself.
- What fabric should I use for embroidery as a beginner?
- Patchwork cotton is the most forgiving and easiest to work with. Avoid stretchy fabrics until you're more comfortable. A medium-weight cotton or linen-cotton blend is ideal.
Summary
Embroidery is one of those crafts that sounds intimidating until you actually try it, and then you wonder why you waited so long. I hope you give it a go.
If you're just getting started and want a nudge in the right direction, join my mailing list. I send embroidery tips, free patterns, and the occasional update when something new comes out.